Downing's Genesis Portable, "The GeneBoy" COMPLETE!!!

Discuss all hardware and software modifications
Downing
24-bit
Posts: 138
Joined: Mon Dec 06, 2010 8:34 pm
Location: Capital City, NH
Contact:

Downing's Genesis Portable, "The GeneBoy" COMPLETE!!!

Post by Downing »

After about 4 weeks, my first portable Genesis "The GeneBoy" is complete!


Image

Updated Specs

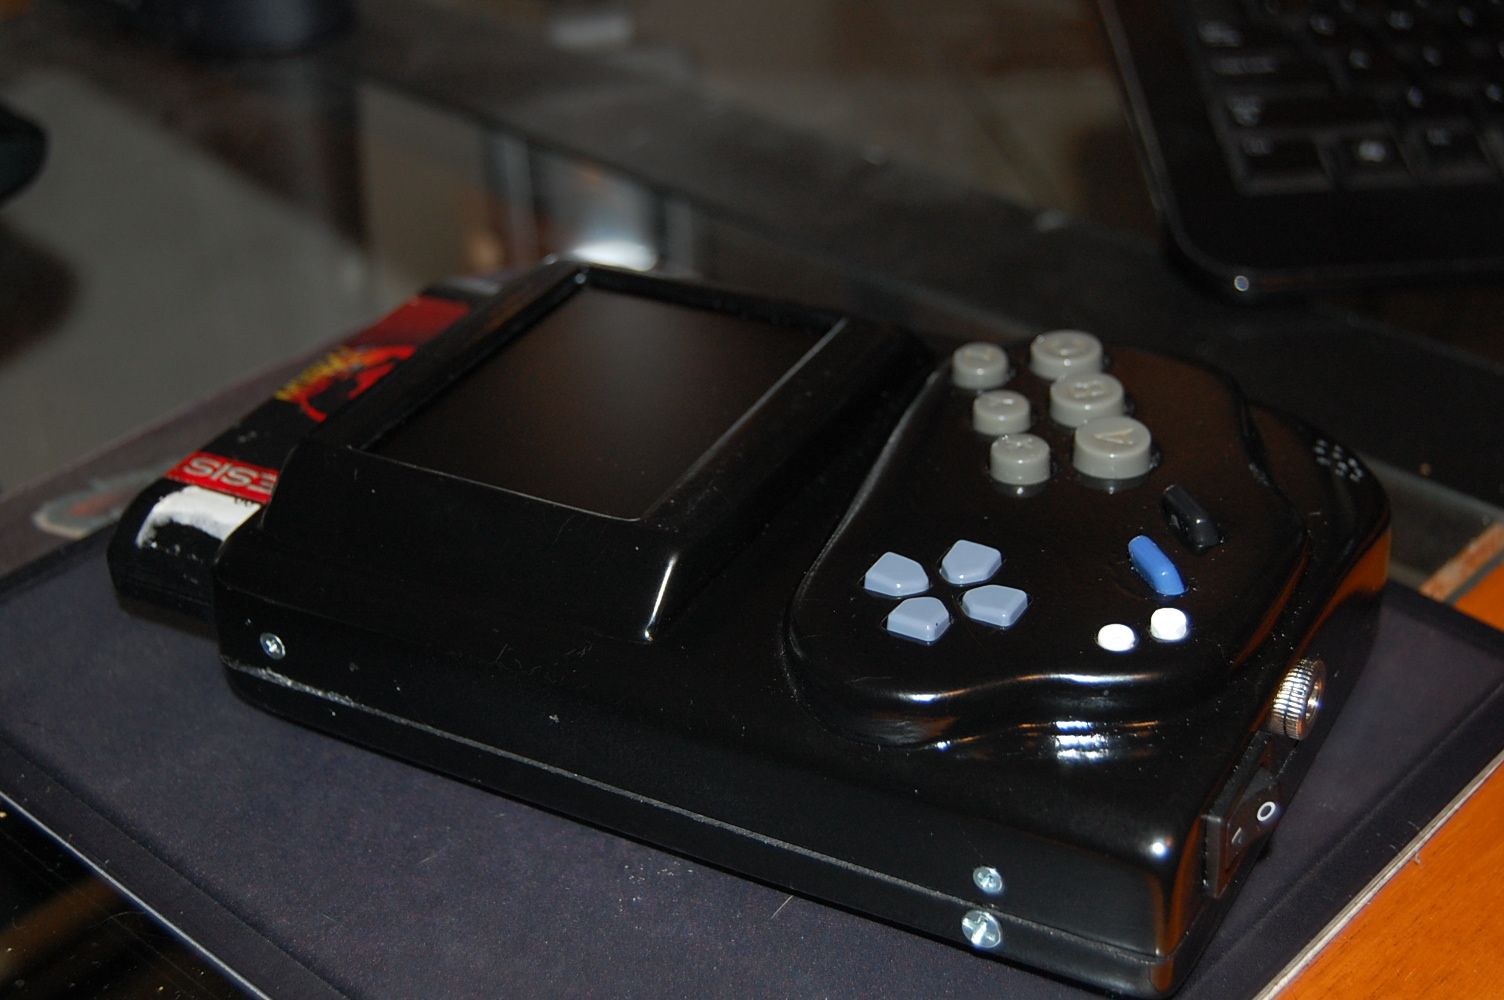
Size: 1-7/8" Thick x 4-3/4" Wide x 6-1/2" High
Weight: About 1.5lbs
Battery: 7.4V @ 4Amps
Screen: 3.5" TFT Back-up Screen
Sound/Amp: 1 20mm Speaker & Mini iPod Amp
Power Switch: SPDT On/Off Rocker
Power Charge Port: Single Size M Charger Port
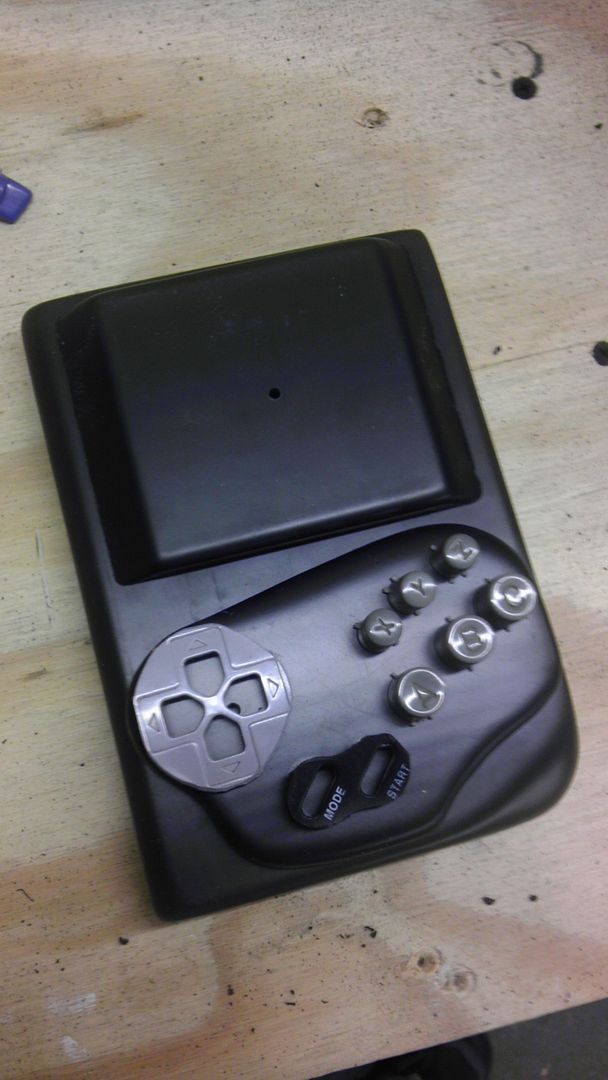
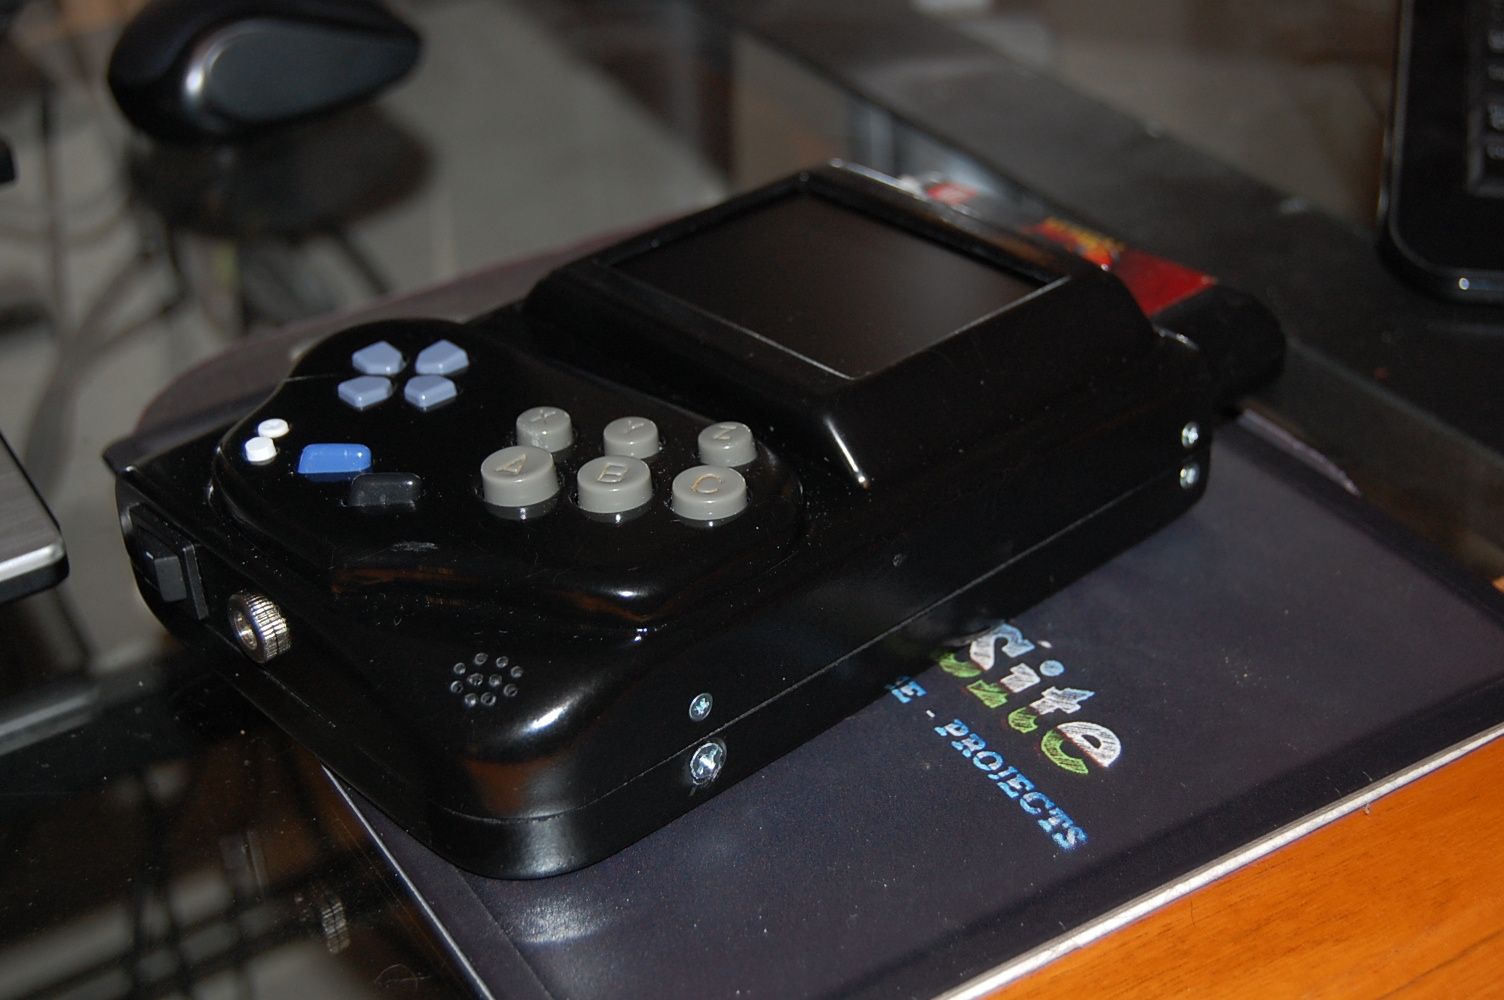
PS1 Controller D-pad
3rd Party Super Pad Controller Board & Buttons
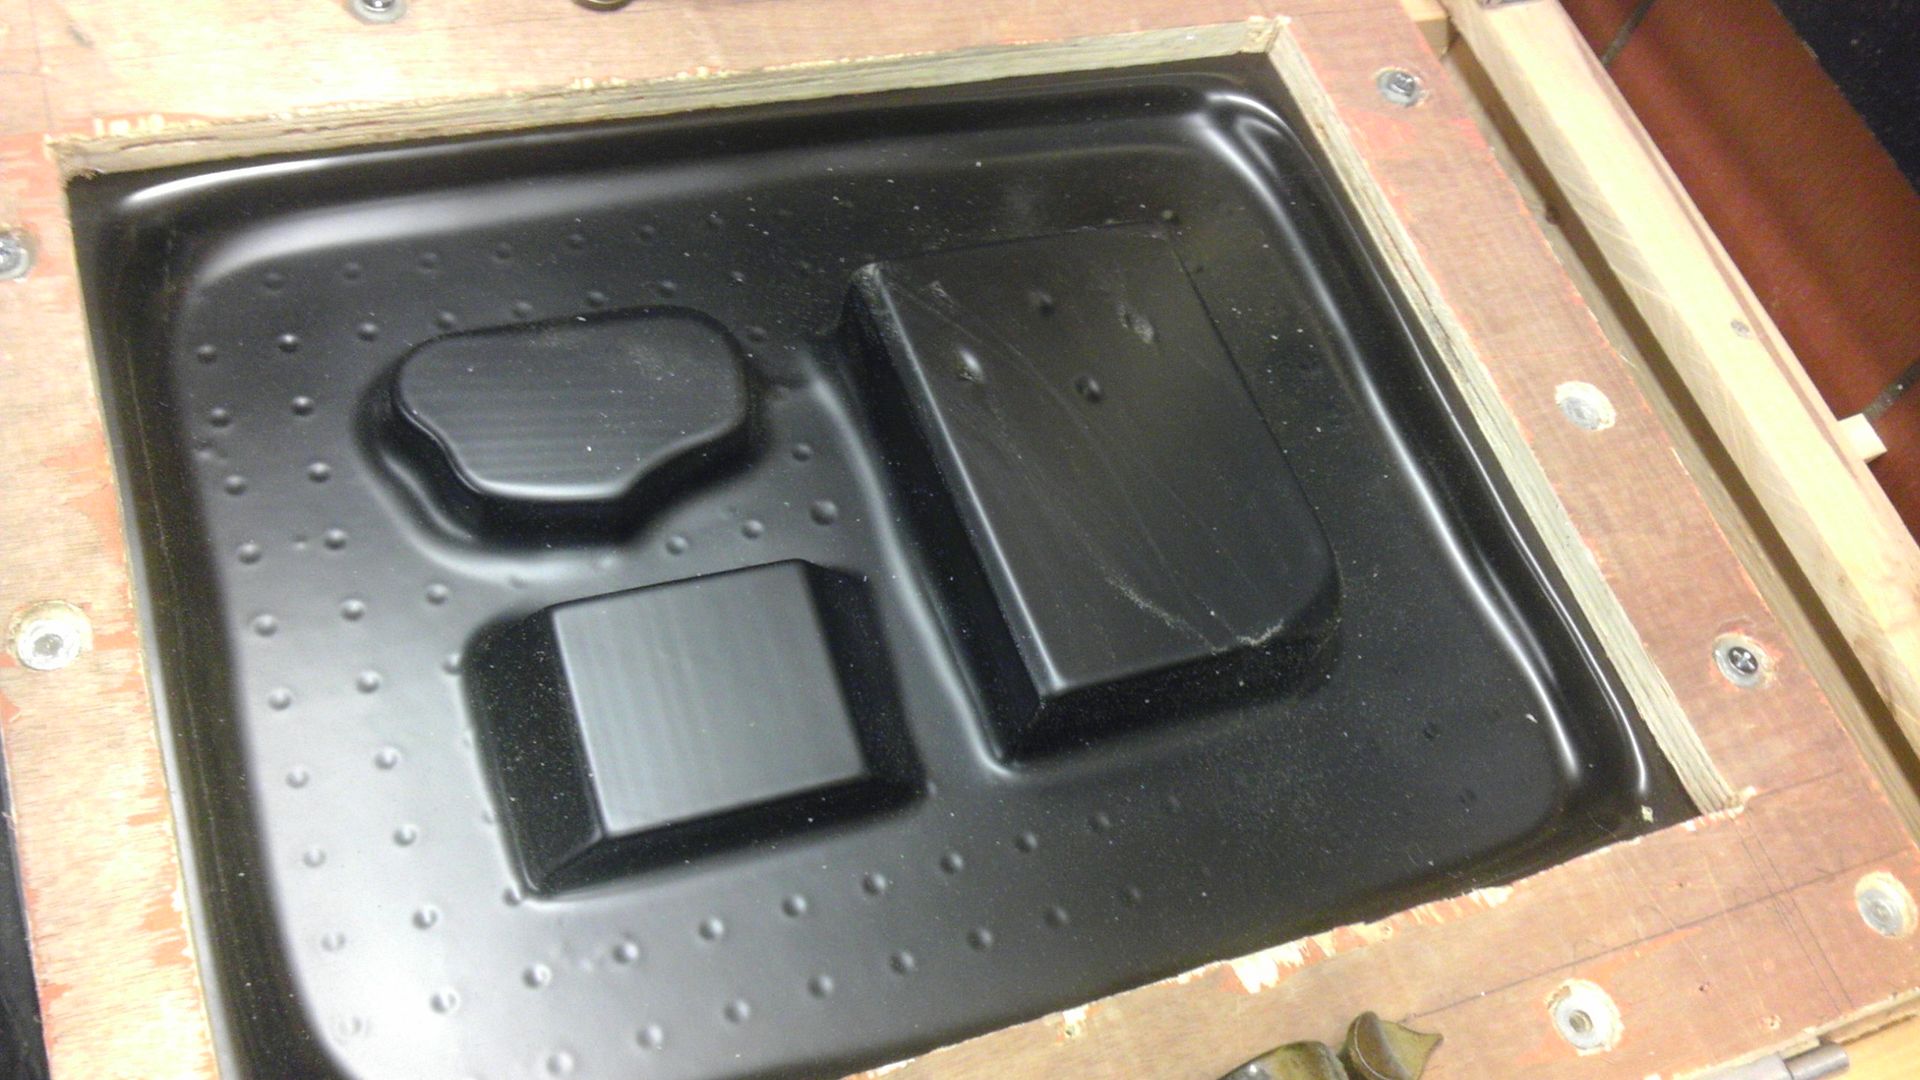
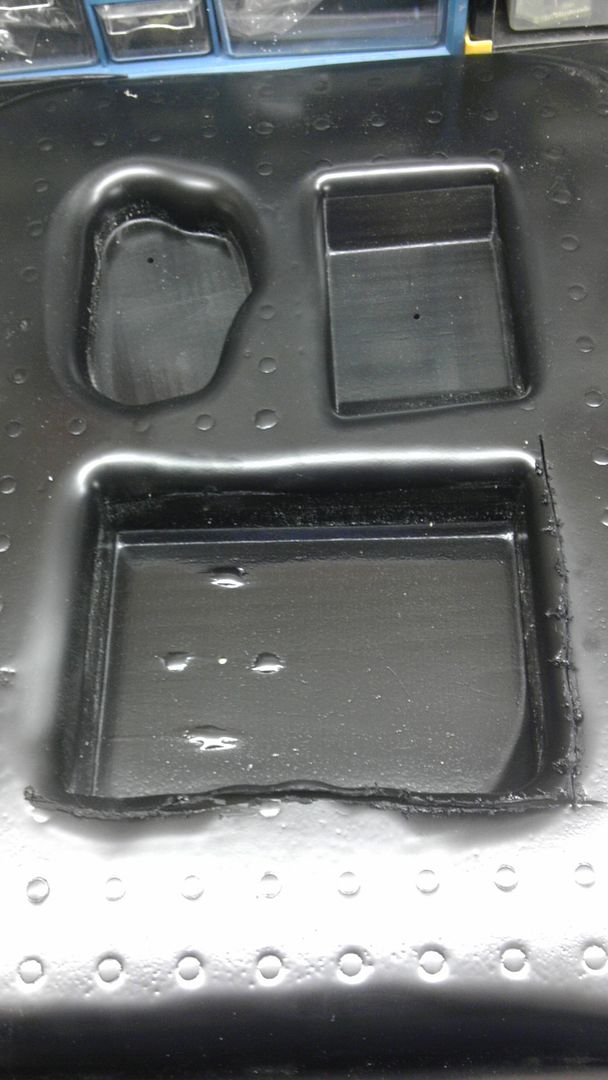
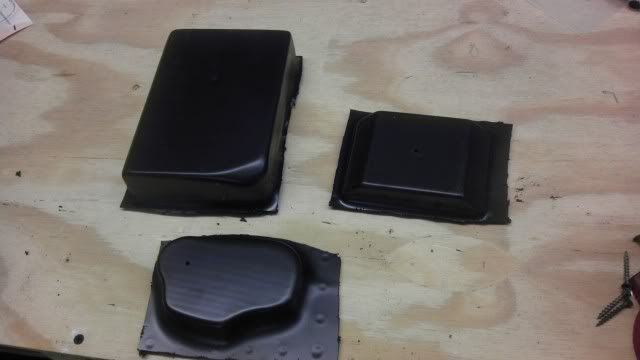
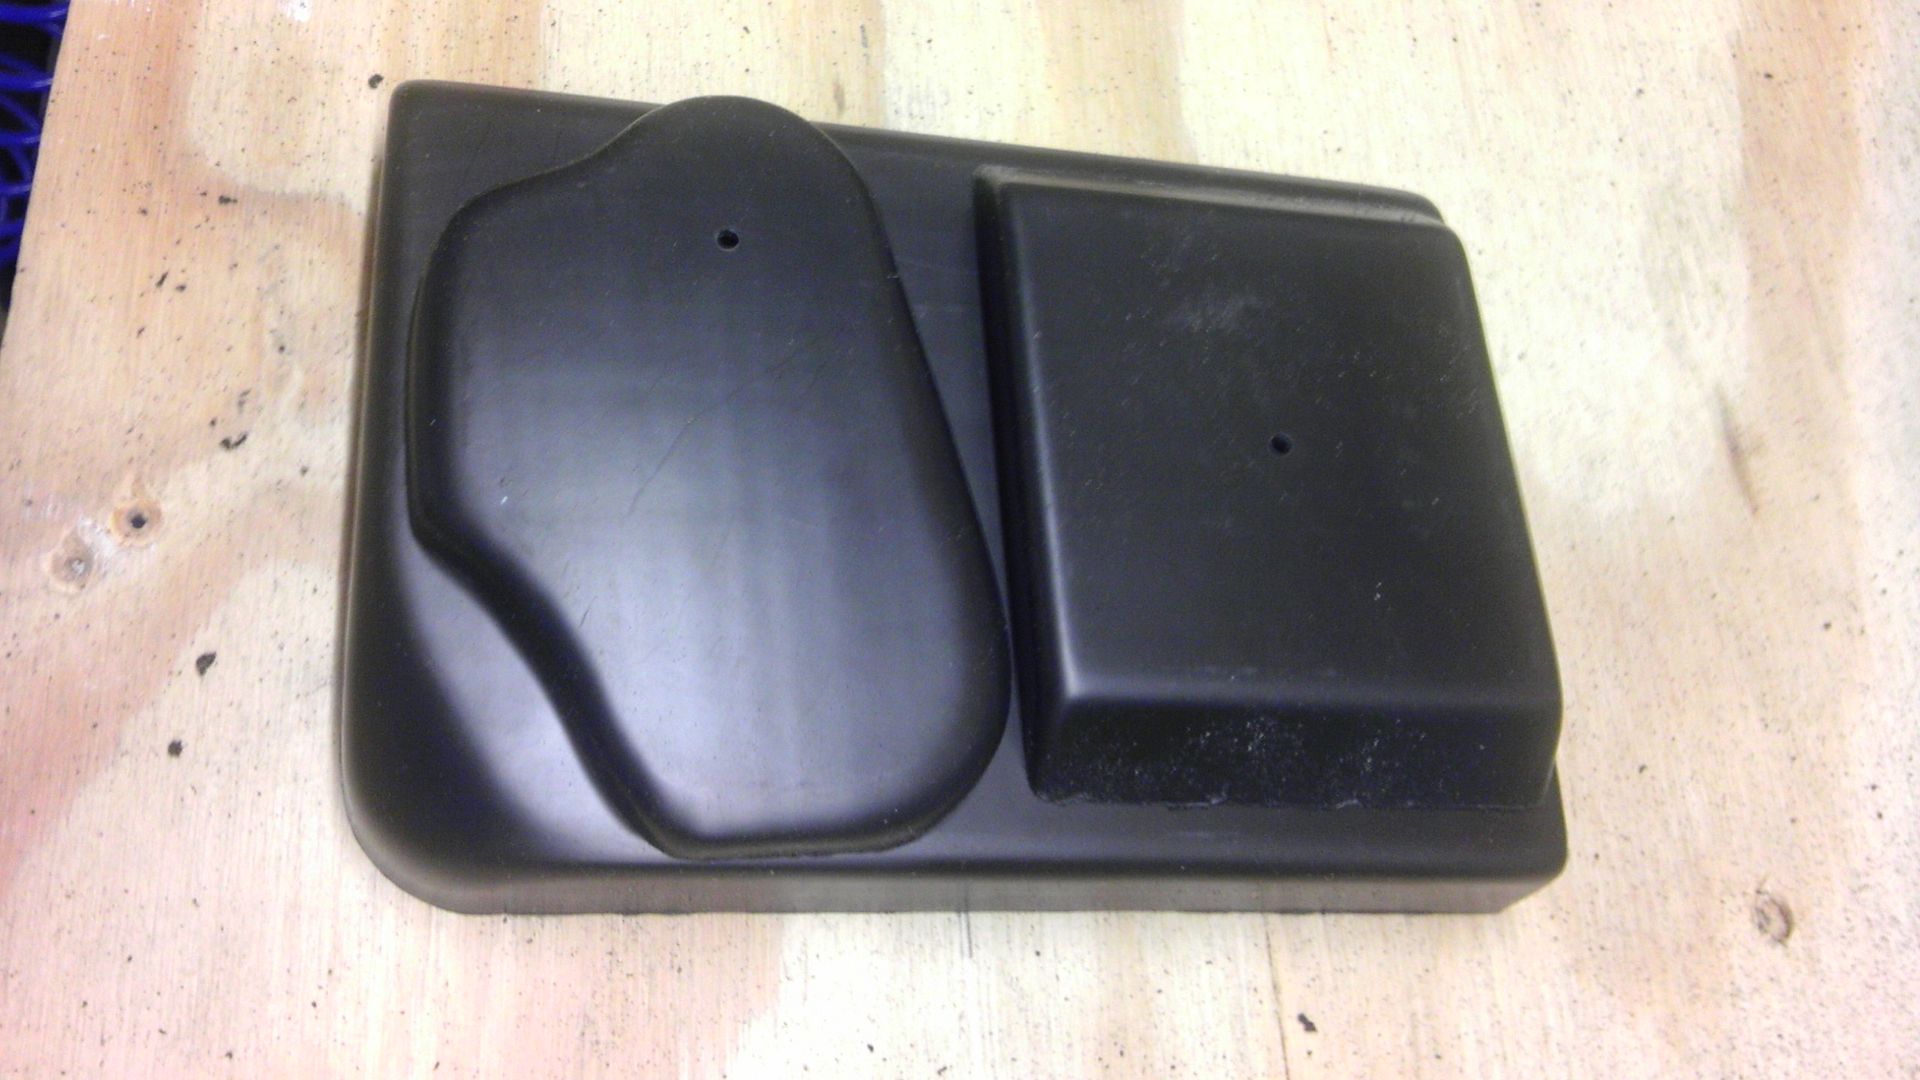
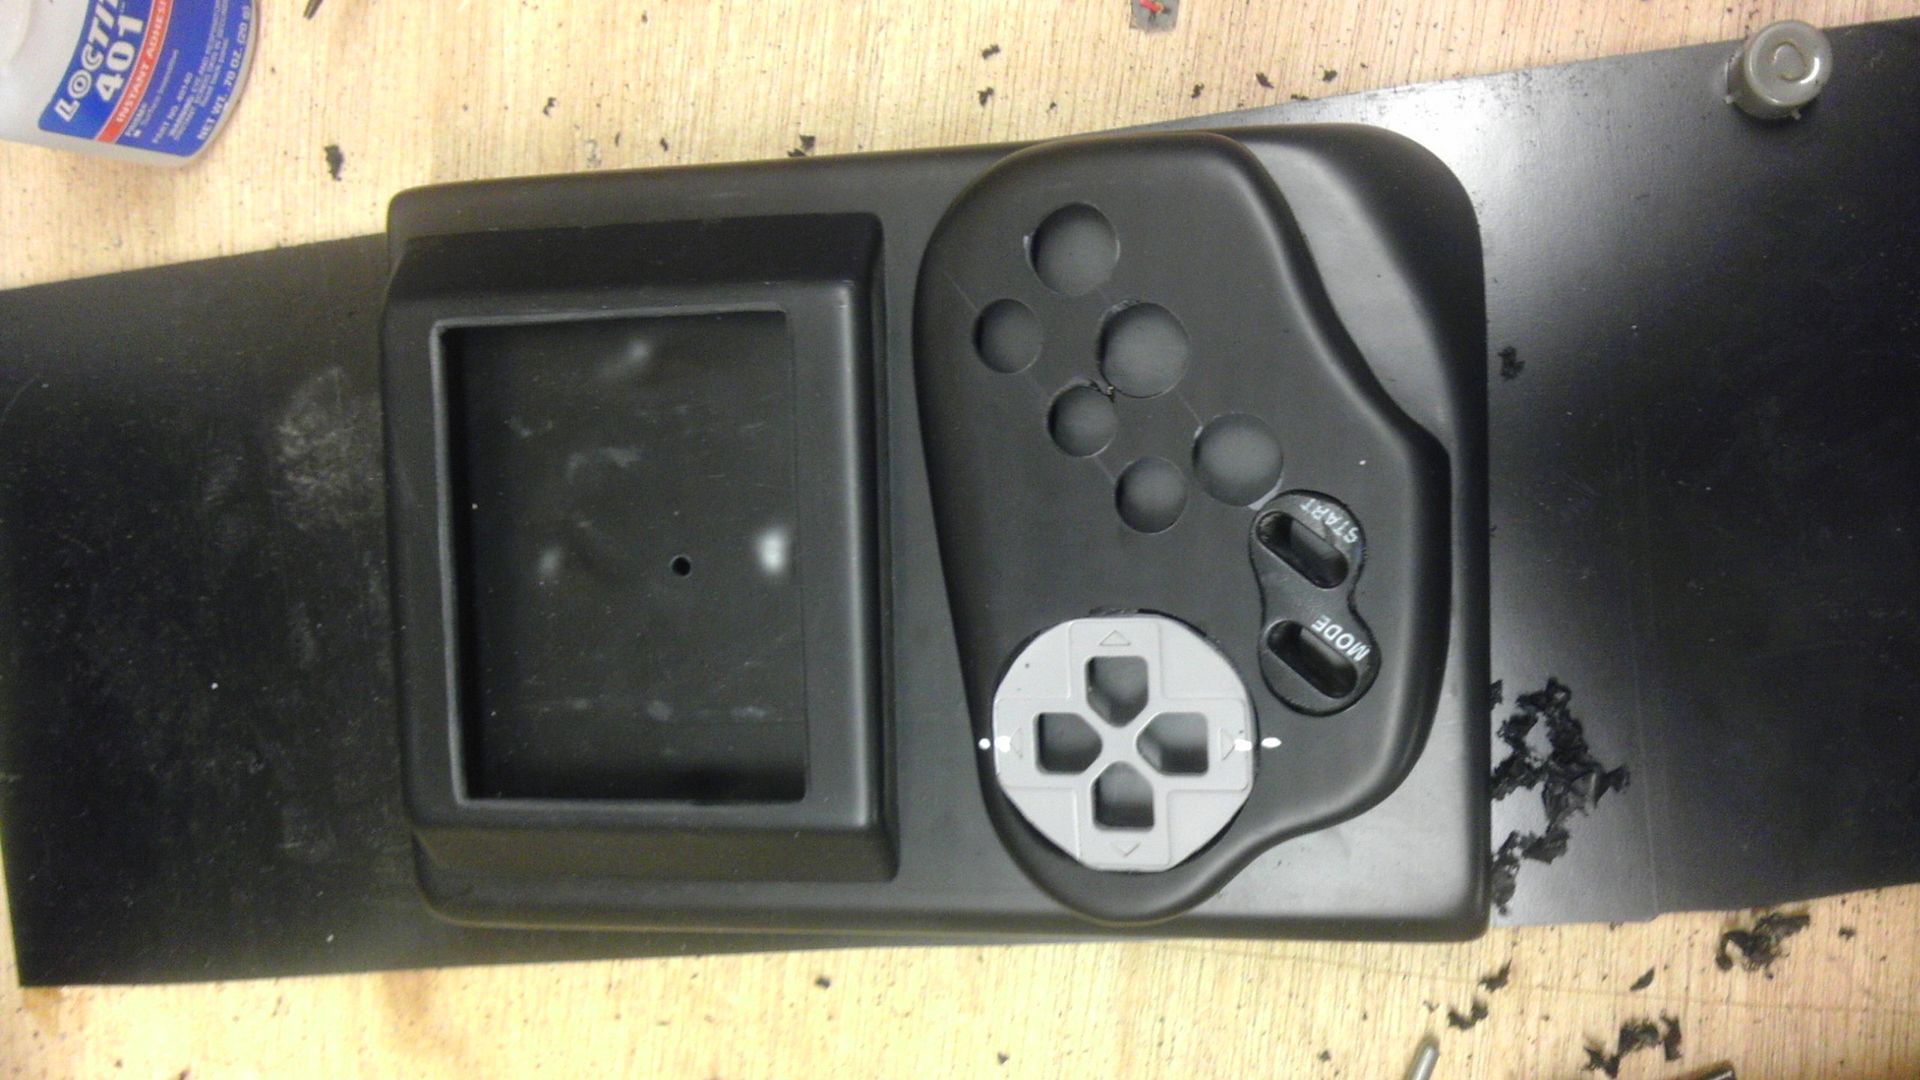
Custom 3 Part Vacuum Formed Casing

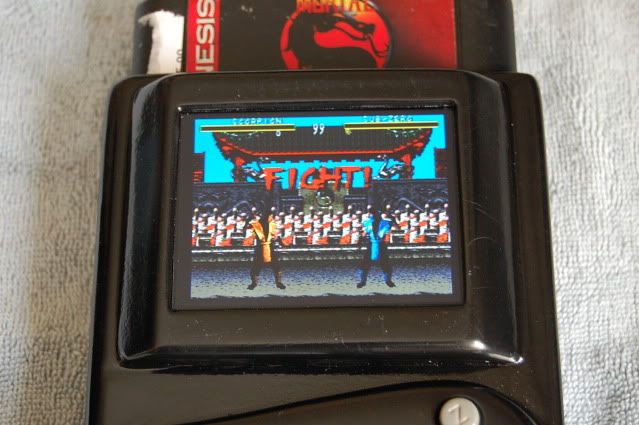
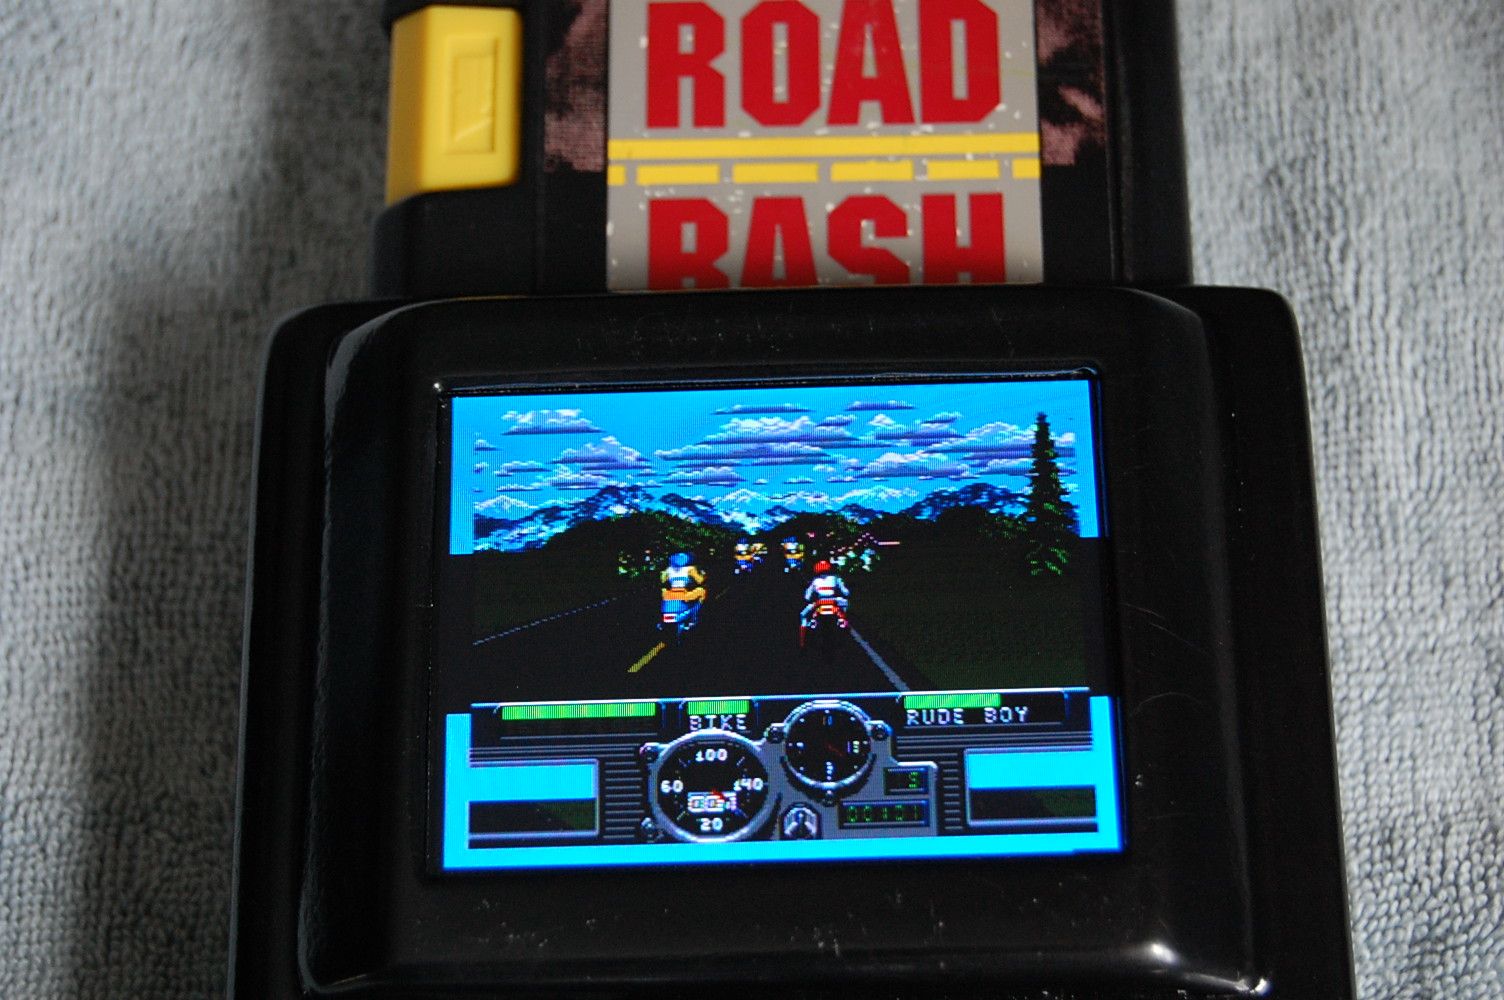
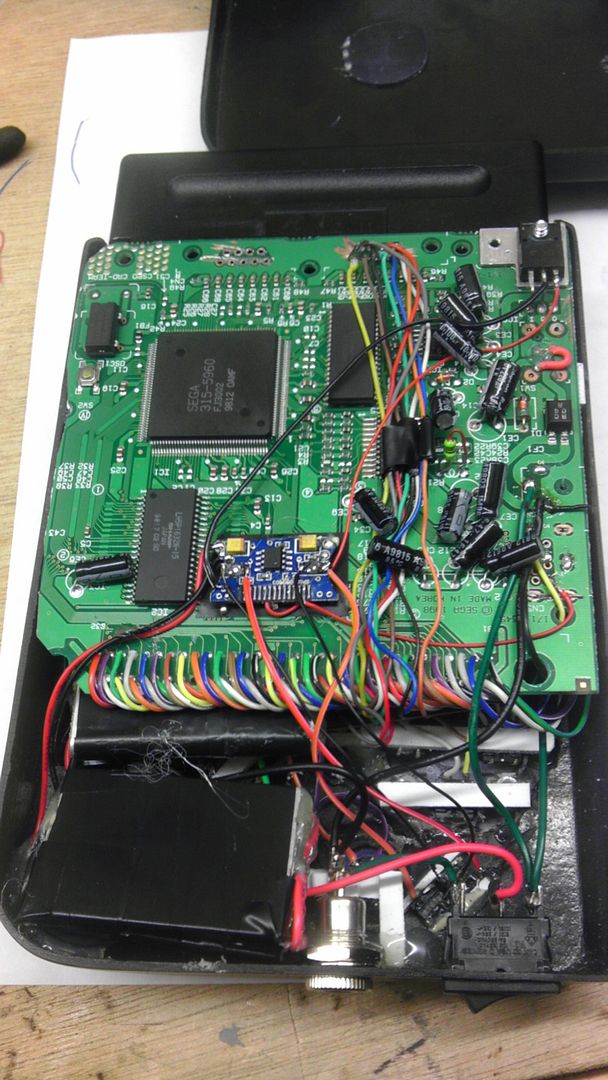
All in all I've very happy with how this has turned out! The controls are fluid and responsive and the grip is perfect, even for small hands like mine. Posting some pics of the completed unit below, but are the same mostly as in the video.

Image
Image
Image
Image
Image
Image
Image
Image
Image


*Original Post Starts Here*

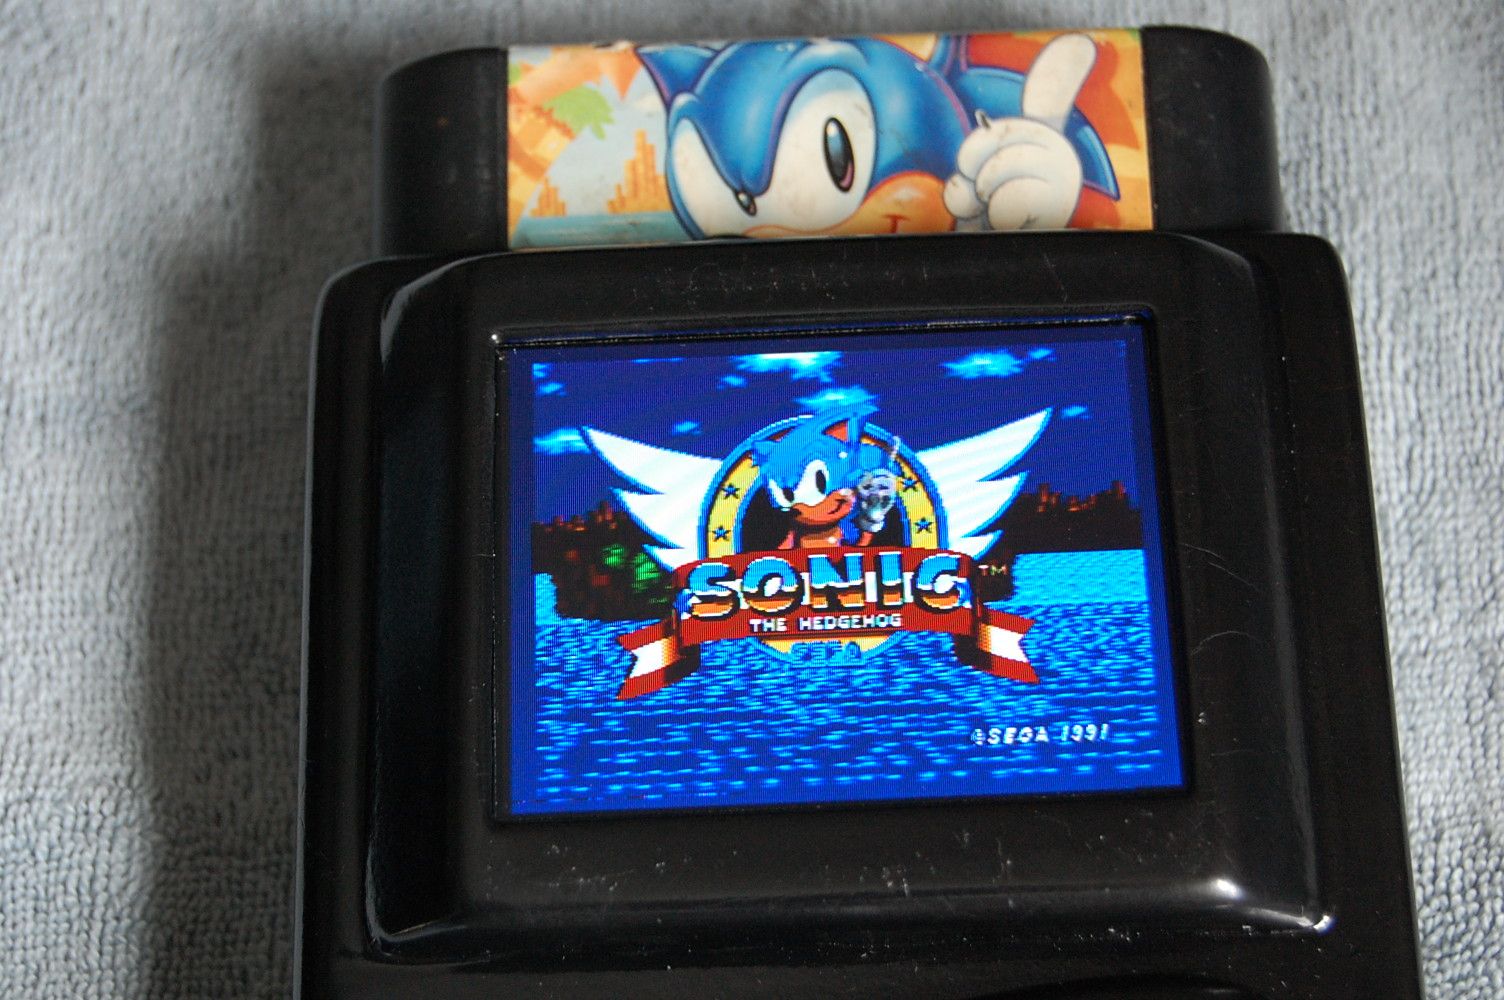
Started up a new portable today. It will be a portable Sega Genesis 3. Never was much into Sega but the games and the systems are so dirt cheap that it's hard to pass up on eBay!

With that said, this is the latest model Genesis Sega made and was dubbed the "poor man's Genesis". As such, the features are quite lacking, but the trade off in size of the unit is a great help when it comes to portable making.

Specs as follows.

1- Sega Genesis 3 Core System
1- 3.5" TFT Back Up Screen
2- 7.4v, 2000mAh Li-Ion Camcorder Batteries
1- 3rd Party Genesis SuperPad Controller
1- 20mm Speaker
1- Pop-Up speaker Amp
1- Custom DMG Style Vacuum Formed Casing (Same as The Mario/Zelda Tribute)
1- A/V and Wall Power Jack

This will be a very basic system as the core system really can't be much else, but it will suit the purpose. The 3.5" screen was cheap and for the size of the screen and the resolution of the Sega, I thought it best to keep it 4:3 aspect ratio.

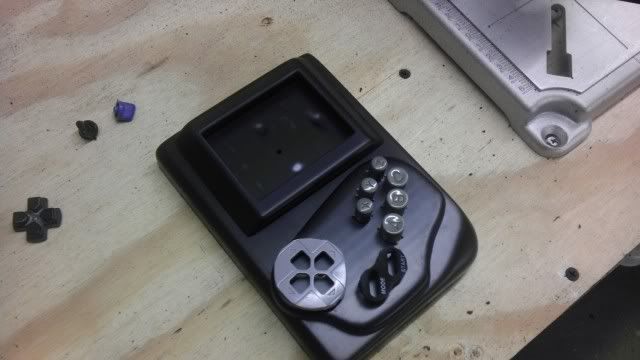
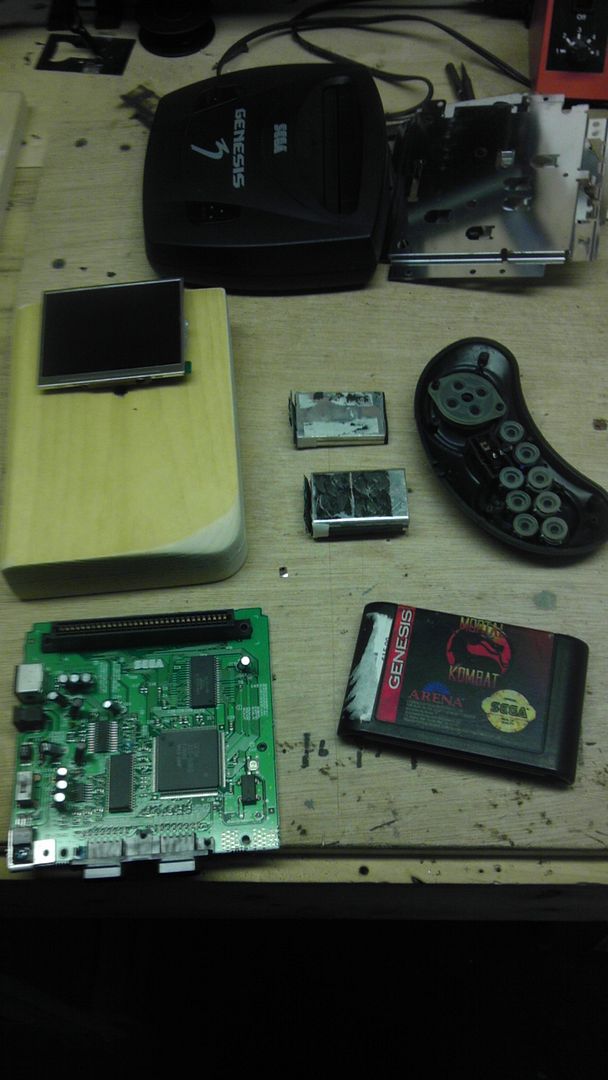
Here are some pics of the progress.

A few of the components laid out after disassembley.
Image

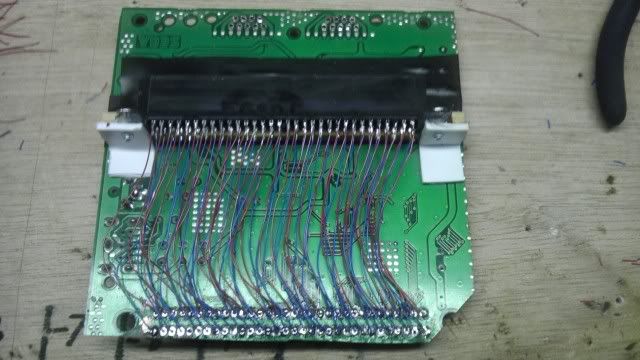
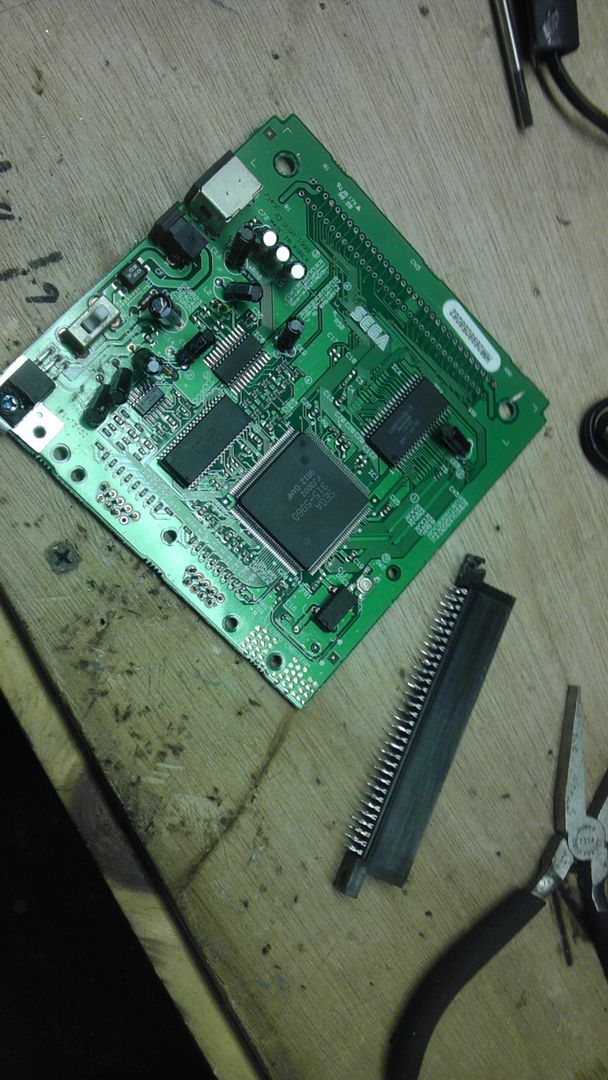
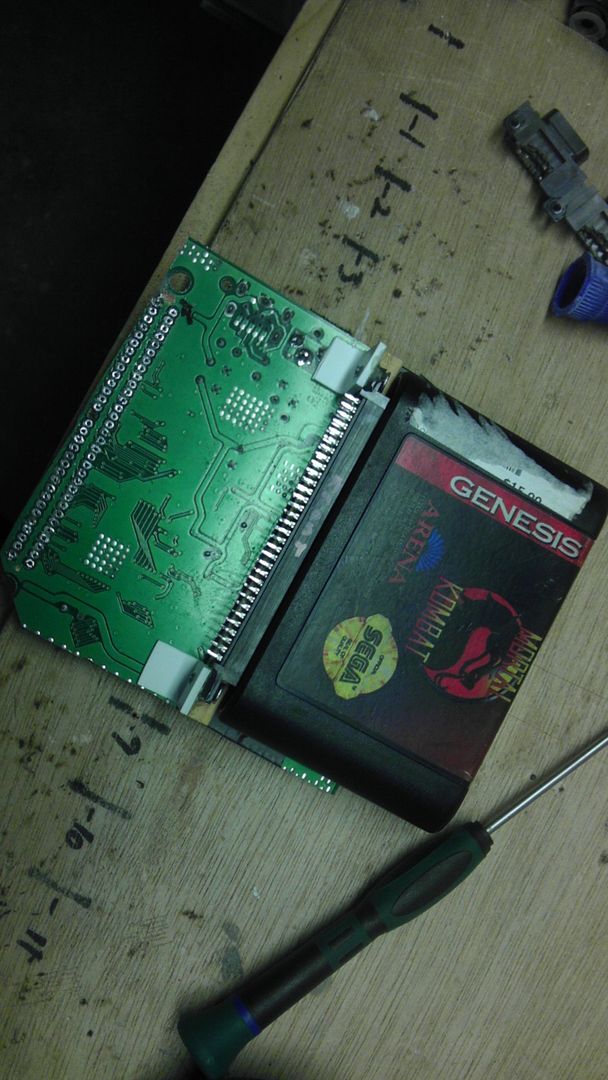
The cart slot de-soldered, which I might add was the biggest pain in the ass of any system I've done. I'm going to assume Sega used a different kind of solder than Nintendo because this took forever!
Image

Cart slot roughly mounted with homemade plastic L brackets.
Image

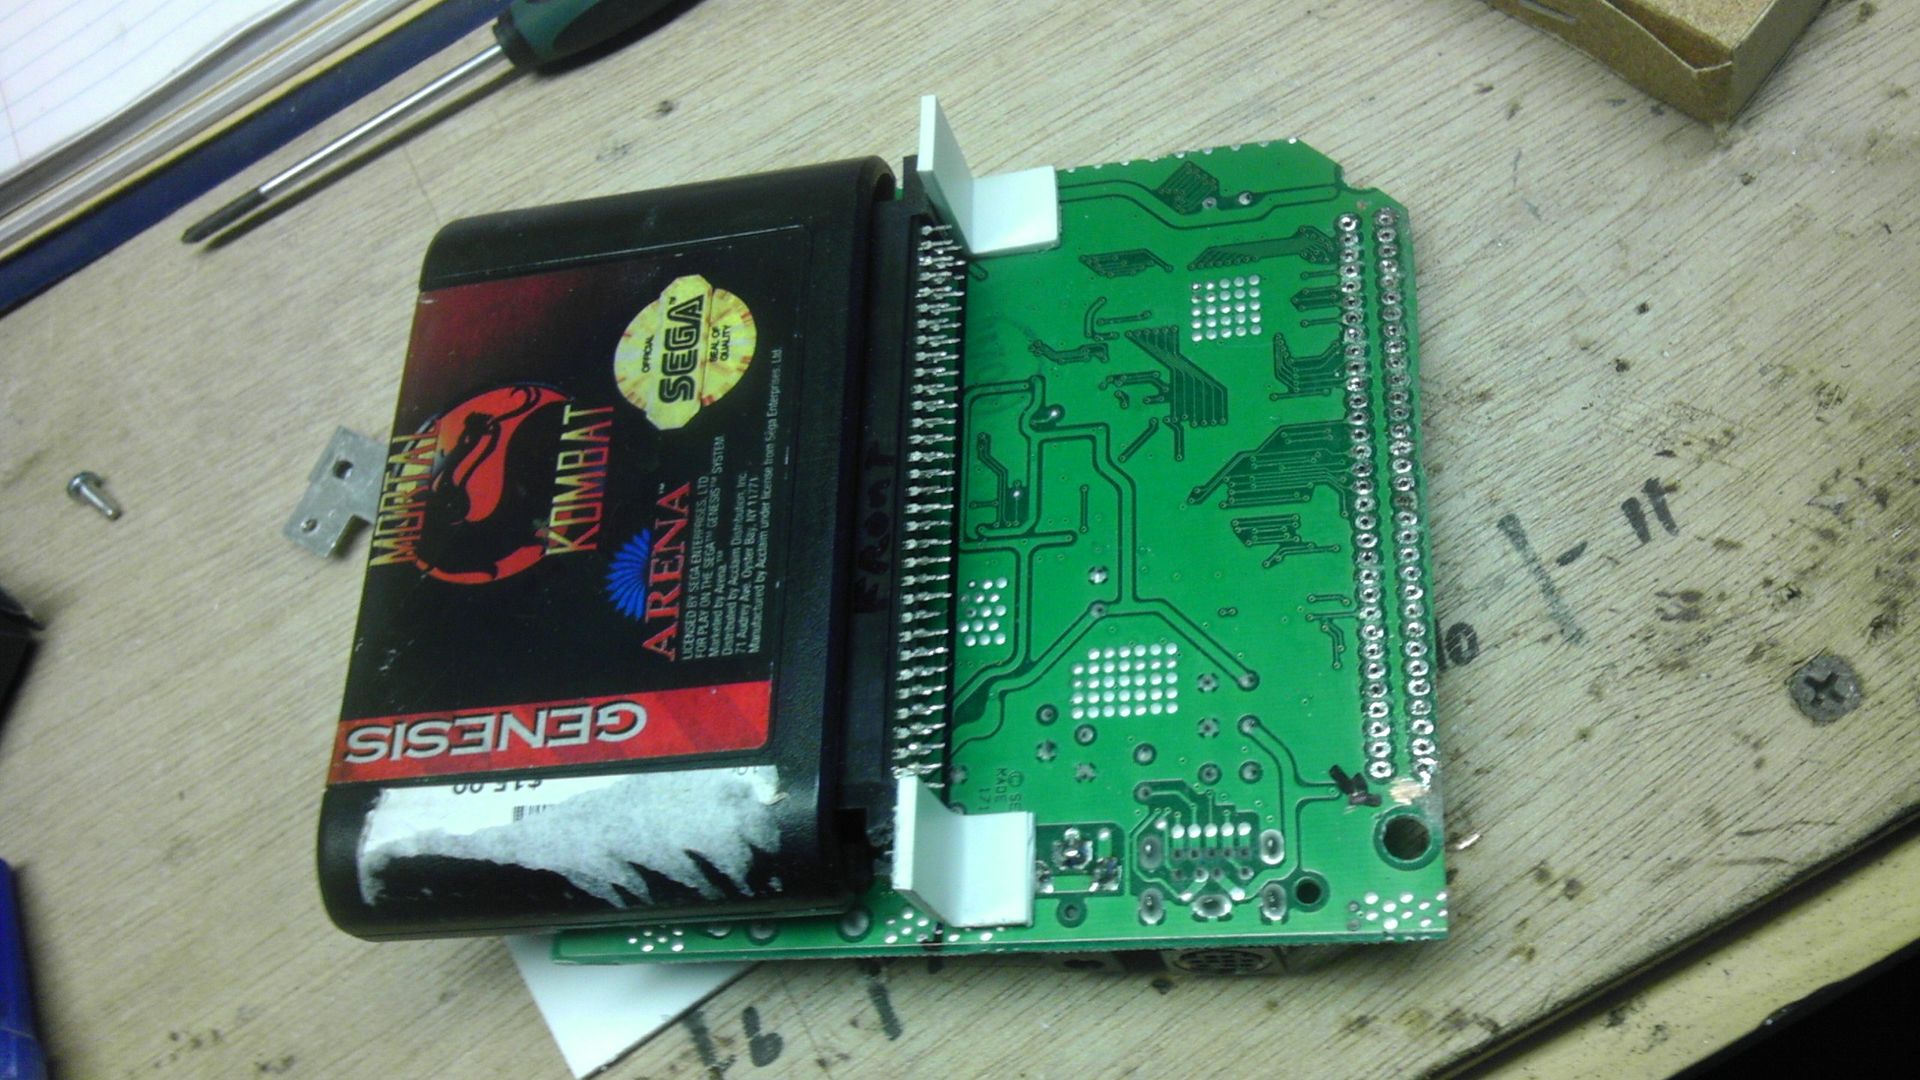
The cart slot fully mounted and in place with super glue, wood, plastic and tapped in screws.
Image

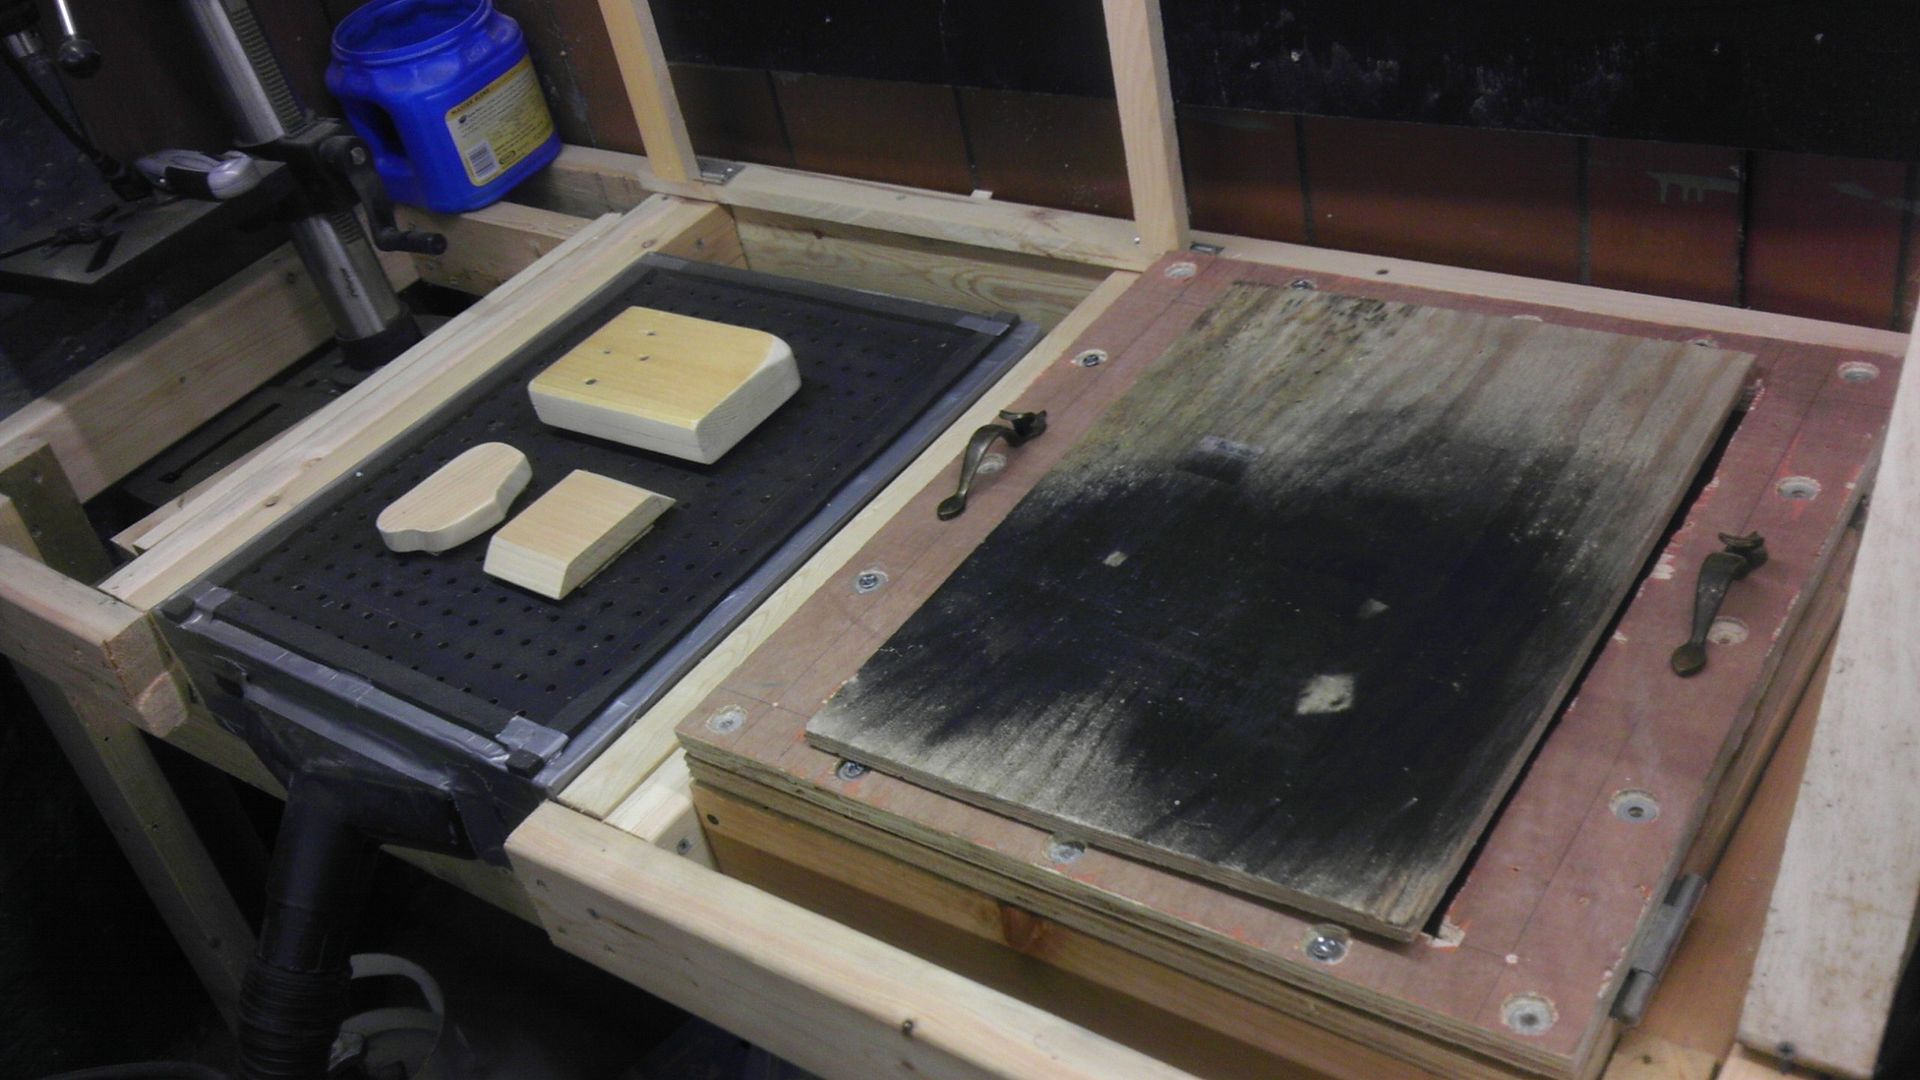
All in all I'm off to a good start and I might vacuum form the case tomorrow with the thicker plastic I have as I'm out of my preferred white .080 stock. Should have it in this week, but I'd rather use this black styrene up anyway.

Anyway, this one I don't anticipate to be as difficult as an N64p or as time consuming as my desk so hopefully in a couple weeks I'll have some work done on this! Keep ya posted!
Last edited by Downing on Sat Mar 10, 2012 4:13 pm, edited 3 times in total.
Image
Hey guys, check out my new website and project showcase!
Also this is where my Case Making Guide can be found!
User avatar
Drakon
64-bit
Posts: 306
Joined: Tue Apr 29, 2008 7:58 pm
Location: Toronto Canada
Contact:

Re: Downing's Genesis Portable, "The GeneBoy"

Post by Drakon »

Looks pretty good so far. Out of curiosity are there goacs out there? And how much do they cost?

You could totally fit all that stuff into something smaller than that wooden block you have there. I think if you're going to be using a genesis 3 you should aim to make it as small as possible considering how tiny the genesis 3 pcb is haha.
http://16bitgamer.forumotion.ca/

Older games are better
Downing
24-bit
Posts: 138
Joined: Mon Dec 06, 2010 8:34 pm
Location: Capital City, NH
Contact:

Re: Downing's Genesis Portable, "The GeneBoy"

Post by Downing »

Well keep in mind that block of wood is just the form for the plastic. I can cut down the thickness all I want after it's been formed. It's really not going to be that big. I chopped most of the grounding around the system off so this is by far the smallest system I've worked with or made so we're taking little steps at a time!
Image
Hey guys, check out my new website and project showcase!
Also this is where my Case Making Guide can be found!
User avatar
Drakon
64-bit
Posts: 306
Joined: Tue Apr 29, 2008 7:58 pm
Location: Toronto Canada
Contact:

Re: Downing's Genesis Portable, "The GeneBoy"

Post by Drakon »

Really the genesis 3 pcb is so tiny I wouldn't have even bother chopping anything
http://16bitgamer.forumotion.ca/

Older games are better
Downing
24-bit
Posts: 138
Joined: Mon Dec 06, 2010 8:34 pm
Location: Capital City, NH
Contact:

Re: Downing's Genesis Portable, "The GeneBoy"

Post by Downing »

Well like you said, you don't make portables often (if at all) and you find that there is never enough room, no matter far ahead you plan. So the trimming I did was pretty minimal anyway, but enough to give me that little extra room that I might need for wires or relocated components.

Anyway, got the second most tedious job done on the system tonight, the cart relocation. 64 pins for this one and the stripping and the soldering of one at a time is mind numbing, but quite easy on the Genesis as the pins are pretty far apart from each other. (Not like an N64 expansion pak)

That's all the updates I have at the moment. I used 30AWG wrapping wire as the distance in this case was only 2.5" and interference really isn't a concern.

Image

Tomorrow I'll wire up the batteries and the screen and give it a test, or if the electricians in the house are done, I might vac-form my case because the new power layout will make it much easier and less of a concern of shorting my house out.
Image
Hey guys, check out my new website and project showcase!
Also this is where my Case Making Guide can be found!
User avatar
Drakon
64-bit
Posts: 306
Joined: Tue Apr 29, 2008 7:58 pm
Location: Toronto Canada
Contact:

Re: Downing's Genesis Portable, "The GeneBoy"

Post by Drakon »

True I don't make portables :lol:

Anyway I hope you make it as small as possible as that would be pretty sexy.
http://16bitgamer.forumotion.ca/

Older games are better
DinnerX
Next-Gen
Posts: 1537
Joined: Fri May 06, 2011 7:57 pm
Location: Trapped in a Karate Kid cartridge

Re: Downing's Genesis Portable, "The GeneBoy"

Post by DinnerX »

Drakon wrote:Looks pretty good so far. Out of curiosity are there goacs out there? And how much do they cost?
There are goacs inside the sega radica plug n plays. I'm not sure what they go for these days.
Since this signature affects old posts, I'm leaving a message here in case anyone searches for my username. This account died in early 2013. I am no longer a fundamentalist.

Don't add to my problems by pretending my past views are still held in the present. I do not have any patience for that. Feel free to ask me what I think now.
Downing
24-bit
Posts: 138
Joined: Mon Dec 06, 2010 8:34 pm
Location: Capital City, NH
Contact:

Re: Downing's Genesis Portable, "The GeneBoy"

Post by Downing »

Progress!!!

Man I love my new set-up! Got the top half of my case formed and cut and ready to be attached to the base! I decided that a three part top half would work better than trying to vac-form all three pieces due to how close they are to each other. But that won't be bad as I can attach and then cut in from the back and give me all the room I need while keeping the outside edges smooth and allow for a little filling a possible.

Below are some pics of the concept and then the finished product!

The layout
Image

Molds waiting for the hot plastic.
Image

Power nearby finally!
Image

The Perfect Form!
Image

Pieces indents with molds out of the plastic.
Image

Rough Cut
Image

Final Trim
Image

Final layout with components.
Image

By adding these panels, I take away from the overall thickness that your hand has to reach and will allow for the back half of the body to be much slimmer. Besides I'm going to need the room for the tact switchs and their mounting brackets and this little 1/4" will help greatly with that. Lemme know what you think!
Image
Hey guys, check out my new website and project showcase!
Also this is where my Case Making Guide can be found!
Downing
24-bit
Posts: 138
Joined: Mon Dec 06, 2010 8:34 pm
Location: Capital City, NH
Contact:

Re: Downing's Genesis Portable, "The GeneBoy"

Post by Downing »

More progress tonight! I got the screen bezel and the control bezel cut and ready for filler. Control bezel didn't come out quite right as apparently my math was slightly off it I put it a bit too close to the start button but I don't think that's going to cause any issues. If need be I can fill it and drill it again, but that's a last resort. Pics of the progress as their isn't much to say. I'm happy with how the screen bezel came out though, not so much with the control but we'll see if I can make it work.

Image

Image
Image
Hey guys, check out my new website and project showcase!
Also this is where my Case Making Guide can be found!
deathsled
128-bit
Posts: 580
Joined: Thu Feb 03, 2011 1:57 am

Re: Downing's Genesis Portable, "The GeneBoy"

Post by deathsled »

Downing wrote:
By adding these panels, I take away from the overall thickness that your hand has to reach and will allow for the back half of the body to be much slimmer. Besides I'm going to need the room for the tact switchs and their mounting brackets and this little 1/4" will help greatly with that. Lemme know what you think!
I'm not really sure how this works? How are you reducing the thickness if you still have this giant protrusion that the controller is in?
Post Reply