I bought the Hakko desoldering gun a while back, but I haven't had an opportunity to use it a whole lot yet.

But it definitely made quick work of recapping the PSU. I got the PSU recap kit from Console5, and decided not to recap the mainboard just yet. Although, I noticed that there was a lone 47uF cap on the controller port board, and I had one on hand, so I decided to replace that one as well. I also replaced the rechargeable battery with a holder a new rechargeable 2032. So I can finally stop having to input the date and time every time I turn the console on.
New caps and battery installed...

Now that I have a working RGB cable to use with my PVM, I went ahead and tested those replacement motherboards. Both are dead. The power LED comes on, and the fan comes on, but the screen is black and there's no sound. I really couldn't remember what condition was specified when I bought these, but I'm thinking it was probably "untested" or "as-is" or whatever, and I figured even if the boards are dead that I could at least use the video encoder. Well, the boards are dead so I pulled the video encoder off the better looking of the two. Now that I have a hot air rework station, removing a small chip like this is pretty easy.

And here is the replacement soldered back on to my working Dreamcast motherboard...

And... It works! Without a scope, I could really only guess (at least by process of elimination, but still a guess) that the encoder was the issue. So I'm really happy to finally have this issue resolved.
And with everything working, I decided to put it in the new replacement shell that I got. So first, I installed the Noctua fan. I shortened the wire length and spliced on the correct connector along with the necessary 10k resistor.

A thought had a occurred to me after I placed my order for the new shell. I emailed Stone Age Gamer and explained that I plan to paint the shell, so please do not apply the logo decal for me. They replied and said normally they do, but they will make a note to not apply the decal for this order. Good thing I asked LOL. And when the shell came in, they were nice enough to include TWO decals for me. Not sure if that was a mistake or if they were just being helpful, but it WAS very helpful of them to do that.


I kind of like the blue, but there's a few things I don't care for. One, that triangle on the disc lid is white. That just looks weird to me. And two, when the console is powered on, the LED shines through the top triangle but you can also see it through the semi transparent shell. I'm not a huge fan of the way that looks. No matter, since my originally plan was to paint it black anyway. But I figured I might enjoy the blue for a while before committing to black.
But now that I have a mostly working DC, I will Retrobrite the other two shells at my leisure. I still have to also clean my controllers, they are full of grime and may also need Retrobriting.
I may recap the mainboard at some point. I'll probably save that for last, and who knows when I'll get around to it.
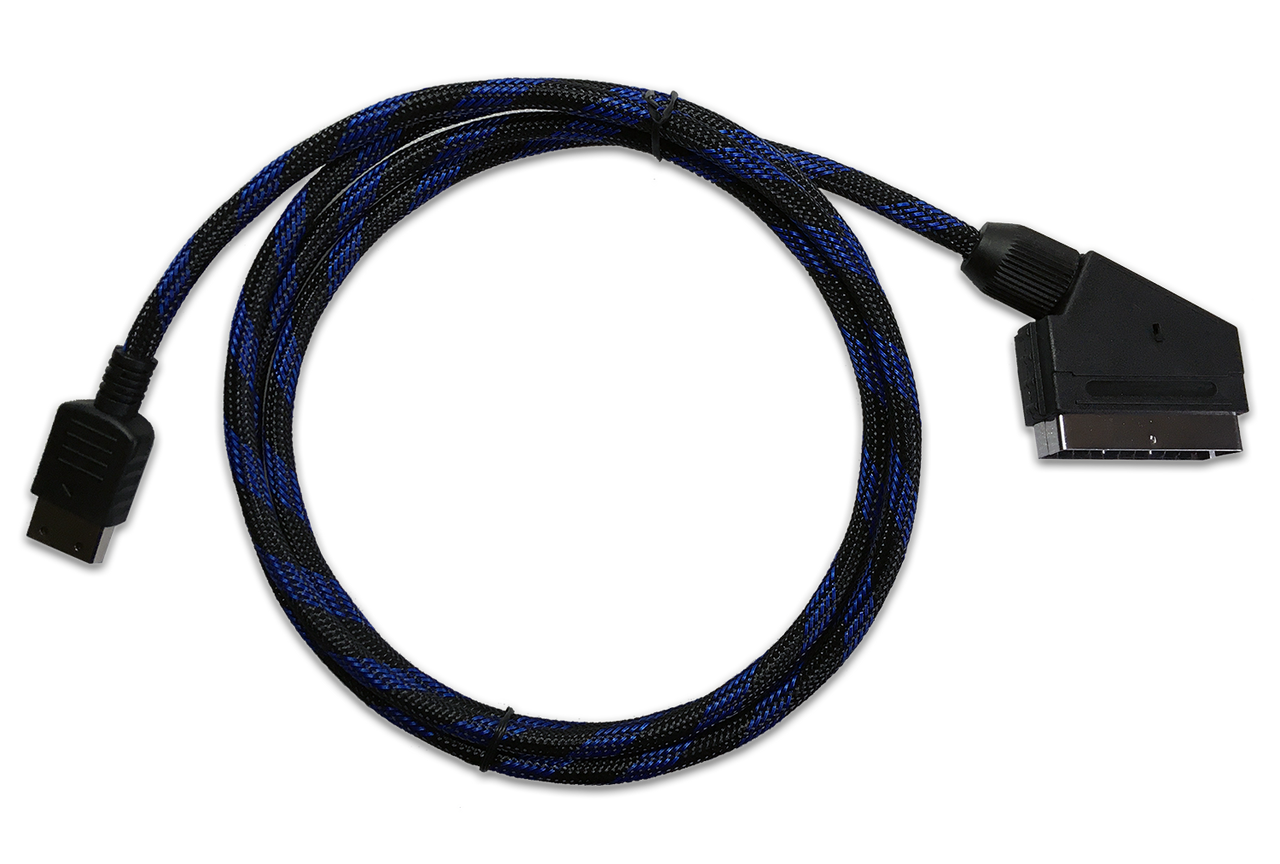
I may want to still mess around with my RGB cable. The dedicated 240p/480i cable that I built, the one that is currently not working for some unknown reason, is using a decent VGA cable. The R, G and B lines are all individually shielded, and then the entire cable is shielded. For my sync combiner 480p cable, I originally used a VGA cable like this. But this was back when I had yet to discover the green channel being busted on the video encoder. So at first I assumed there was something wrong with the cable. I messed around a lot with that cable trying to figure it out, and at some point I took off the VGA cable and installed another SCART cable that is shielded but none of the conductors are individually shielded. It works great though, and the picture on my PVM looks fantastic anyway (there's much less of an issue with this compared to scalers). But I may want to upgrade the cable at some point anyway. It wouldn't be so hard to do so, anyway.