It's ok, no VGA sadly, so the DC is in composite right now. It has 4 component inputs, 2 composite and 1 s-video. Pic is pretty crisp and no dead pixels. Sound is solid. For $20, it was def. worth the upgrade.sevin0seven wrote:how is that Apex CRT TV? looks good from the pics...
mjmjr25's Gameroom - Walkthrough of Lower Level (pics) 2.14
-
mjmjr25
Re: mjmjr25's Updated Game Room & Collection: 6/2/12
-
elmagicochrisg
- Next-Gen
- Posts: 5048
- Joined: Sat Nov 13, 2010 4:18 pm
- Location: In my own little world...
Re: mjmjr25's Updated Game Room & Collection: 6/2/12
I was talking about the shelving. An arcade cabinet is still way too complicated for me...
Thanks for the pointers. And thank God for google...
...
...
...
Kreg pocket hole jig...
...
...
...
So that's how they do it !!!
Interesting stuff...
Thanks for the pointers. And thank God for google...
...
...
...
Kreg pocket hole jig...
...
...
...
So that's how they do it !!!
Interesting stuff...

Dreamcast DUX Limited Edition for sale (new, odorless and sealed)
All forum members are equal. But some are more equal than others. - George Orwell
-
mjmjr25
Re: mjmjr25's Updated Game Room & Collection: 6/2/12
Ok, after last nights questions and questions i've gotten in the past, I took some pics around my house tonight to show different styles of joints, different sizes, styles, and types of wood, and how it can be an excellent blend of both form and function related to our shared gaming hobby.
Everything in my home, save a few things (couches, kitchen cabinets, a couple tables and a couple dressers) is all custom made to fit our home and our style. I'd say well over 90% of these projects can be done by any novice woodworker with just a couple tools. You'll notice in many of my projects, the joinery is simple and the wood is cheap (in fact, I often use nice-looking construction grade lumber).
This is pic heavy, so all will be spoiled. I'll just post pics of things around my house that i've built over the past couple years. I'll comment on a few, but please, by all means, ask any questions you may have. I very much enjoy talking woodworking, particularly when it relates to gaming.
1. Woodshop and main (empty) work station. Space is extremely important, so prepping your area by clearing out larger items (bikes, unused tools, vehicles, etc) is worth the time it takes to do that. This pic here shows a table I built as my main work station, simple lap joints, 2x6 lumber, and a piece of plywood. I do 99% of my projects on this table:
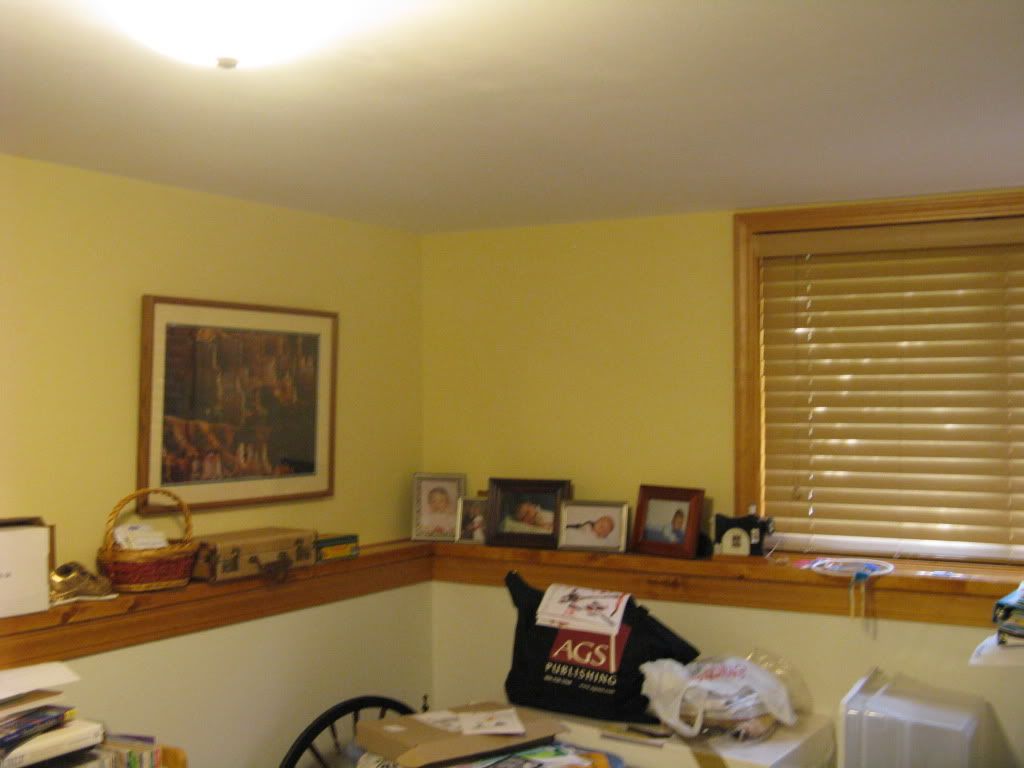
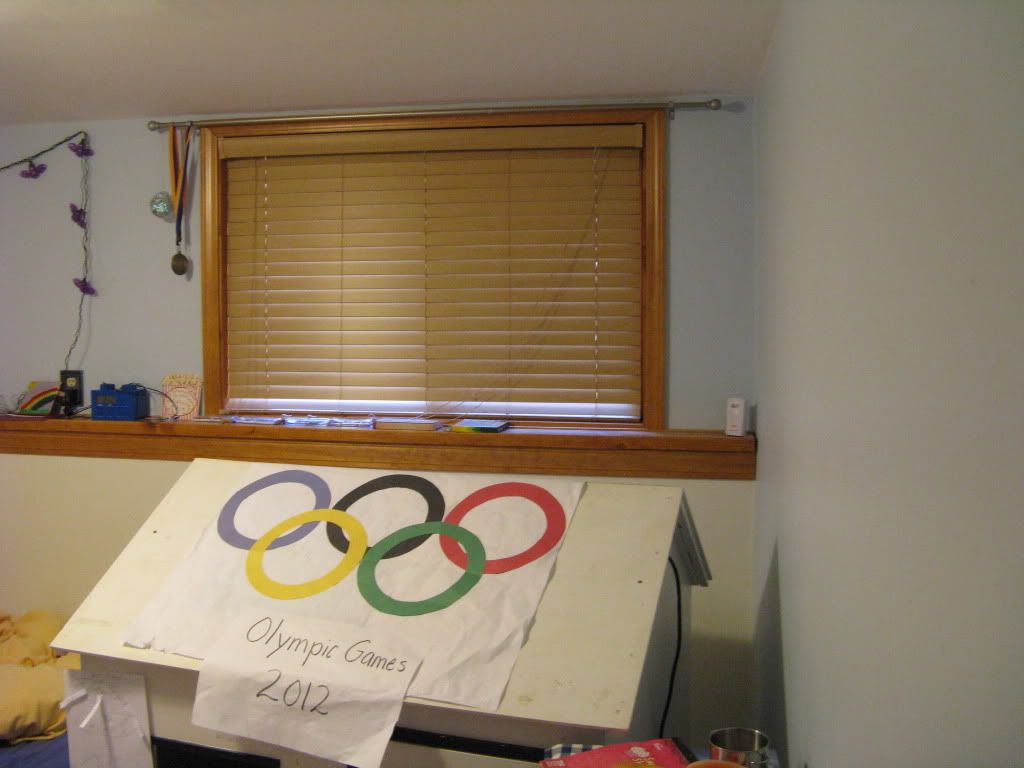
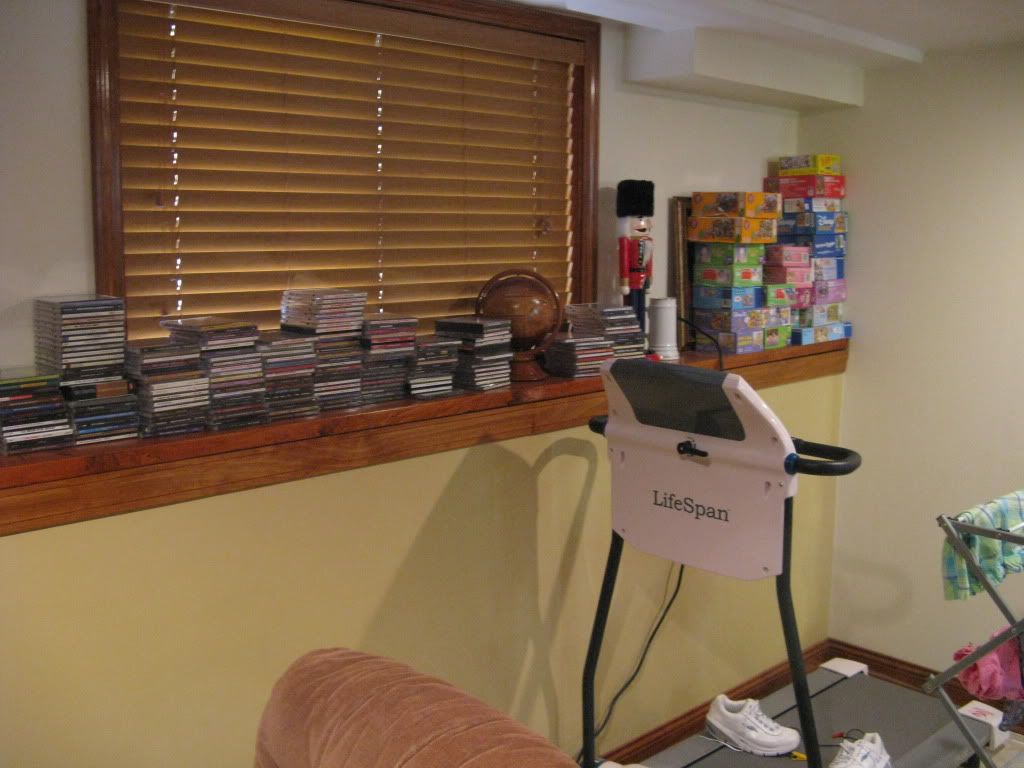
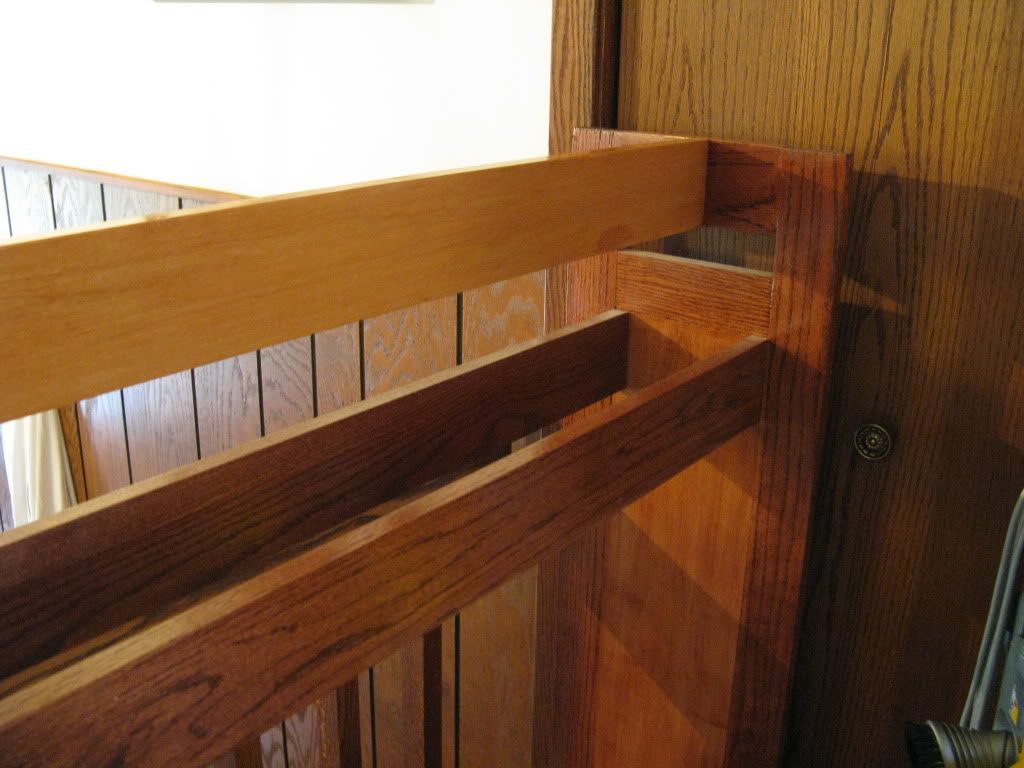
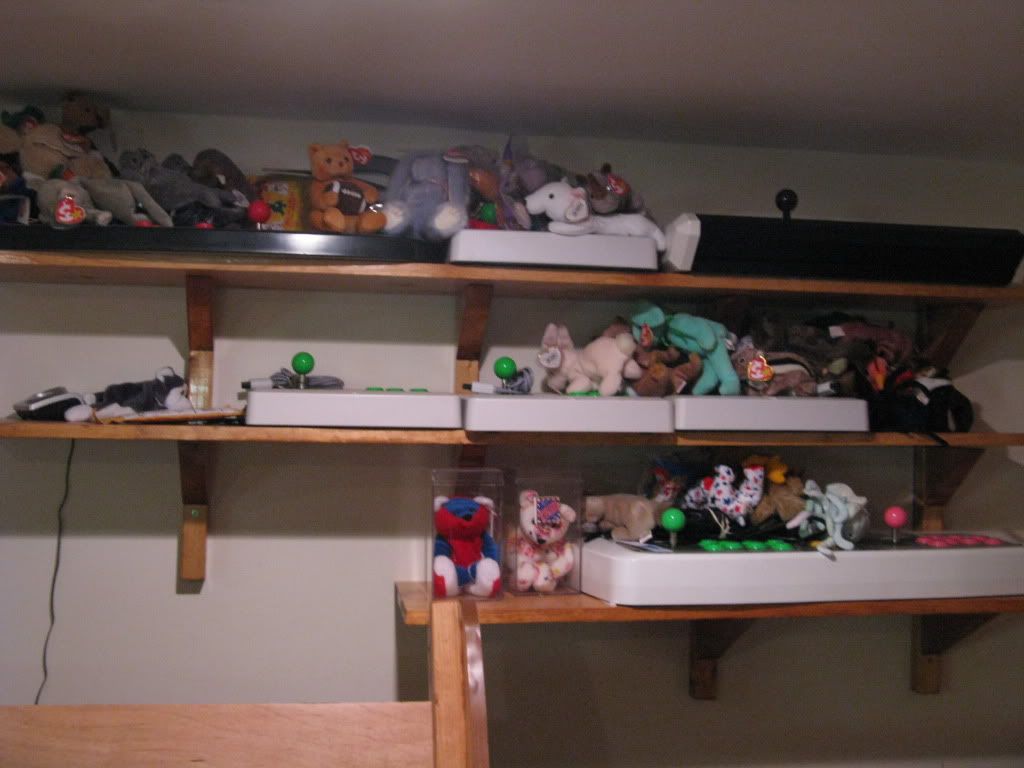
2. Our home is a split level, as such our downstairs is concrete block walls. To combat ugly concrete block, we put up half walls around the entire downstairs, they not only provide insulation, a place to conceal electric work (heaters, etc), cover up the ugly block, but also serve as a convenient shelf. Being custom walls, we are able to place barriers and areas for blocked off shelving. We also trimmed out all windows and doors to our needs.
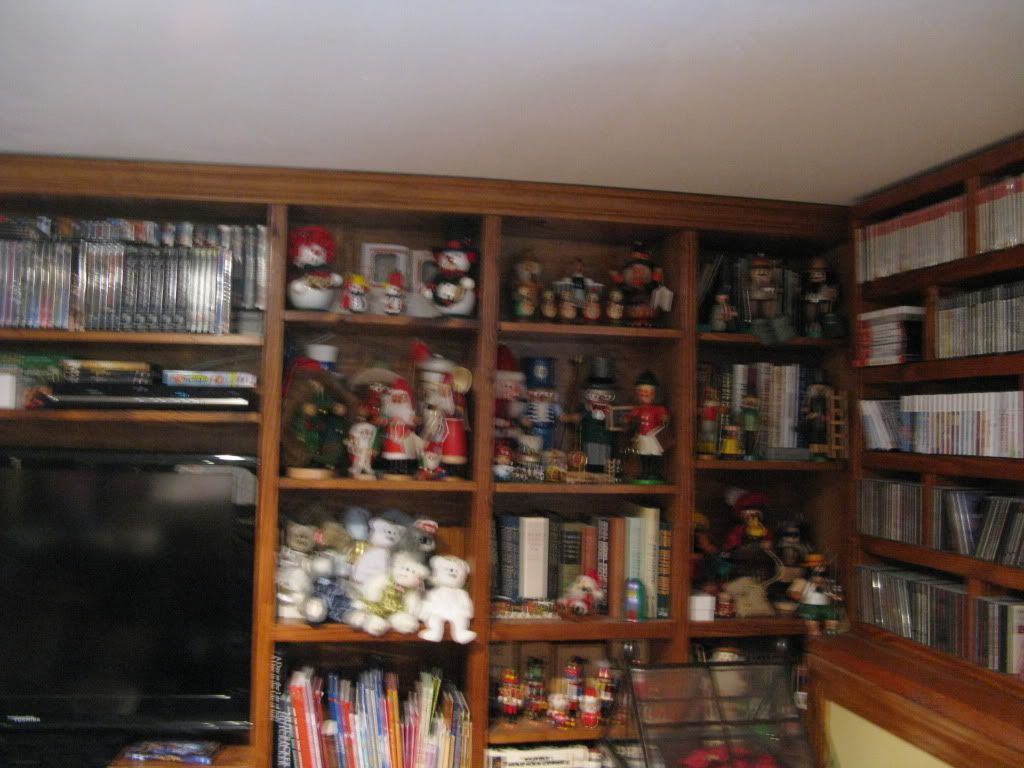
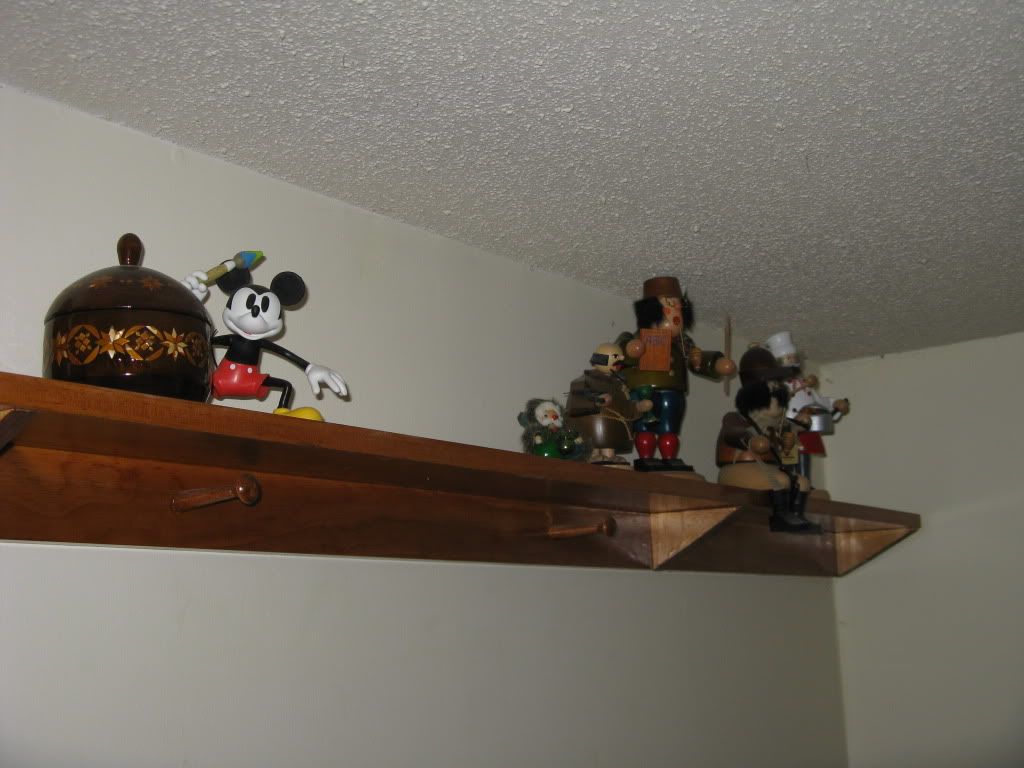
3. Family Room, all long rails and some support shelves are simple construction lumber, sanded and stained to look like quality woodwork. Cove moulding is the most skilled piece in the room, the rest is just a lot pre-work and measurements of what the ultimate goal is.
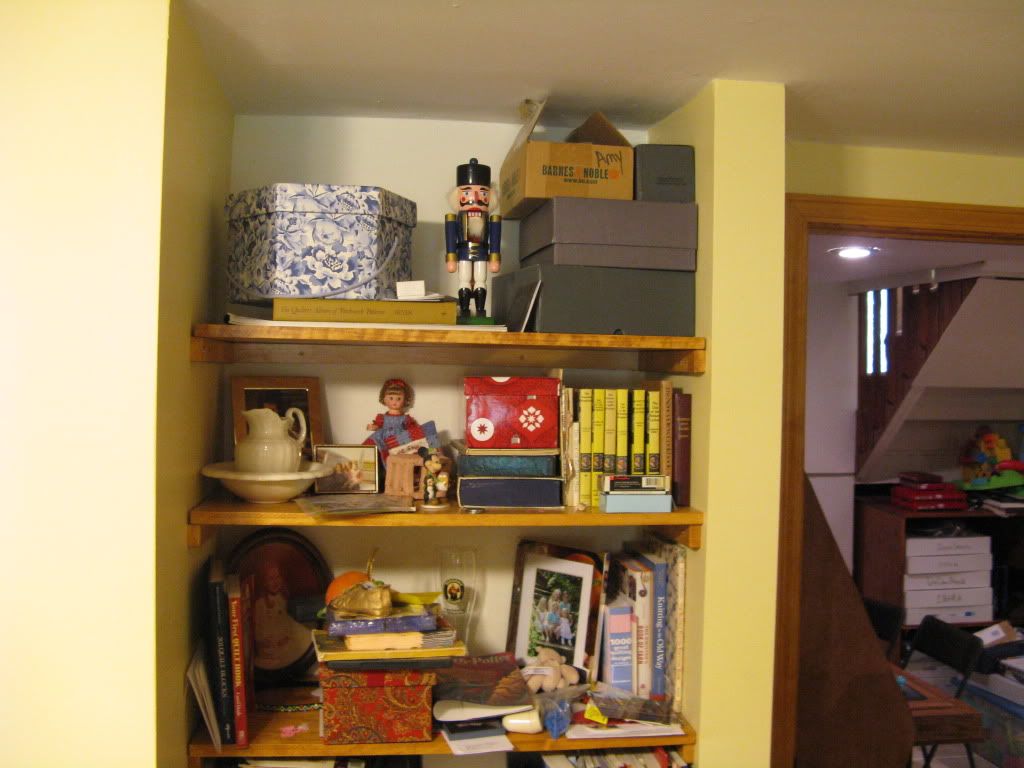
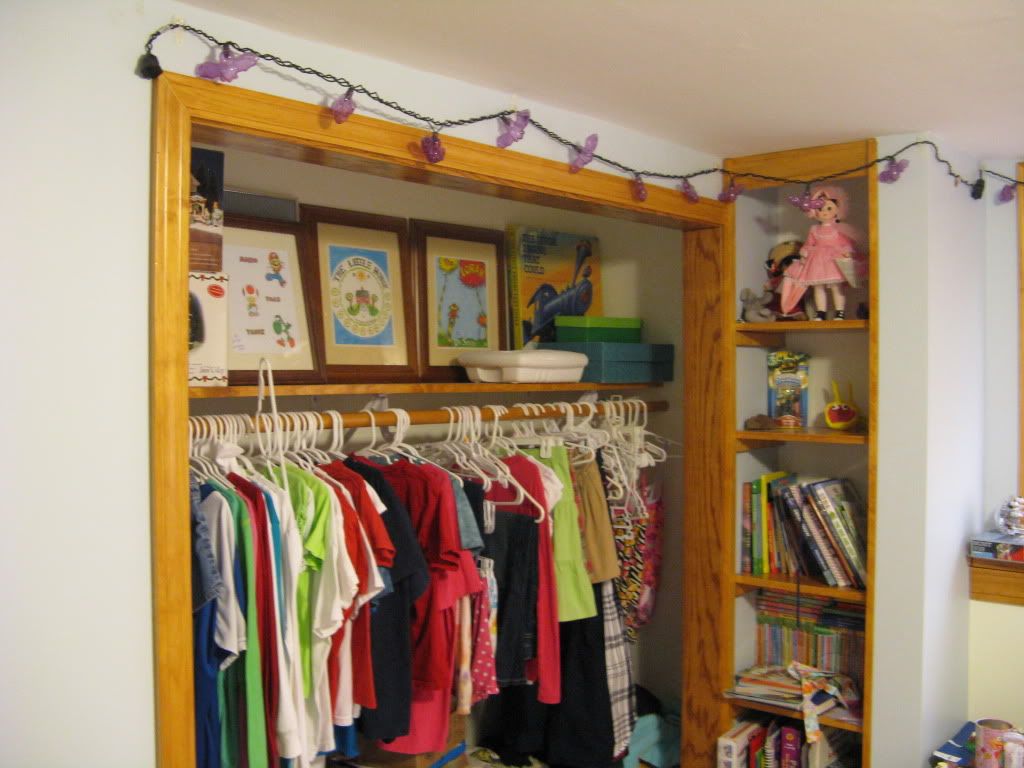
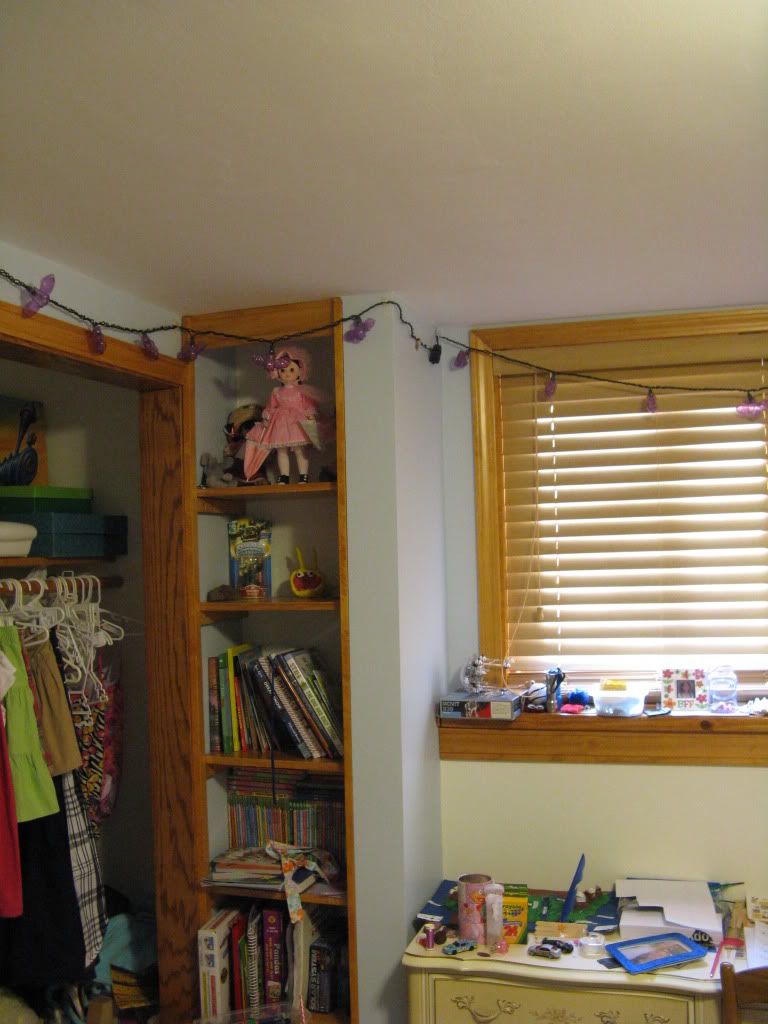
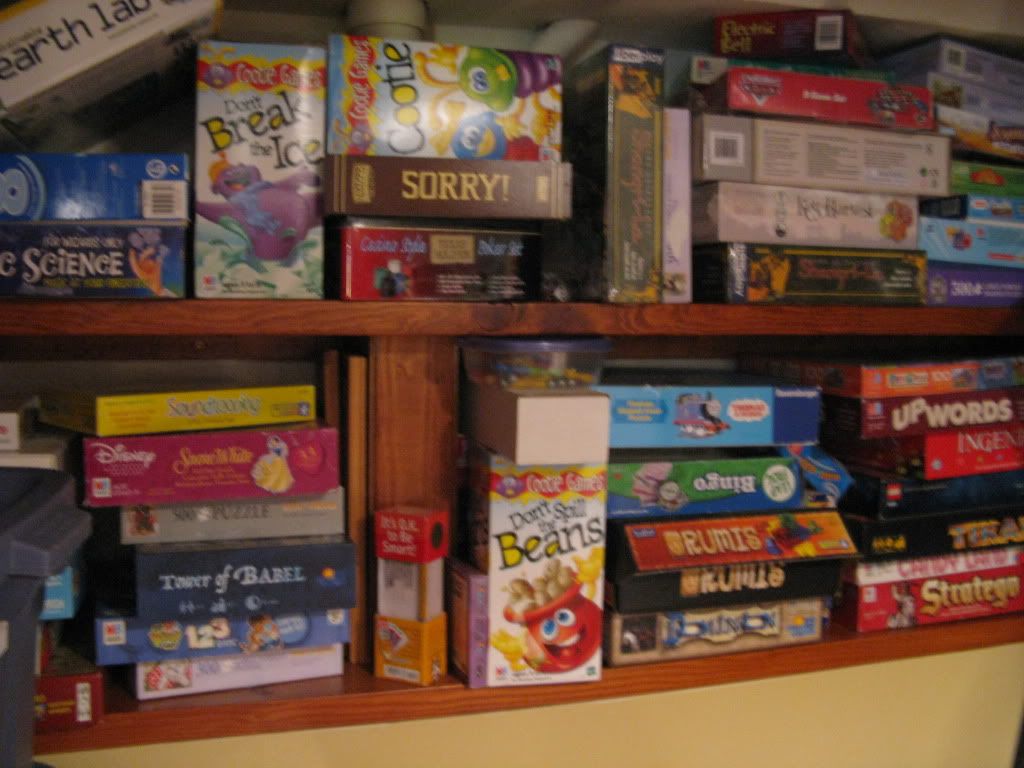
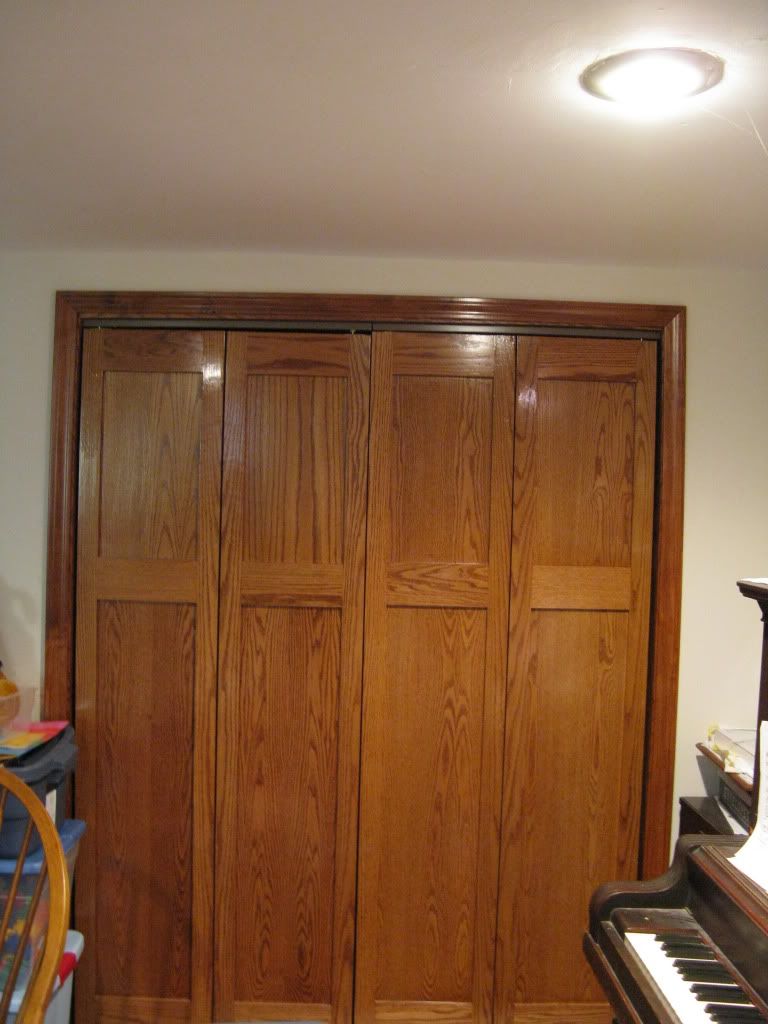
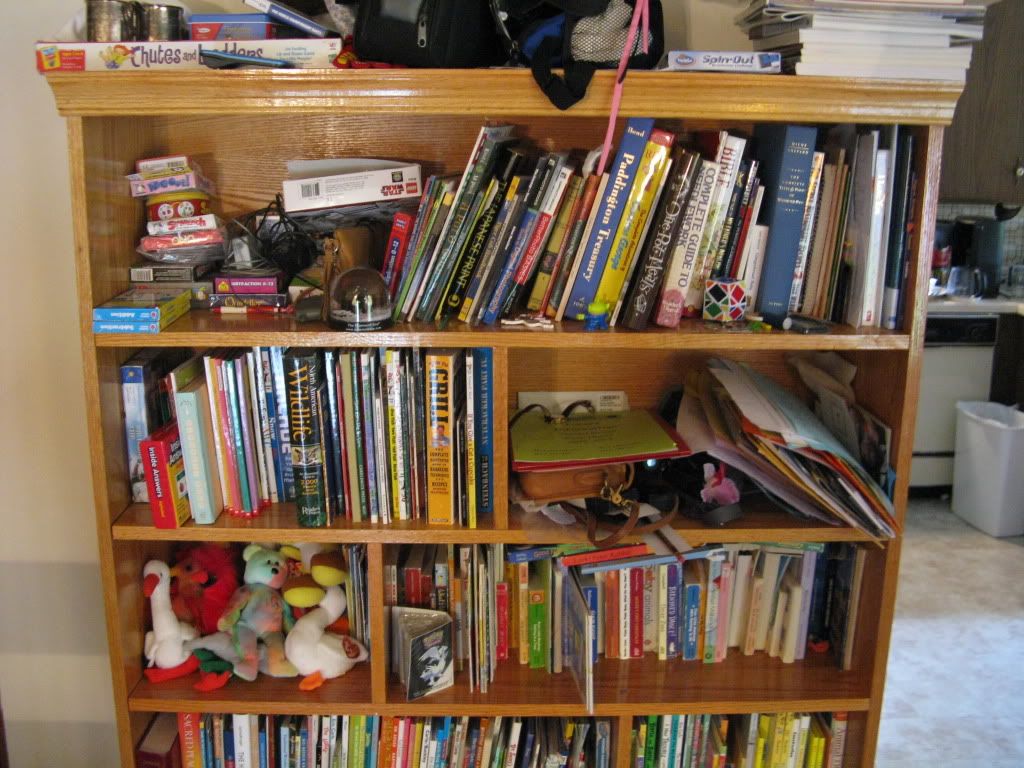
4. Downstairs closet, this orginally was some open water pipes, we framed around them, put up an extended halfwall that covered a large water pipe into the floor as well as covering up the concrete block, then some construction lumber serves as board game shelving. Doors are custom Mission-style, incredibly easy, one flat oak plywood board, and some 1/2" stock oak panels, cut and glued to frame up, installing the track is a bit of a pain, but doable for anyone:
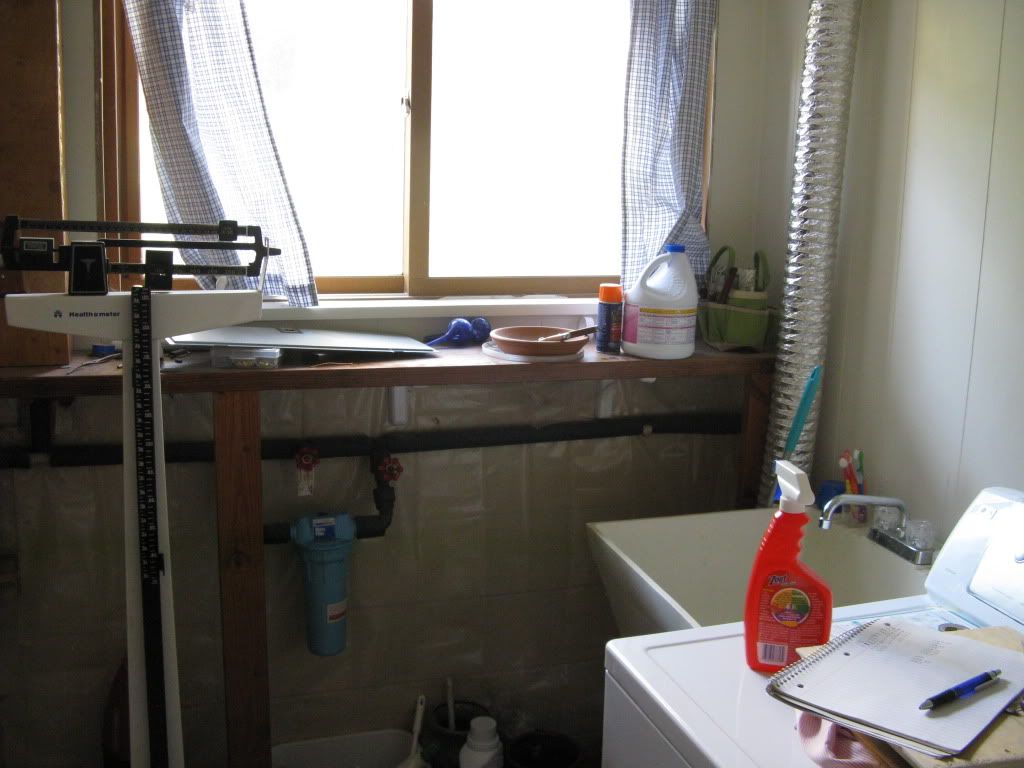
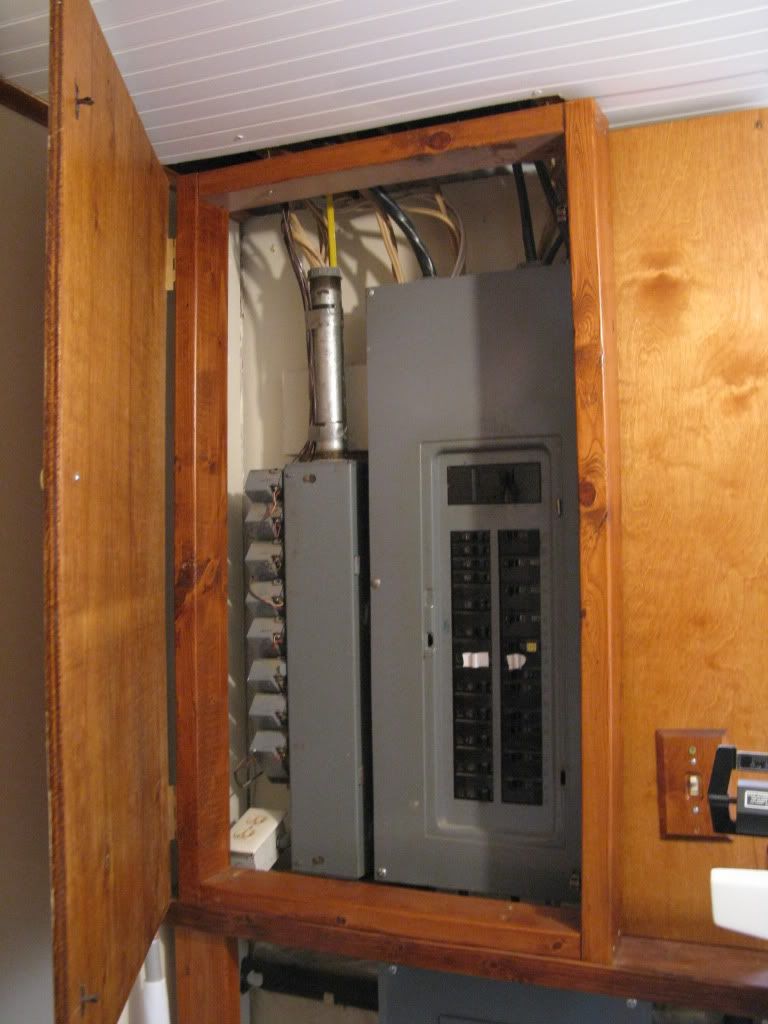
5. Laundry Room, same idea, just make all space functional, just by switching up the tile and building a doorway frame (w/o a door) makes it feel like a separate area. Then some construction lumber and a vapor barrier make for some functional laundry room storage. A piece of plywood and a couple stained 2x4's help cover up an electric box:
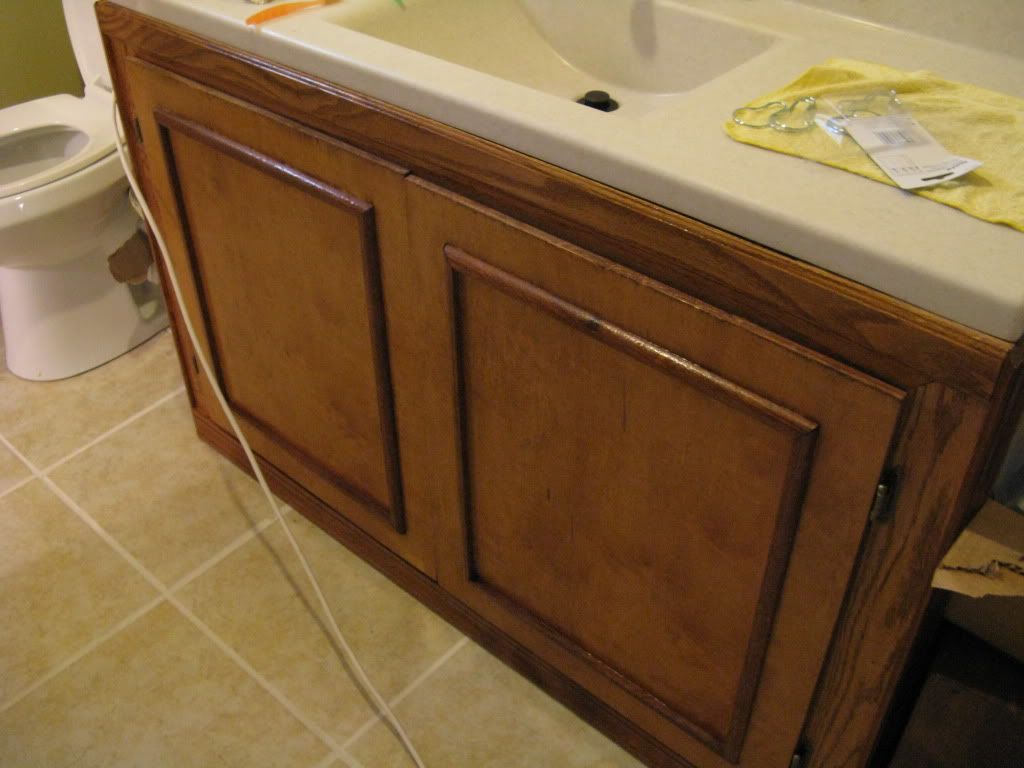
6. Making the most of a bathroom, i'll have to make a video at some point, but this is actually a downstairs bathroom, that I was able to convert into a functional gameroom / game closet (all issues of moisture taken into full consideration). Entire room is custom - vanity, shower, all shelving, etc:
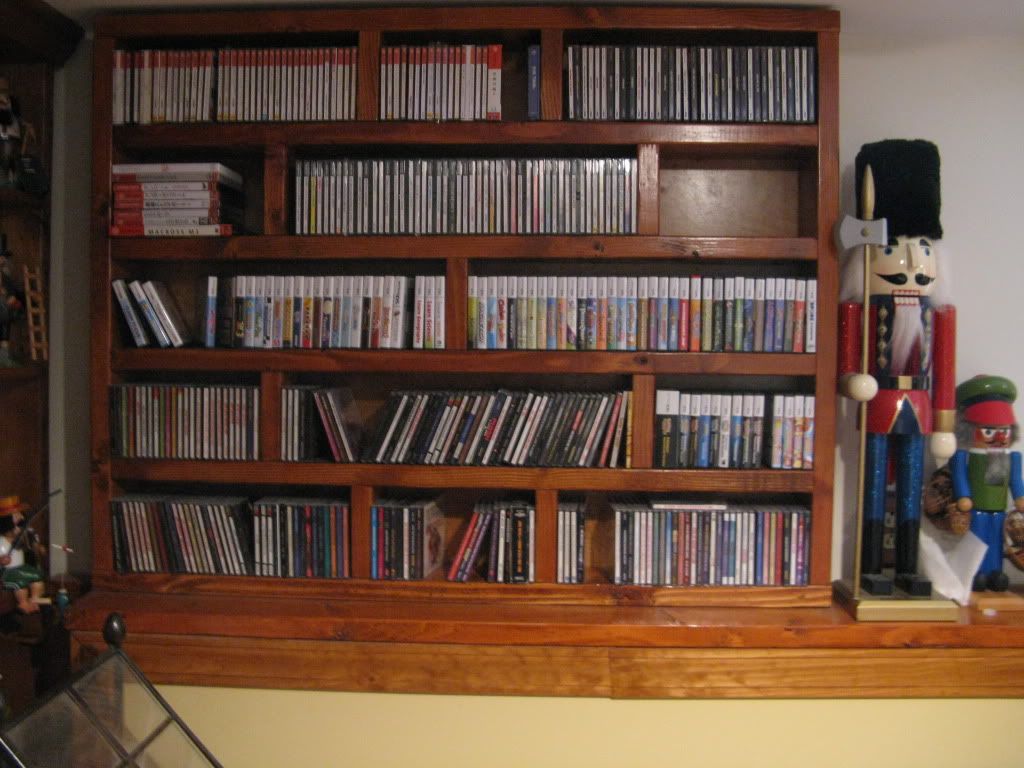
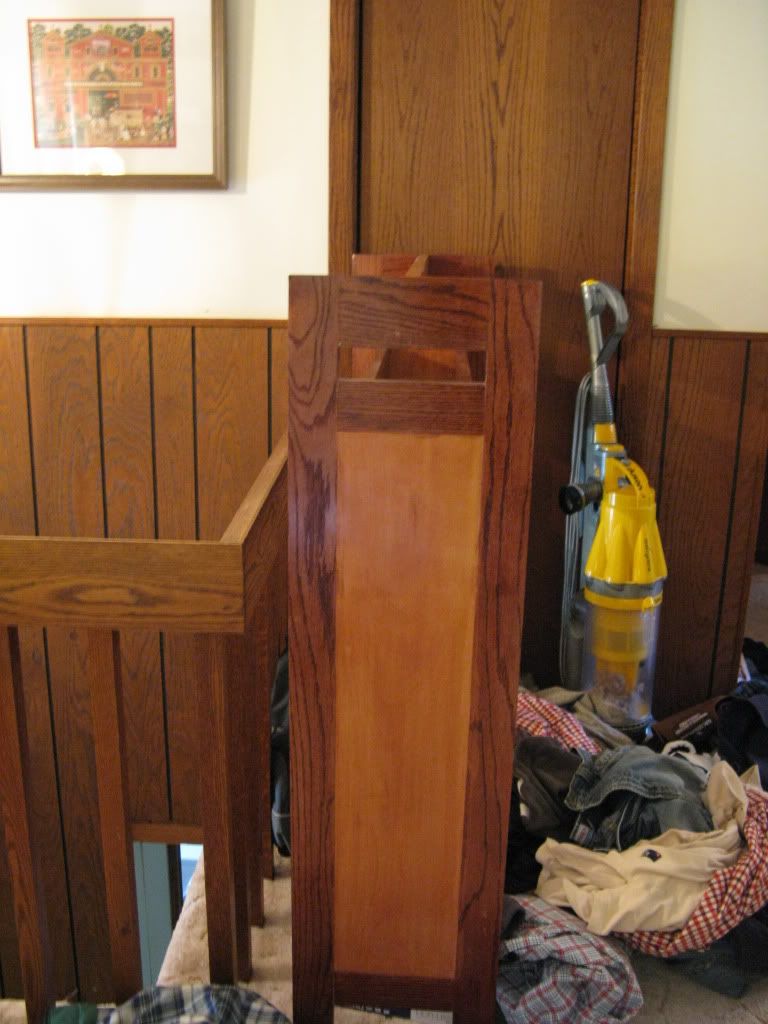
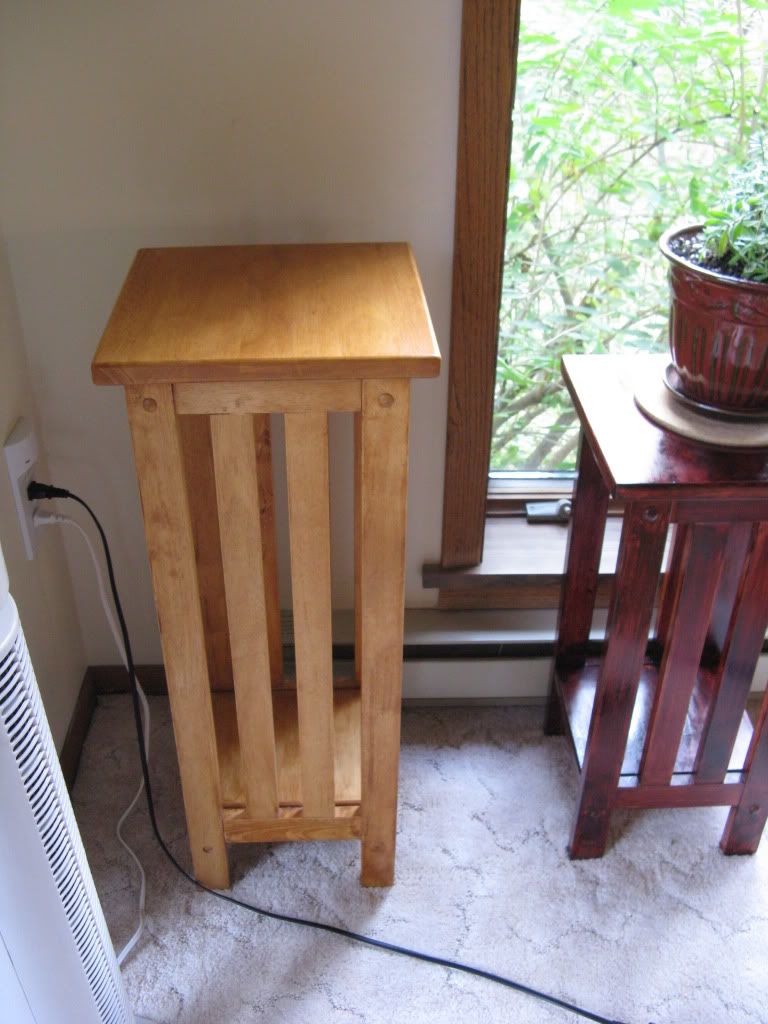
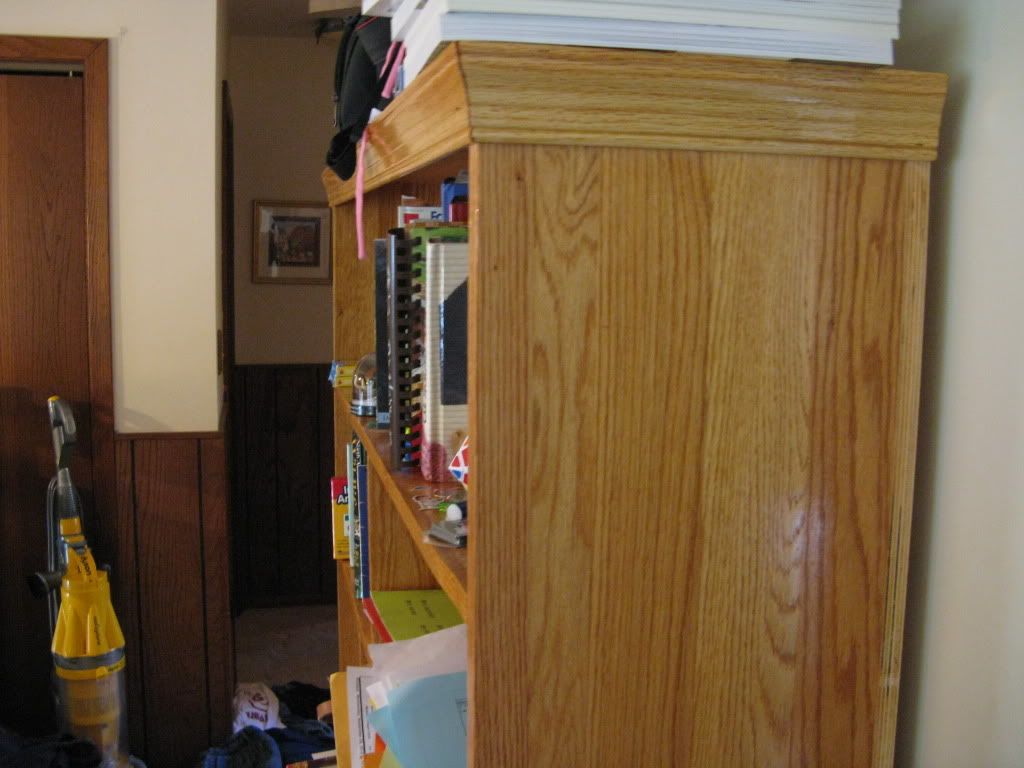
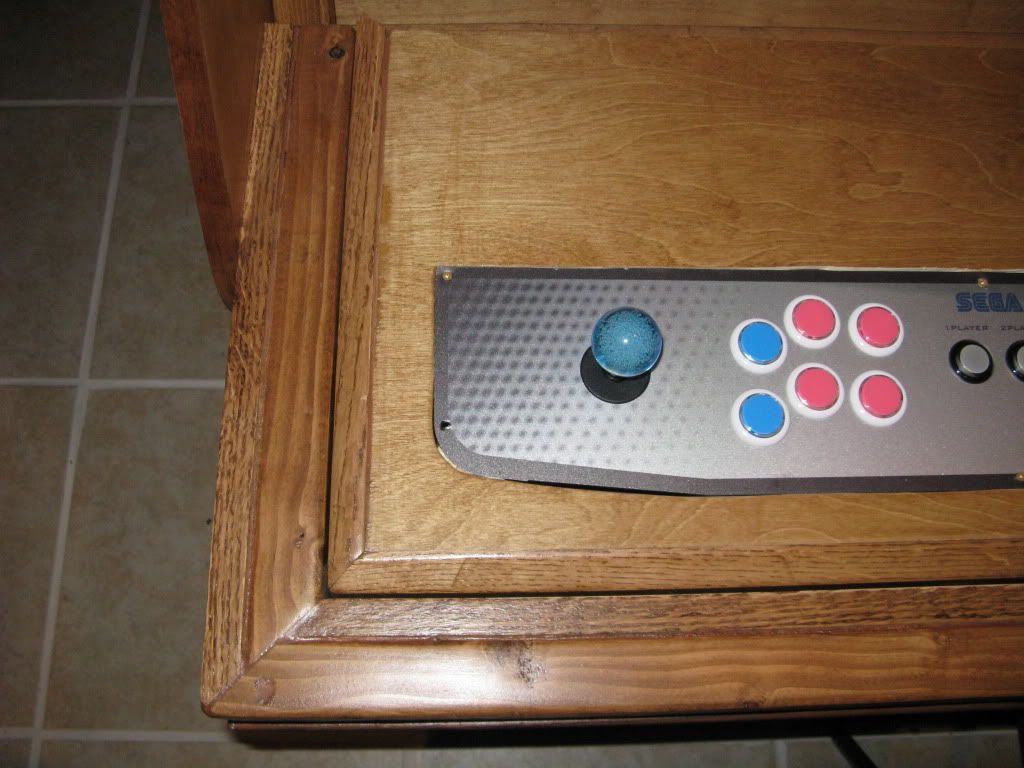
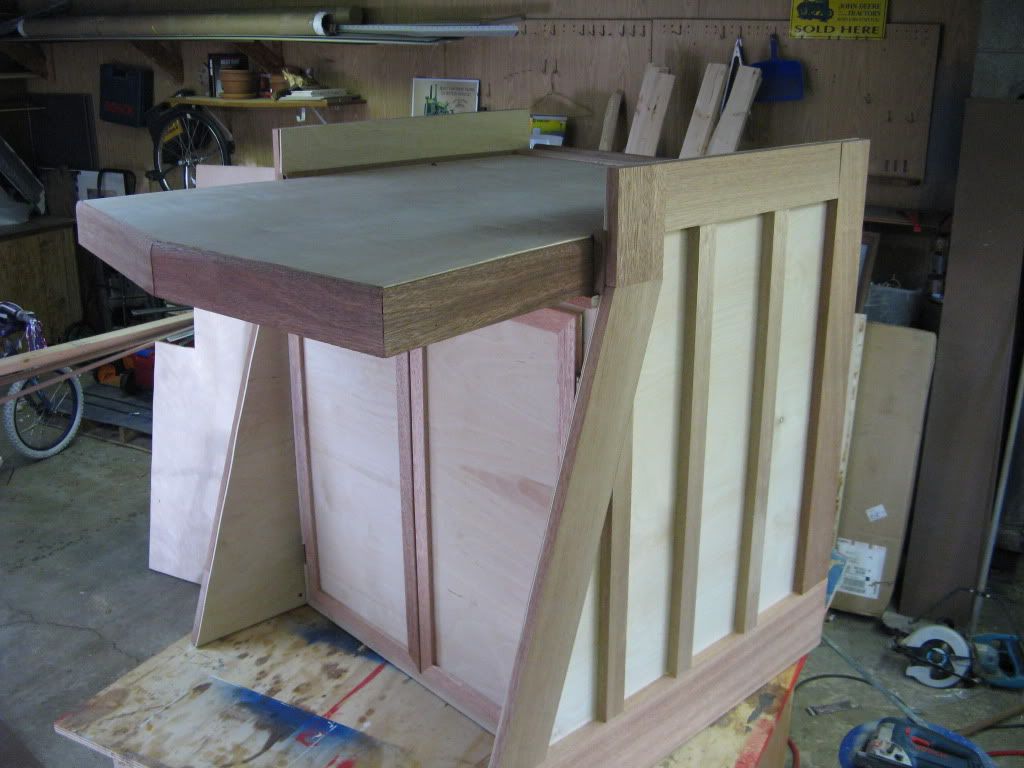
7. Some random things i've built, take note of different woods, trimwork, joinery, and inlay - please ask any questions you may have:
Everything in my home, save a few things (couches, kitchen cabinets, a couple tables and a couple dressers) is all custom made to fit our home and our style. I'd say well over 90% of these projects can be done by any novice woodworker with just a couple tools. You'll notice in many of my projects, the joinery is simple and the wood is cheap (in fact, I often use nice-looking construction grade lumber).
This is pic heavy, so all will be spoiled. I'll just post pics of things around my house that i've built over the past couple years. I'll comment on a few, but please, by all means, ask any questions you may have. I very much enjoy talking woodworking, particularly when it relates to gaming.
1. Woodshop and main (empty) work station. Space is extremely important, so prepping your area by clearing out larger items (bikes, unused tools, vehicles, etc) is worth the time it takes to do that. This pic here shows a table I built as my main work station, simple lap joints, 2x6 lumber, and a piece of plywood. I do 99% of my projects on this table:


-
fastbilly1
- Site Admin
- Posts: 13775
- Joined: Tue Apr 17, 2007 7:08 pm
Re: mjmjr25's Gameroom, let's talk wood, new pics in last po
Not good enough double it.
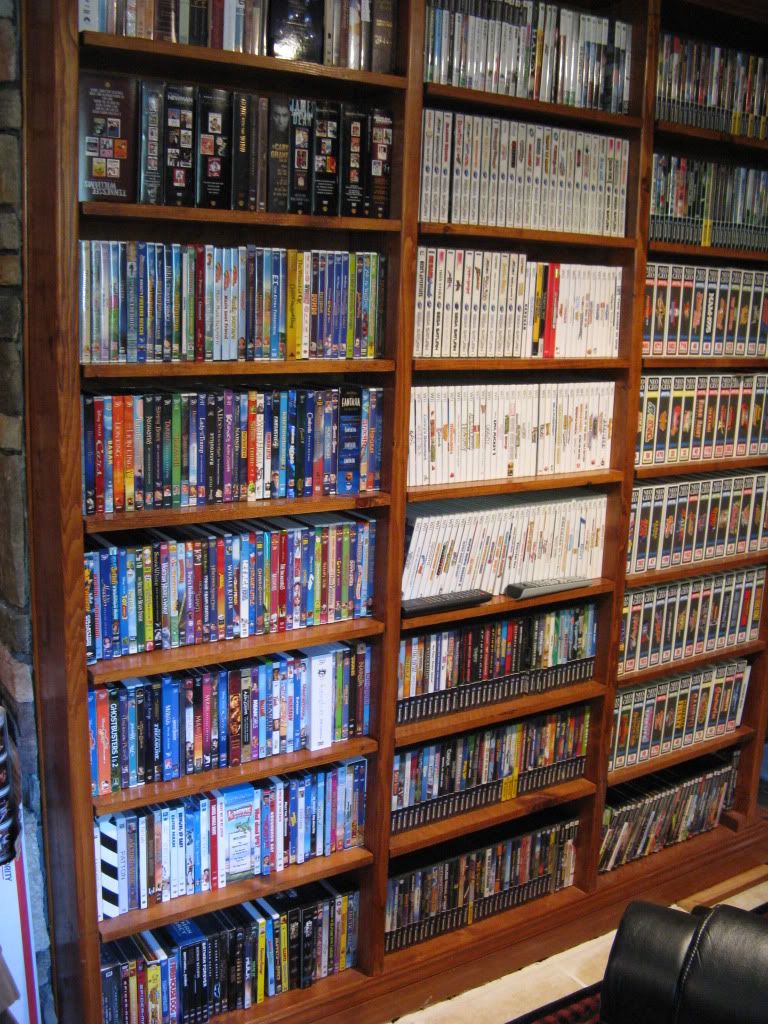
I am really impressed by your dvd shelves. How did you attach them to the wall? Just anchor bolts or is it more permanent?
I am really impressed by your dvd shelves. How did you attach them to the wall? Just anchor bolts or is it more permanent?
-
mjmjr25
Re: mjmjr25's Gameroom, let's talk wood, new pics in last po
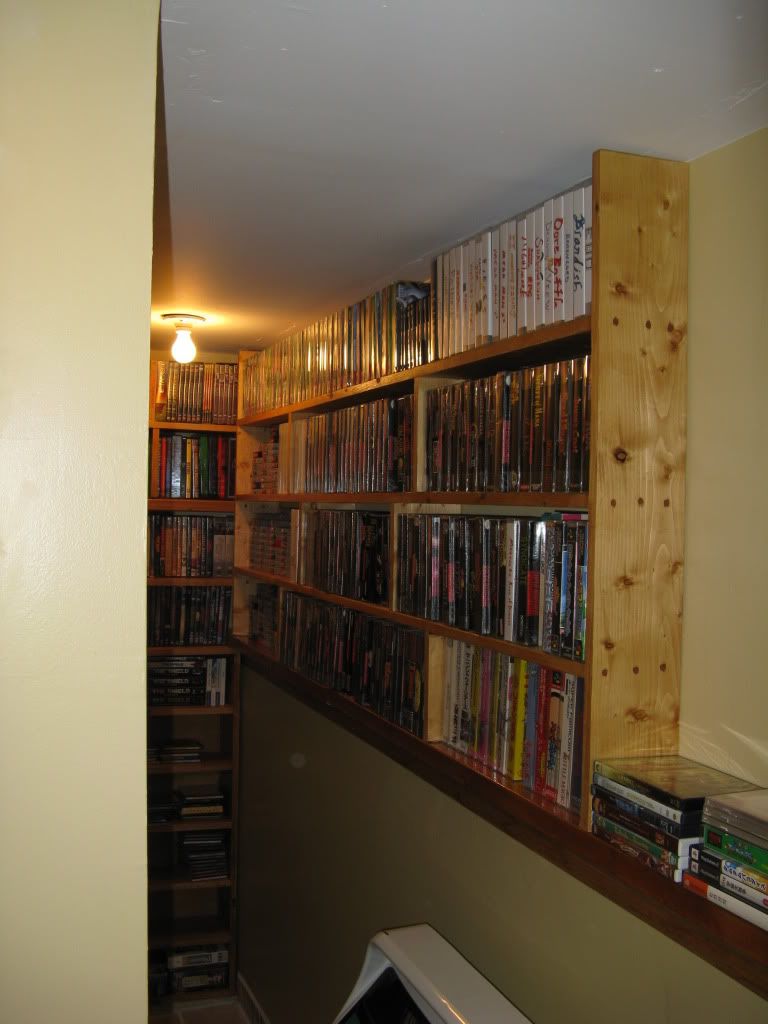
The DVD shelves (and that entire built-in area) were done after we did the ceiling, but before we did everything else (walls, flooring, etc). That wall it is on wasn't a wall before, but rather the guts of a wall where the downstairs plumping, and a steel beam support lined up. We put some treated 2x4's anchored to the ground around the steel beam and the plumbing, and framed it out. Drywall on the bathroom side and just a 12 mil vapor barrier on the other side. Then the unit was designed, we placed treated 2x4's on end (so the long end is facing up) and anchored a kick-base to the concrete floor. The unit was then built in (3) sections on the open floor area and installed into it's place on the kickbases. Each unit has a 1/2" plywood back, the 2x10" stiles are attached by 6" screws from behind, then each unit (all 3) is placed onto the kick-base and anchored to the newly framed studs in the "wall" (again, just studs and vapor barrier, no drywall). So, from the front of the unit, it is attached with 2.5" screws from multiple positions. Those screws are all covered by the individual 3/4" pine shelving boards which are what the dvd's rest on. Those are all on pin holders (so, adustable). It is attached with bolts on the top and bottom for greater strength, those are all flush mounted bolts, so able to cover them with the base and cove trim moulding.fastbilly1 wrote:I am really impressed by your dvd shelves. How did you attach them to the wall? Just anchor bolts or is it more permanent?
-
AznKhmerBoi

- Next-Gen
- Posts: 2574
- Joined: Sun Jan 31, 2010 11:04 am
- Location: Pennsylvania
Re: mjmjr25's Gameroom, let's talk wood, new pics in last po
so jealous rigght now
PSN- jacktsang05
WiiU- jacktsang05

WiiU- jacktsang05
Re: mjmjr25's Gameroom, let's talk wood, new pics in last po
Do you have any websites that you would consider good resources for woodworking? I'm moving into my first house soon and have some pretty big plans! I need to break myself into woodworking slowly though and any good resources would be helpful.
-
mjmjr25
Re: mjmjr25's Gameroom, let's talk wood, new pics in last po
No websites I frequent, but there are plenty of forums out there.
Taunton's "Build Like a Pro" series is a great set of books. They have a book for just about every project. Written for the laymen with lots of pictures and written in the right order, meaning, the style of writing flows like you'd want your project to flow.
Plan this
Buy these tools (or rent, borrow)
Buy these supplies
Prep this
Do this first
Now plan this part - etc, extremely helpful and you don't have to be a pro.
The books are so good, I can't hype them enough. Again, they have a book for just about every type of project, no matter how big or small. Books are usually $10-15, such a good investment. Link: http://www.amazon.com/s/ref=sr_nr_seeal ... 1348891119
As you advance, (there are many many books out there) but as you advance i'd recommend, "The Complete Illustrated Guide to..." series. The books are hardcover and look great on the shelf, as well as having great information and pictures. These books will assume you have a dedicated workshop though and more "rarely used" or very "defined use" tools like dovetail jig tables, planers, or biscuit joiners - which for the most part are pricey and rarely used tools. This is my favorite in the series:

Re: mjmjr25's Gameroom, let's talk wood, new pics in last po
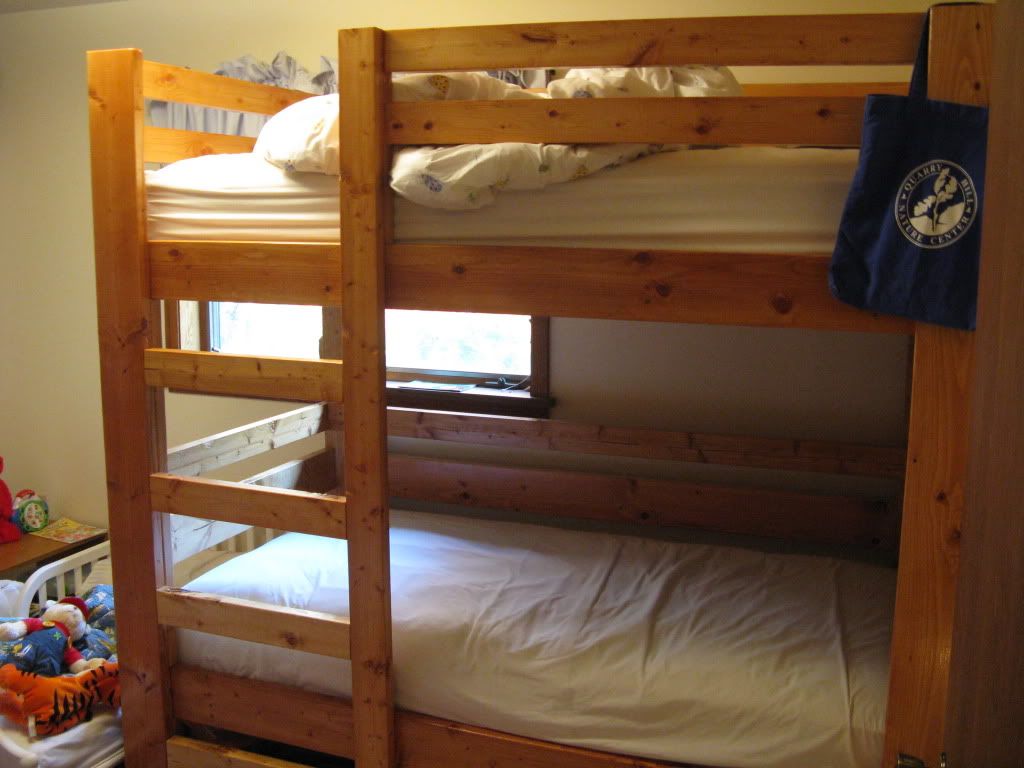
If you added some shelves to those bunk beds you could fit twice as many kids in there.
-
elmagicochrisg
- Next-Gen
- Posts: 5048
- Joined: Sat Nov 13, 2010 4:18 pm
- Location: In my own little world...
Re: mjmjr25's Gameroom, let's talk wood, new pics in last po
Jrecee wrote:If you added some shelves to those bunk beds you could fit twice as many kids in there.

Dreamcast DUX Limited Edition for sale (new, odorless and sealed)
All forum members are equal. But some are more equal than others. - George Orwell