http://www.youtube.com/user/cndowning1082?feature=mhee
As mentioned before, this was just supposed to be a re-casing project and it turned into nearly a full fledged fresh portable. But everything was updated and really the only thing I didn't do was open up a new Sega Genesis 3 and take it apart. I gotta say I'm pretty happy with this one as it's by far the strongest and most functional portable I've made, from the inside out. Granted yes, the one big flaw it has is that there is a 1mm gap between the two case halves as I just could not get it to close up all the way evenly, but it's still a nice looking system.
*Start Original Post*
As mentioned before, I've most likely sold my Nimbus II portable. This puts me one step closer to getting my CNC router. With that said, I also wanted to sell my GeneBoy, however as it got played, the finish and functionality decreased by a lot. So the idea was to re-case the system and make some improvements.
Well you know what happens when that idea hits, basically I'm redoing the whole damn thing now, in a new vacuum formed casing and completely new arrangement.
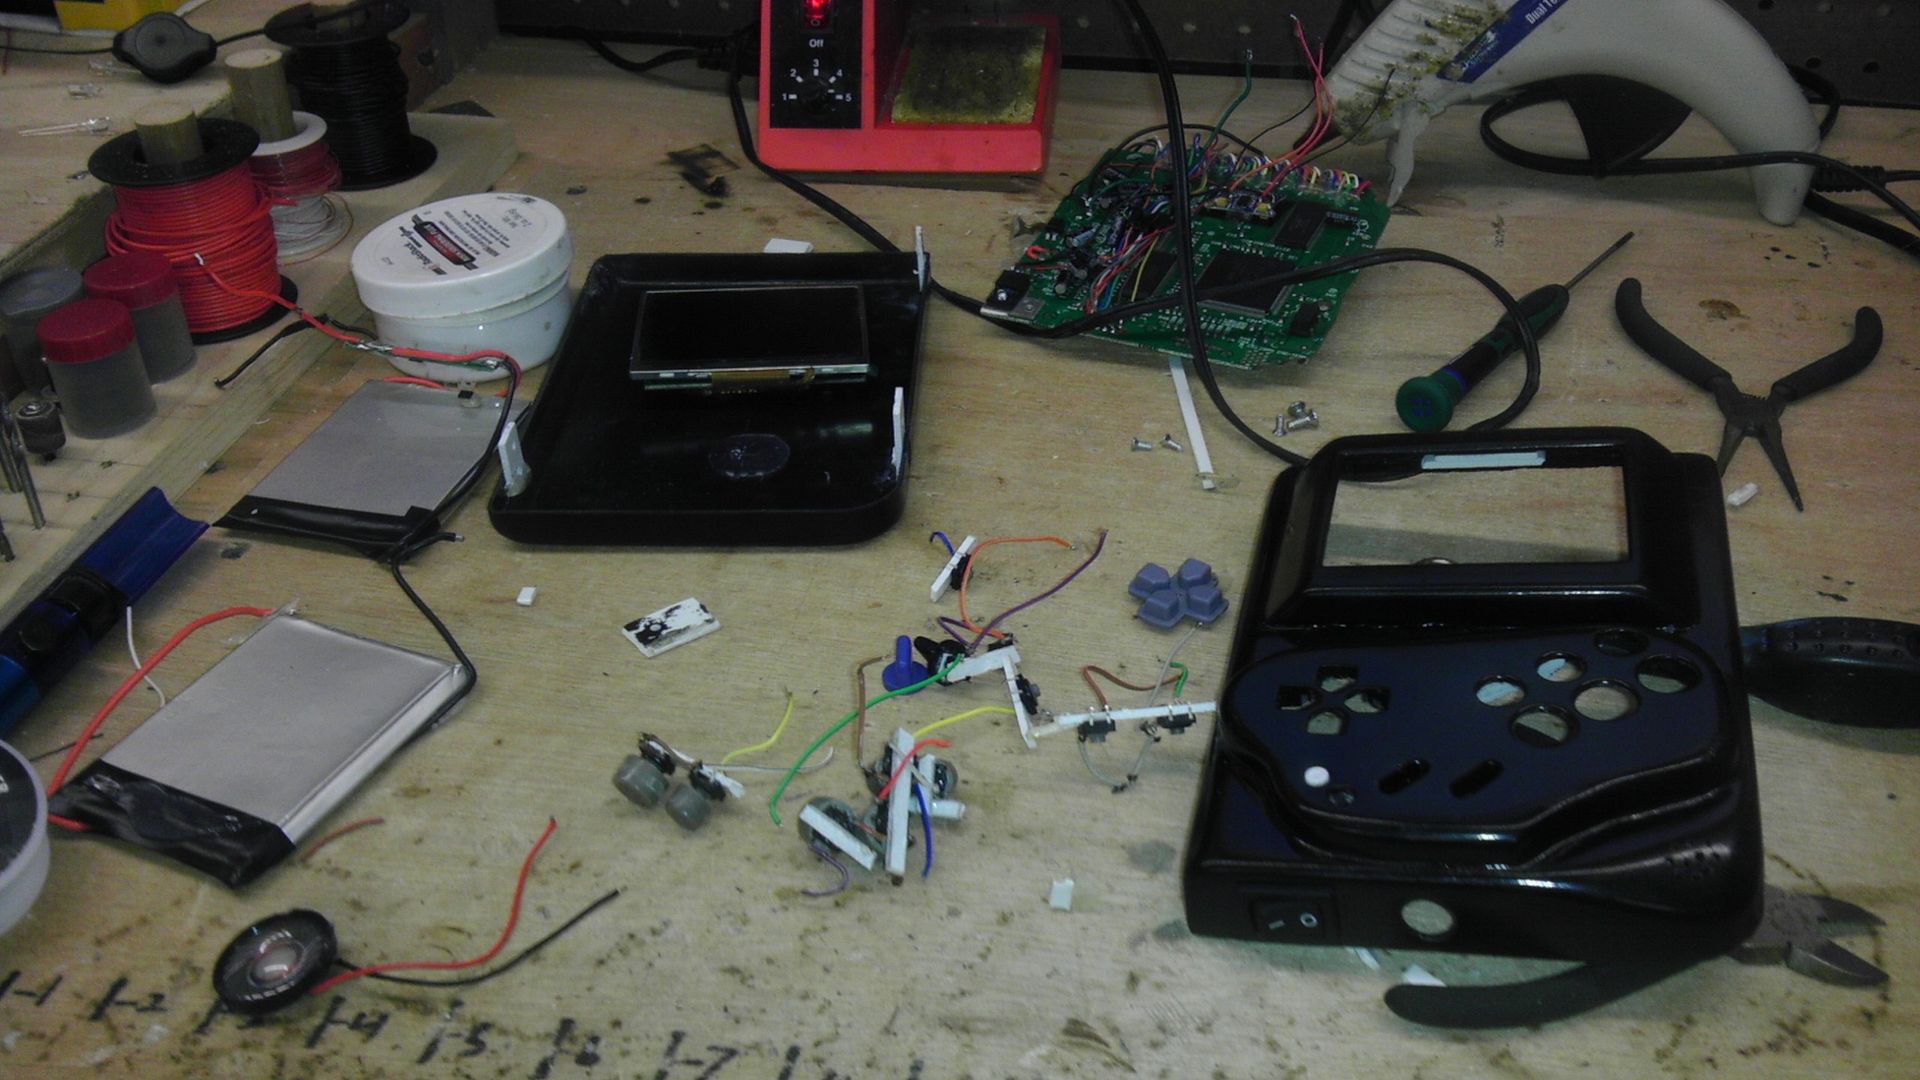
All that remains of the original GeneBoy!
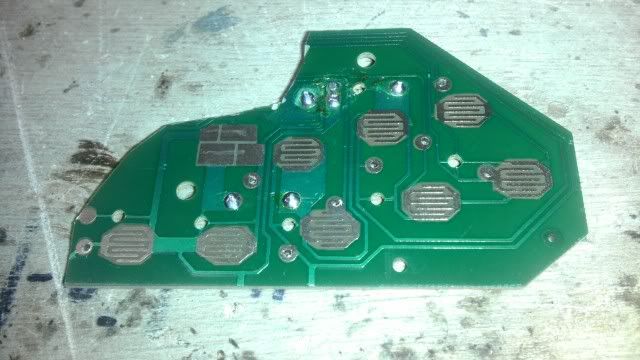
I decided that instead of tact switches for the D-Pad (which I hate) I wanted to go with original game cube d-pad and use the PCB/Frankencase method. This however was a bit different than using the NES D-pad and the pad pole was in just the wrong spot so I had to drill a hole through the PCB to mount it properly. Of course that made an issue as I drilled right through the traces I was going to use. So I did a bit of thinking and figured, as long as the intrusion is minimal, the pads on the D-pad should still make a connection as intended. So, I drilled a tiny #54 drill hole through the signal side of the pad, put in a wire, filled the hole with solder and chopped the top off making it as smooth as possible. This allowed the wires to go out the back and stay cleanly out of the way of the pads.
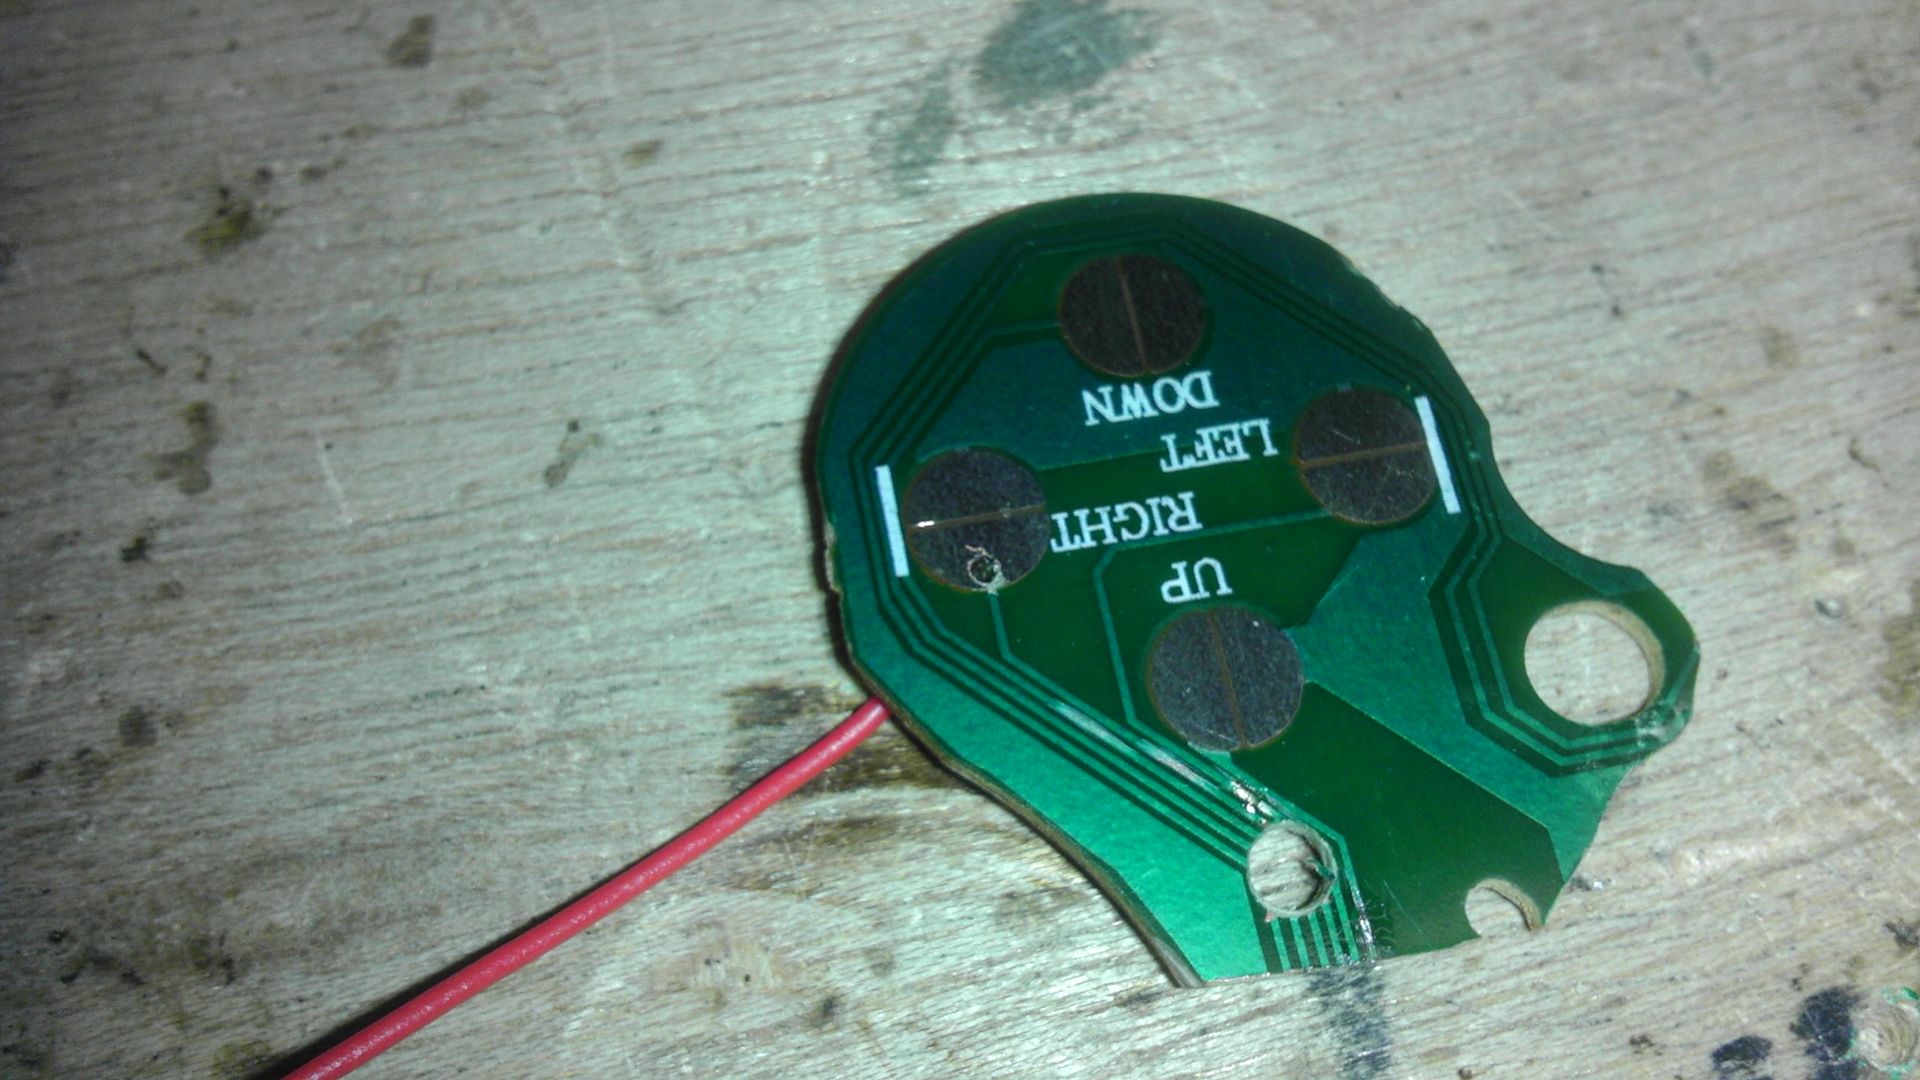
Not quite perfect, but in testing the pads worked wonderfully.
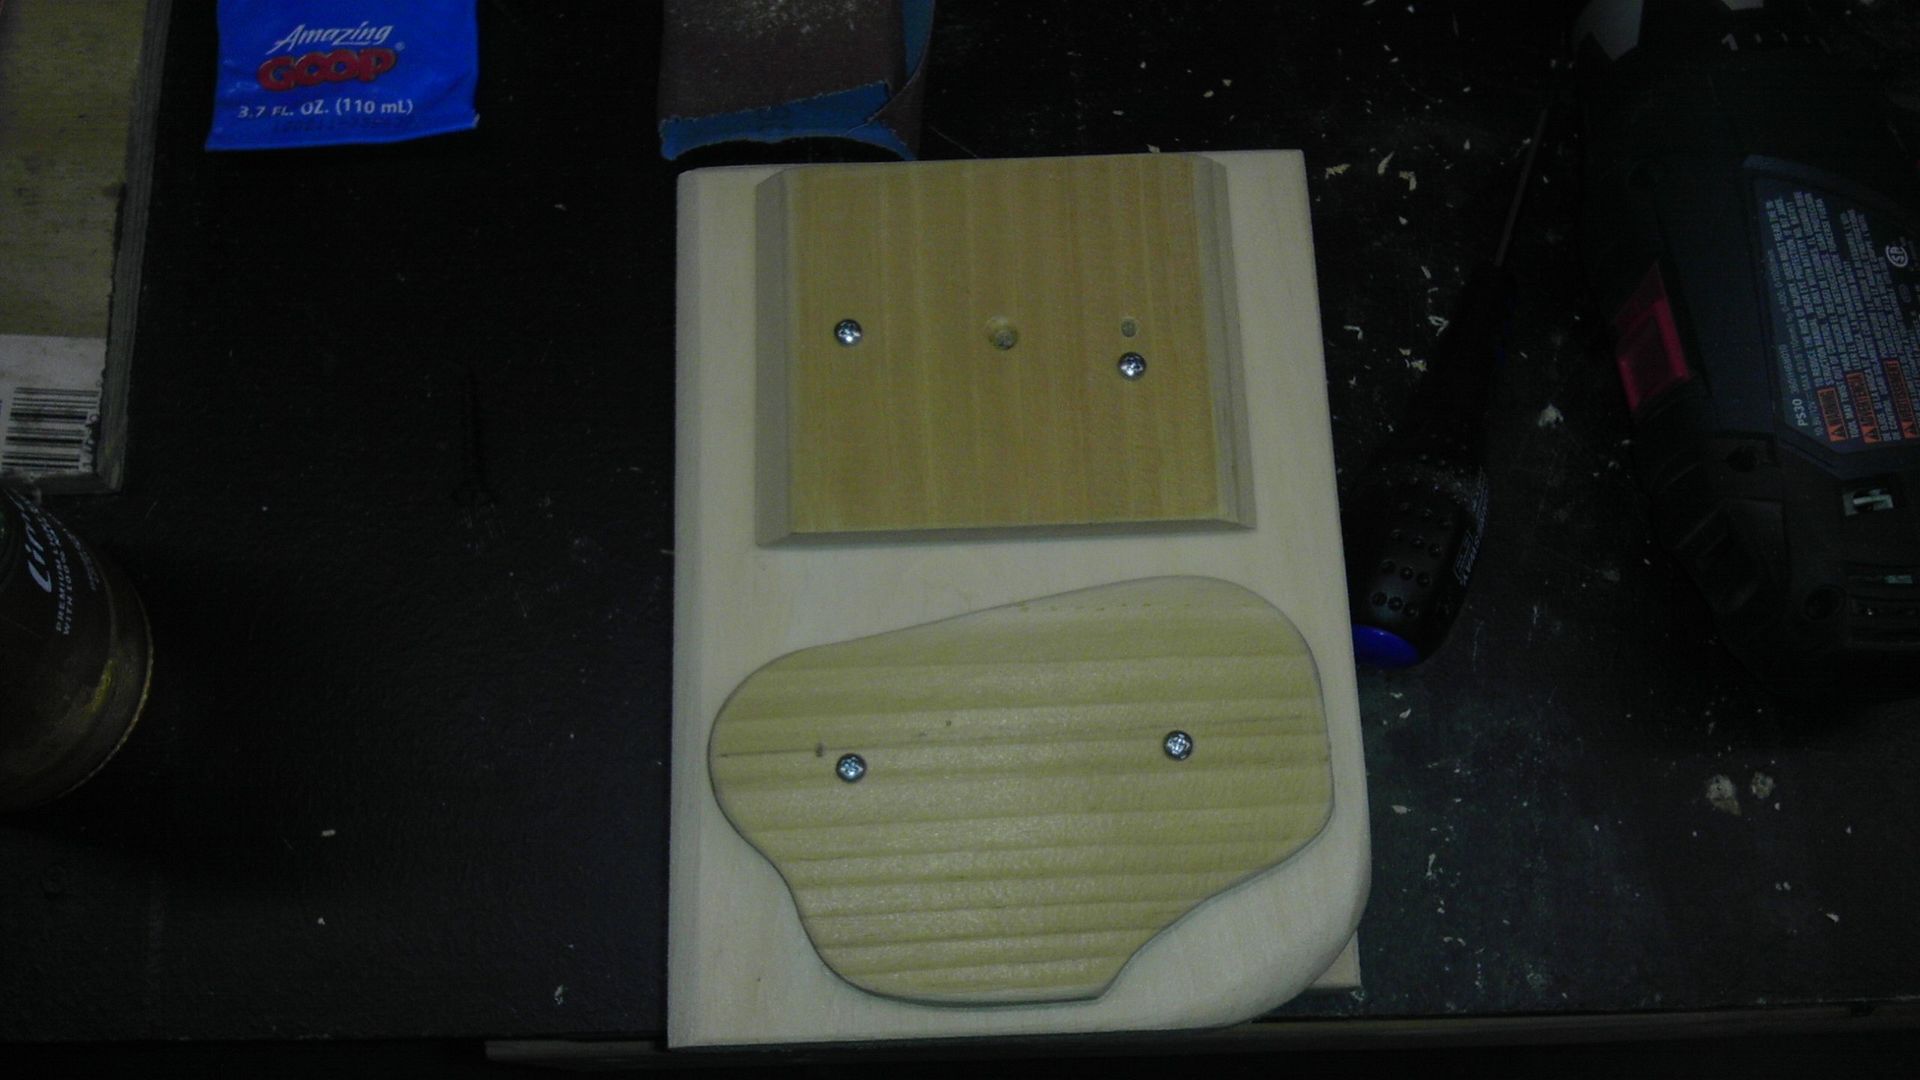
Next up was a new mold for the vacuum former. I made this one about a 1/4" wider than the original as the first one had no room for the proper mounting tabs to keep the ends together. This one will. It's also a bit thinner though which could be good or bad at this moment, I'm not sure yet! However, a big plus was that instead of using a 3-part system, I made the whole unit and raised panels one single unit this time. Saved a lot of time cutting out and it's much much smoother.
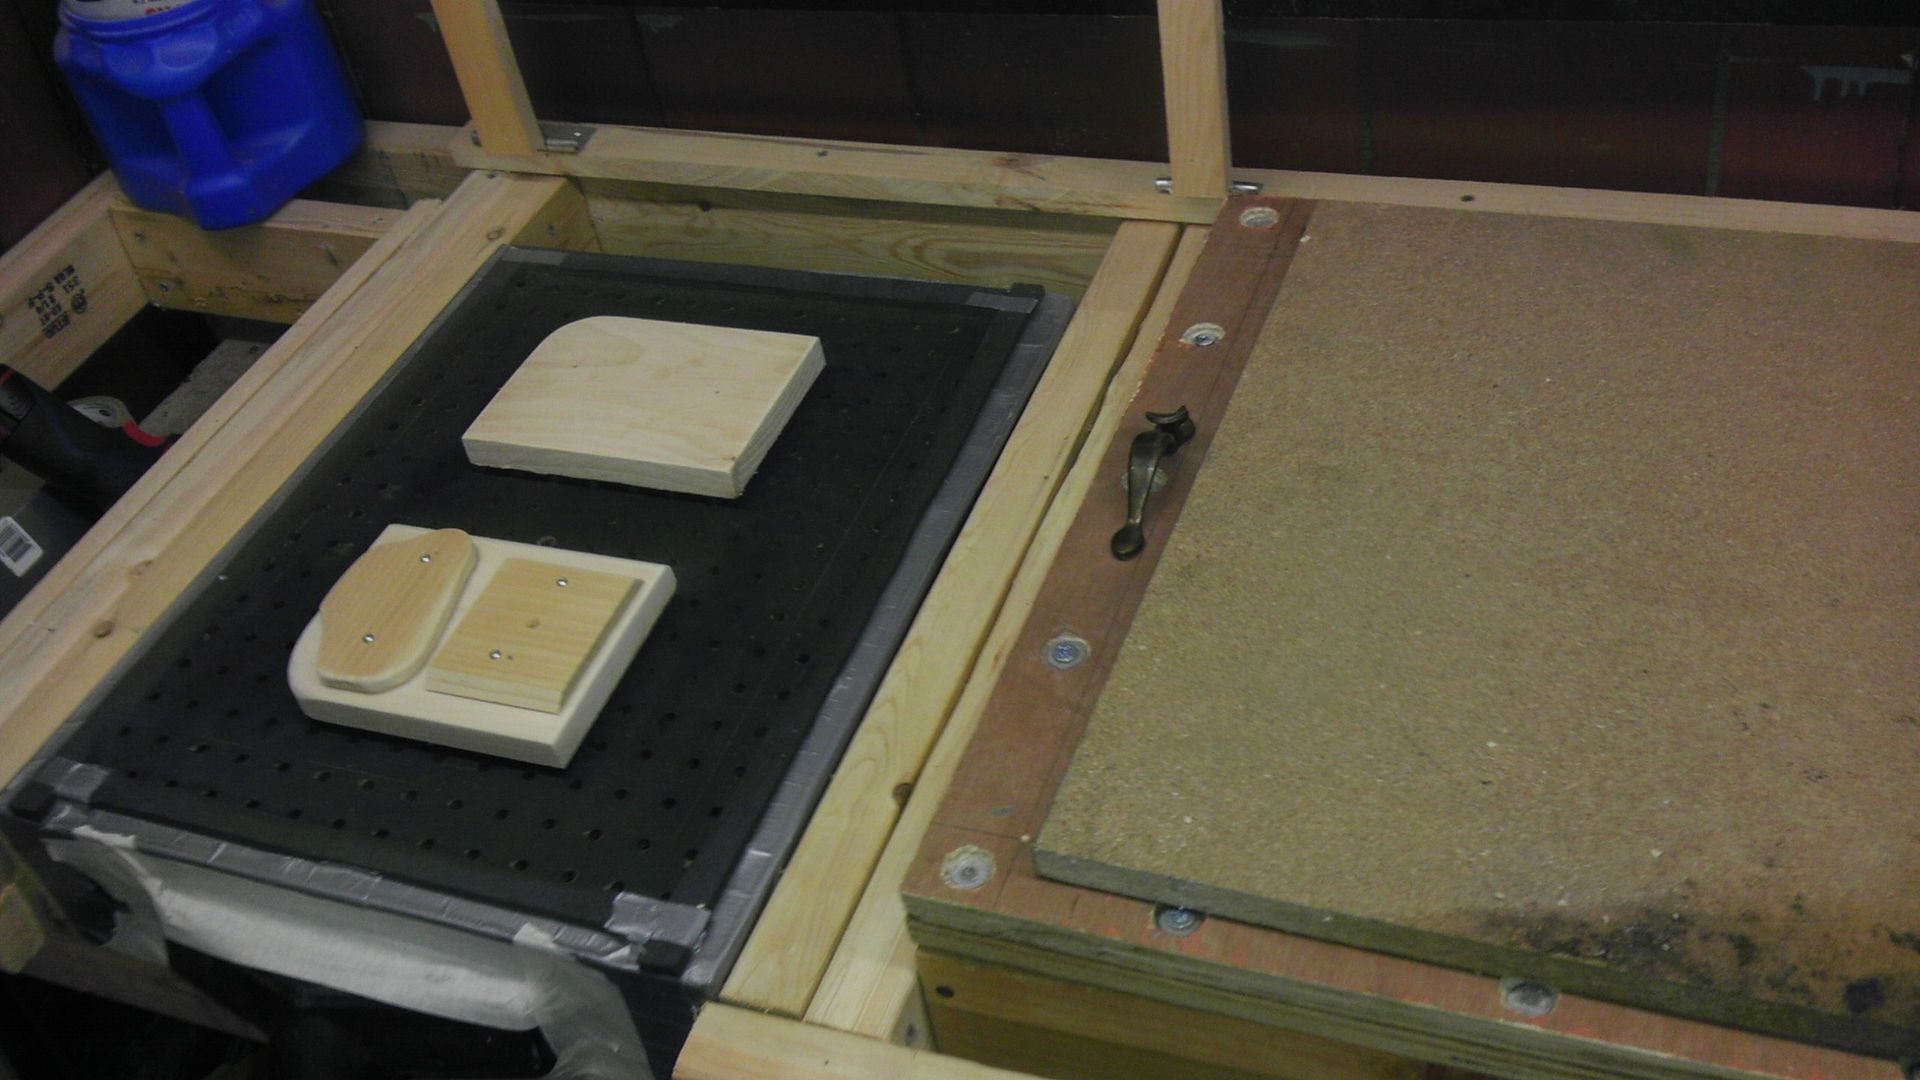
The two halves ready to cook.
And the rough cut.

I've made a great deal more progress with this since the last photo, including the frankencasing of buttons and d-pad. Though I screwed up greatly and now have to do a lot of extra case work. Figures.
Anyway, more updates tomorrow but if anyone is interested in buying this puppy when completed, please let me know. I'm looking for only $225 for it, which as most of you know is not a bad deal at all. I hope to have it complete by Wednesday. Hit me up as it's going straight to my router fund! Help me out if you can!
So I've come to the conclusion that this system really is so far from the original GeneBoy that I'd be hard pressed to keep the name. I should have this done by early this afternoon or morning but I wanted to show the progress of the last couple of days.
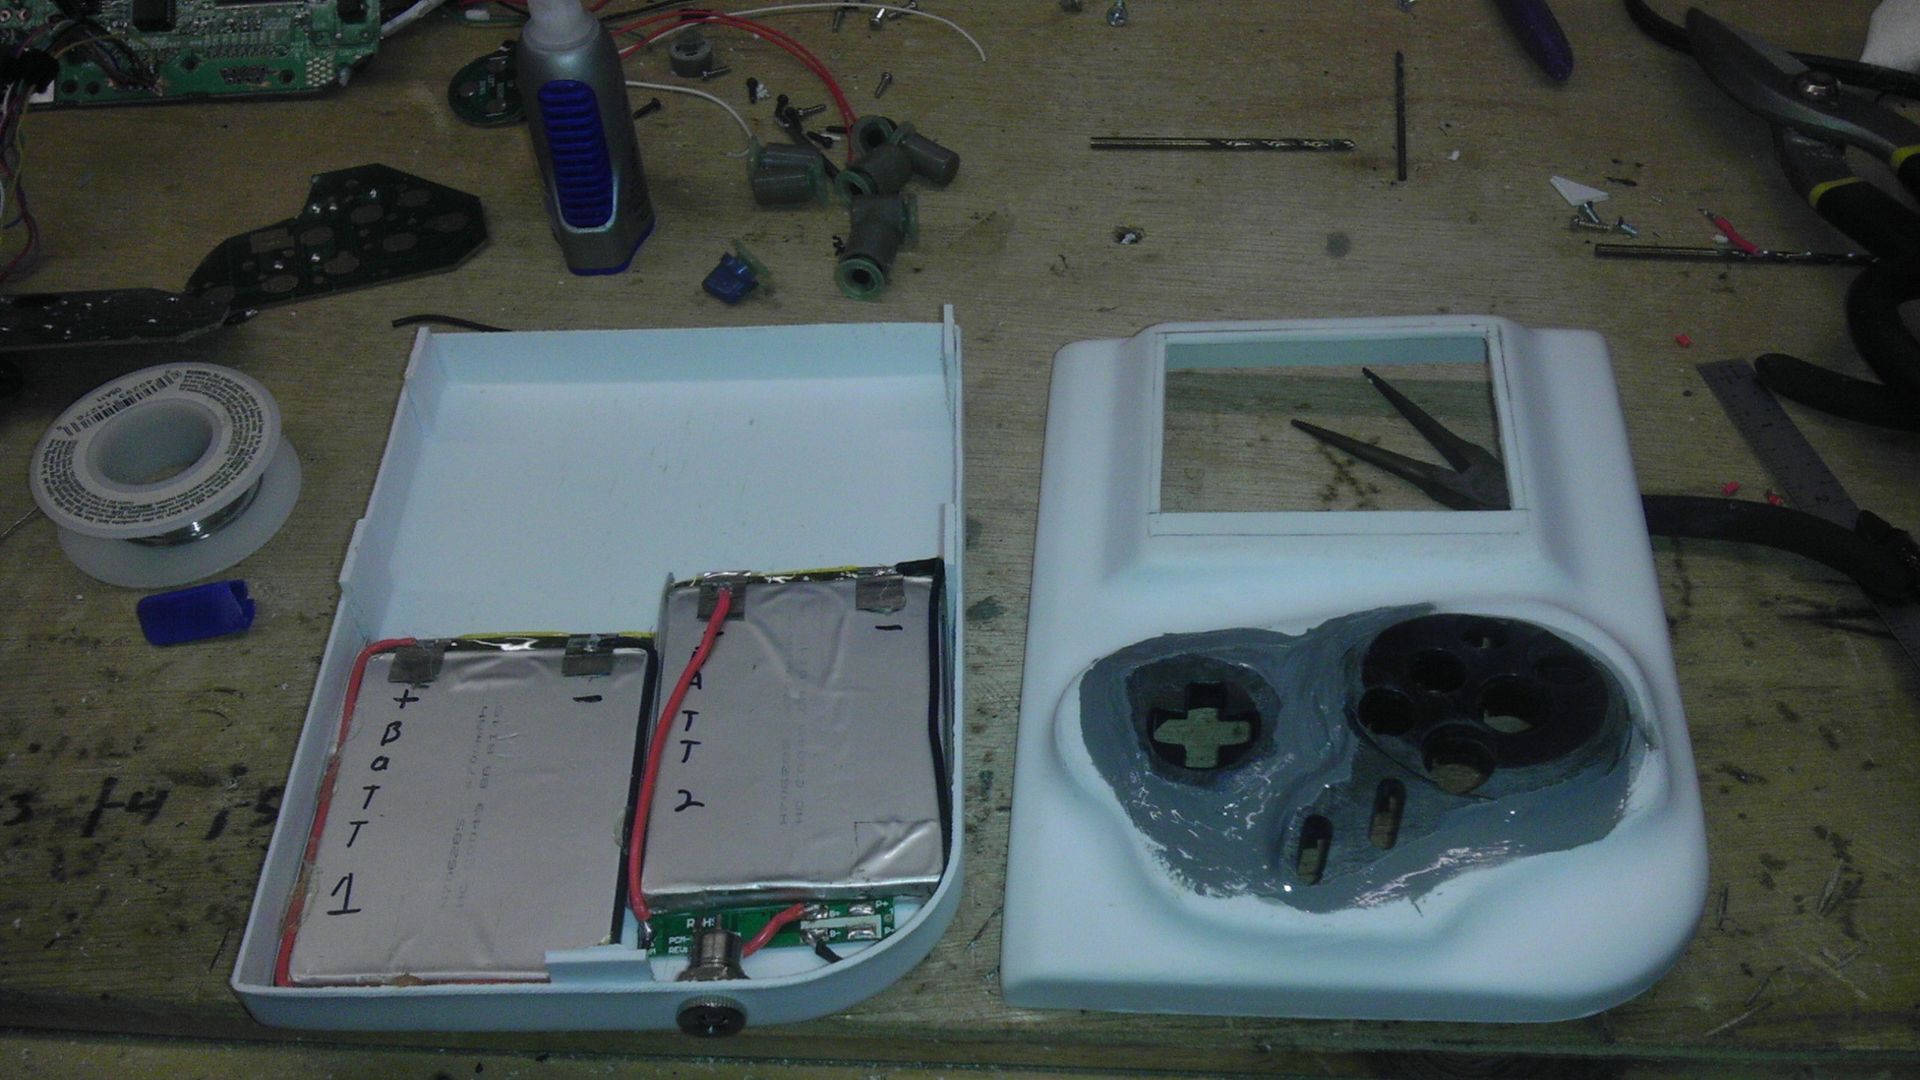
The filler and the new layout. This took a lot of filling because of the contours of the 6-button controller I used were quite unique. Because I wanted to use the PCB for the buttons as well, this made things a little odd to work with. However, I was able to fill the big open gaps with plastic that I then melted together with a soldering iron. Not only did this bond the component to the casing and made a super strong seal, but it went on pretty smoothly considering the imprecise method of filler I used. I then loaded up all the gaps with Hardset Filler and sanded the hell out of it three or 4 times.
Here you can see the finished sanding.
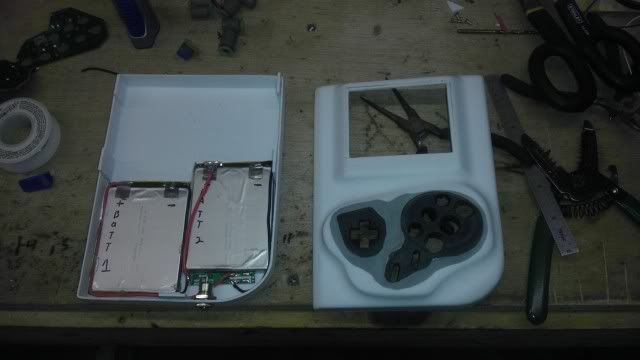
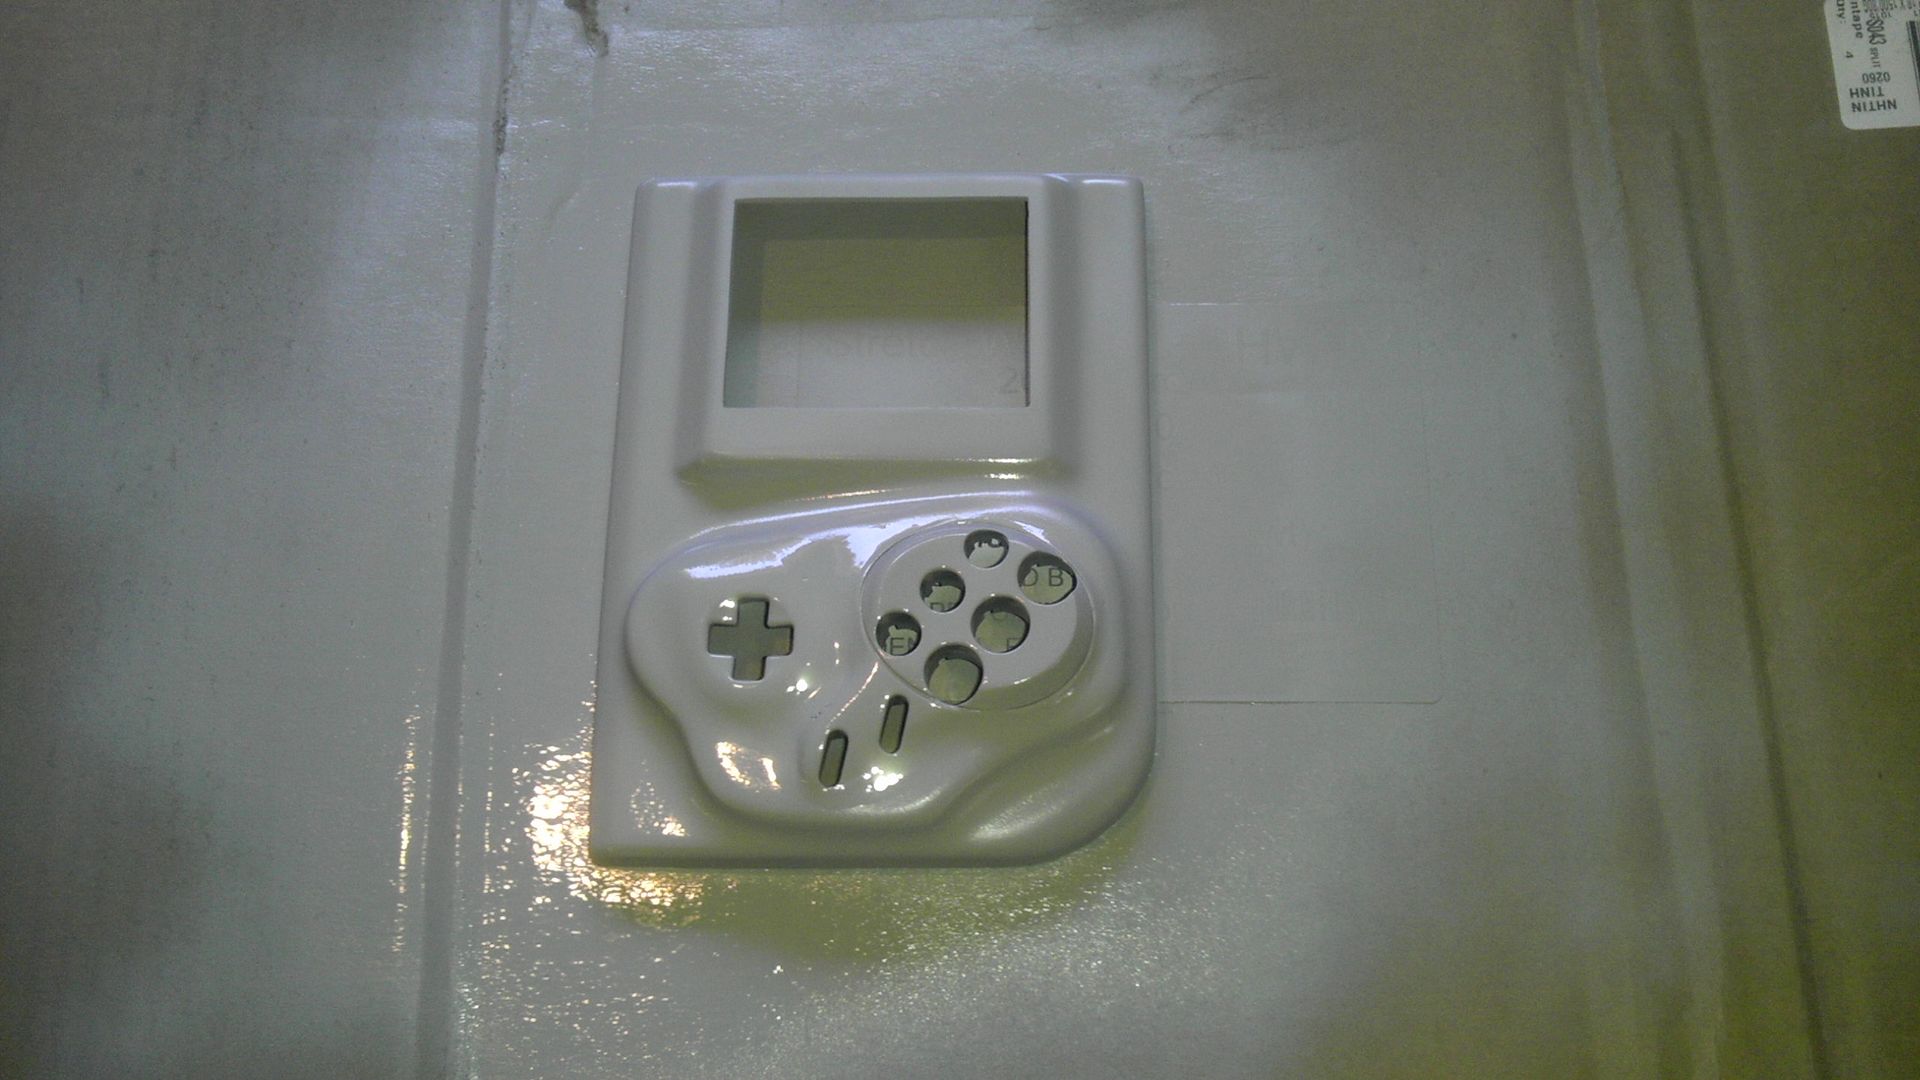
And the second or third coat of paint. It's a very curvy design and looks pretty cool and is also more comfortable to hold than the original as though this whole unit is about a 1/4" wider than the other one, it's about a 1/4" thinner than the other one as well.
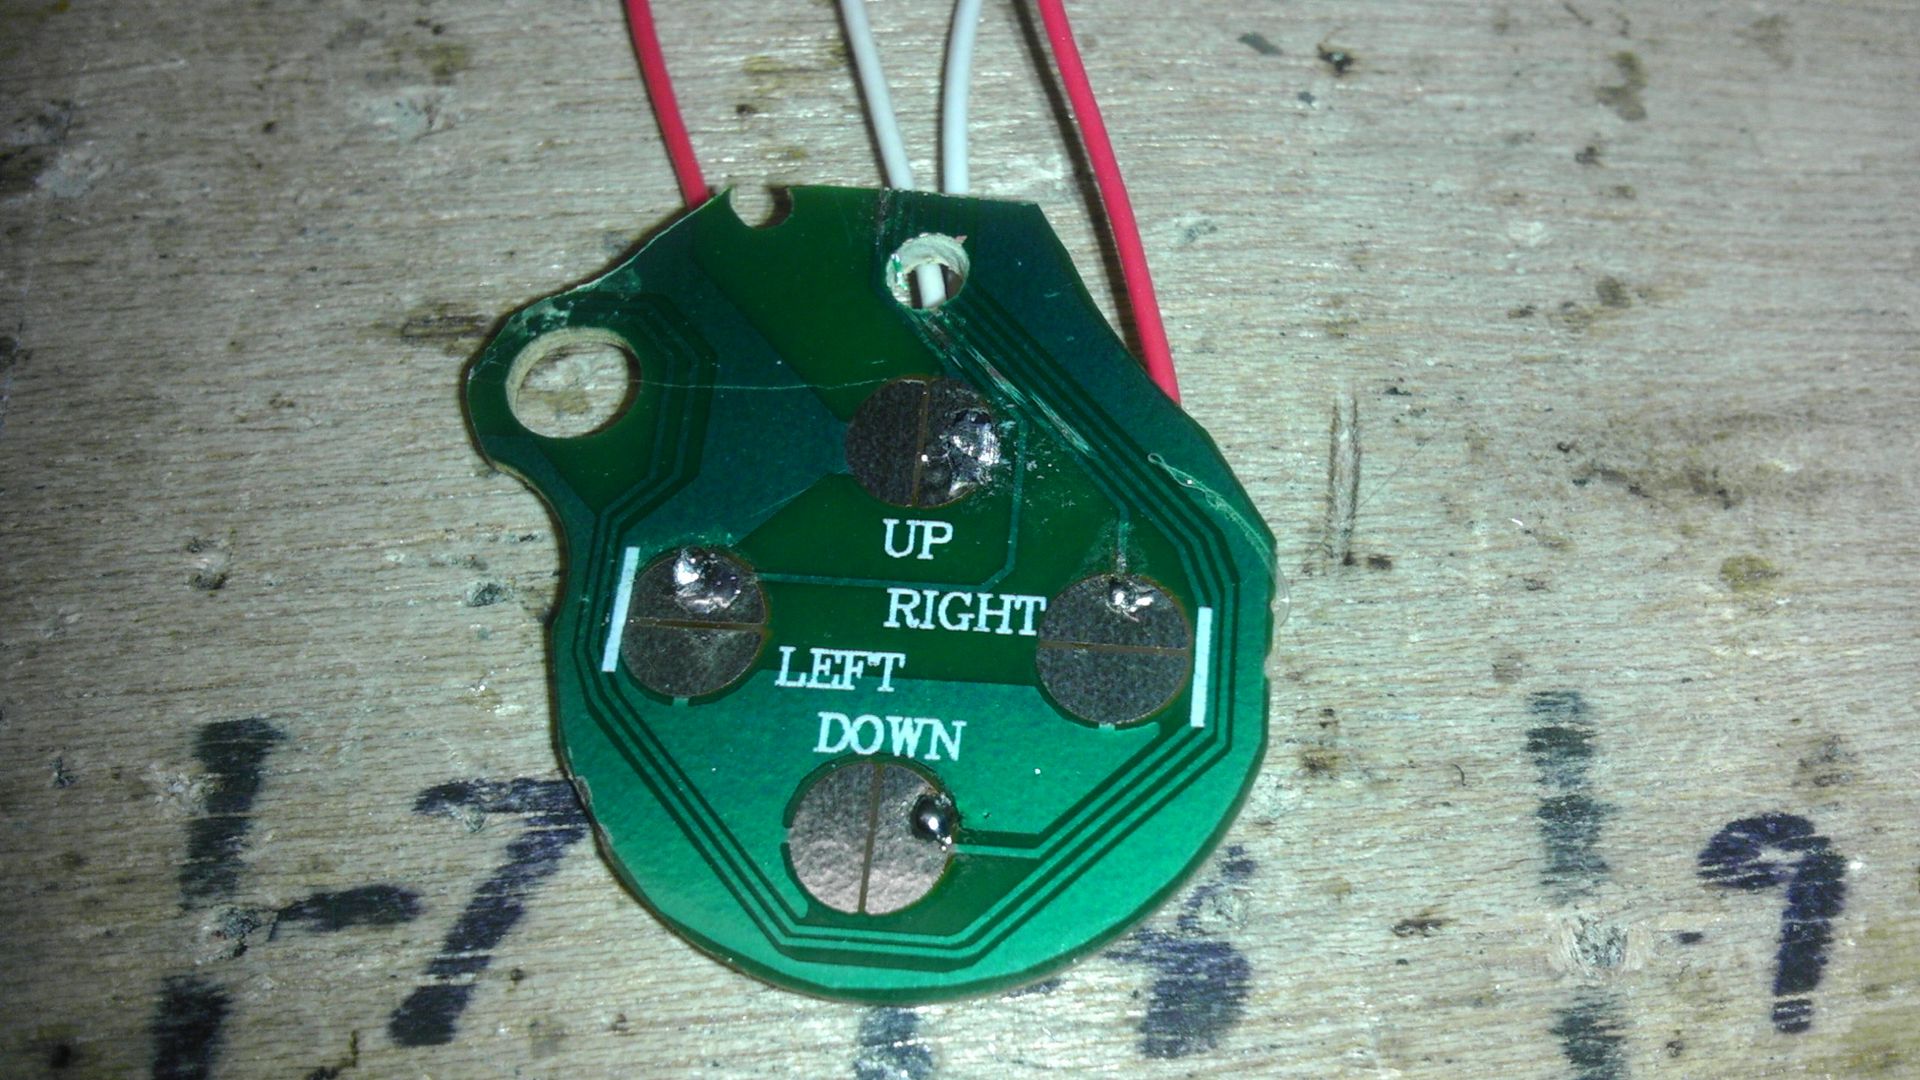
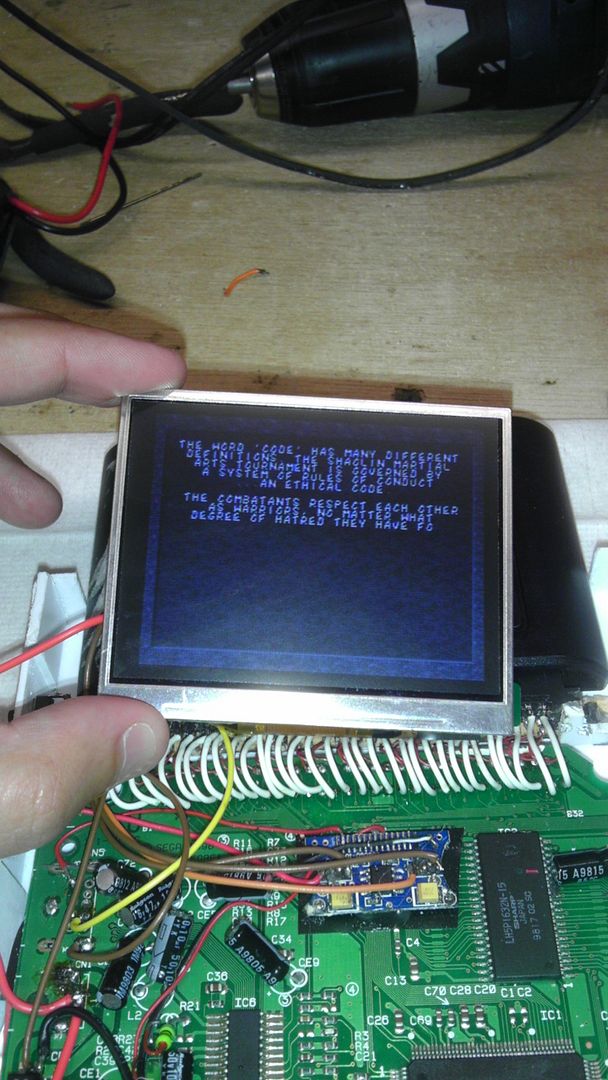
Here is the PCB with the holes drilled through the contact points. This controller is actually quite modder friendly as it has these contact points as well as holes right next to them that allows for the wires to come up through the back and connect to them allowing for a very flat contact area which is what I'm in need of.
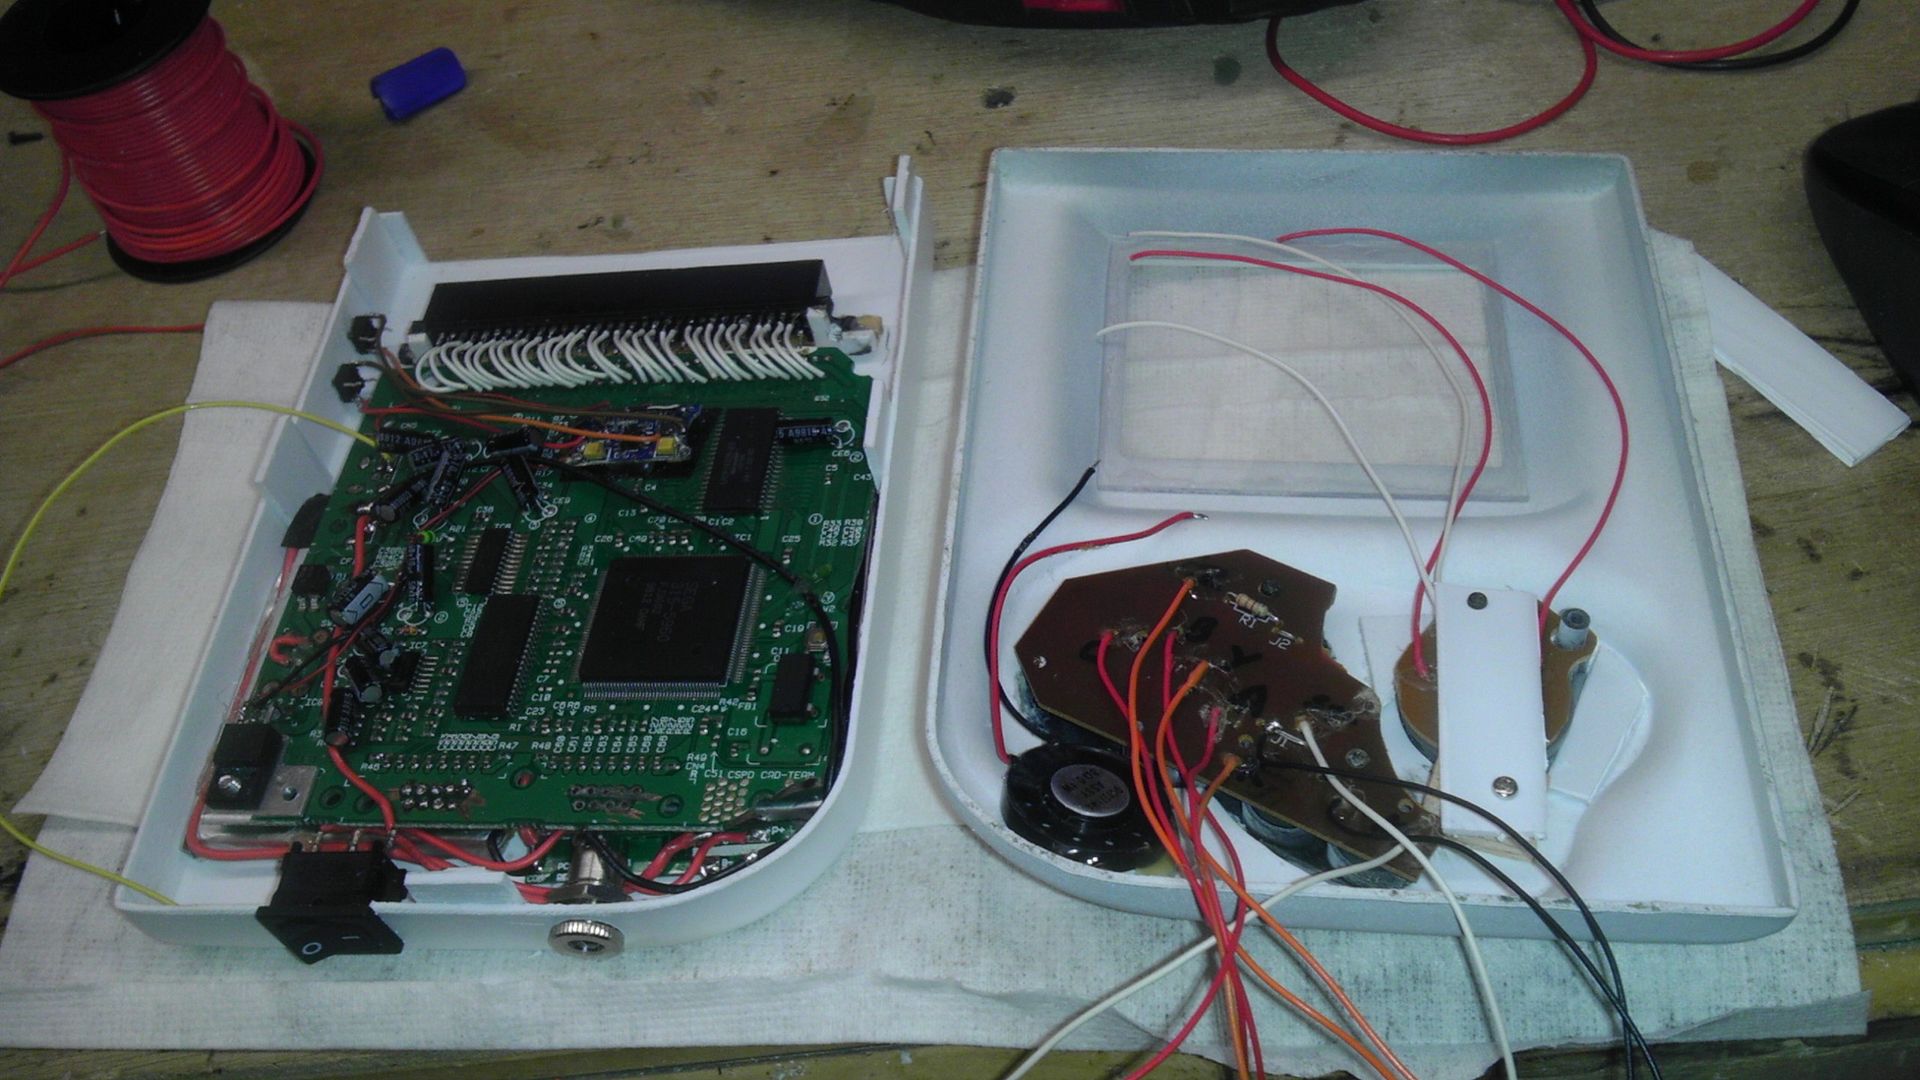
Everything on the back half mounted in place. I had to redo the cart slot yet again, so it's twice I had to do it on this one project, but it's secure this time and in good working order.
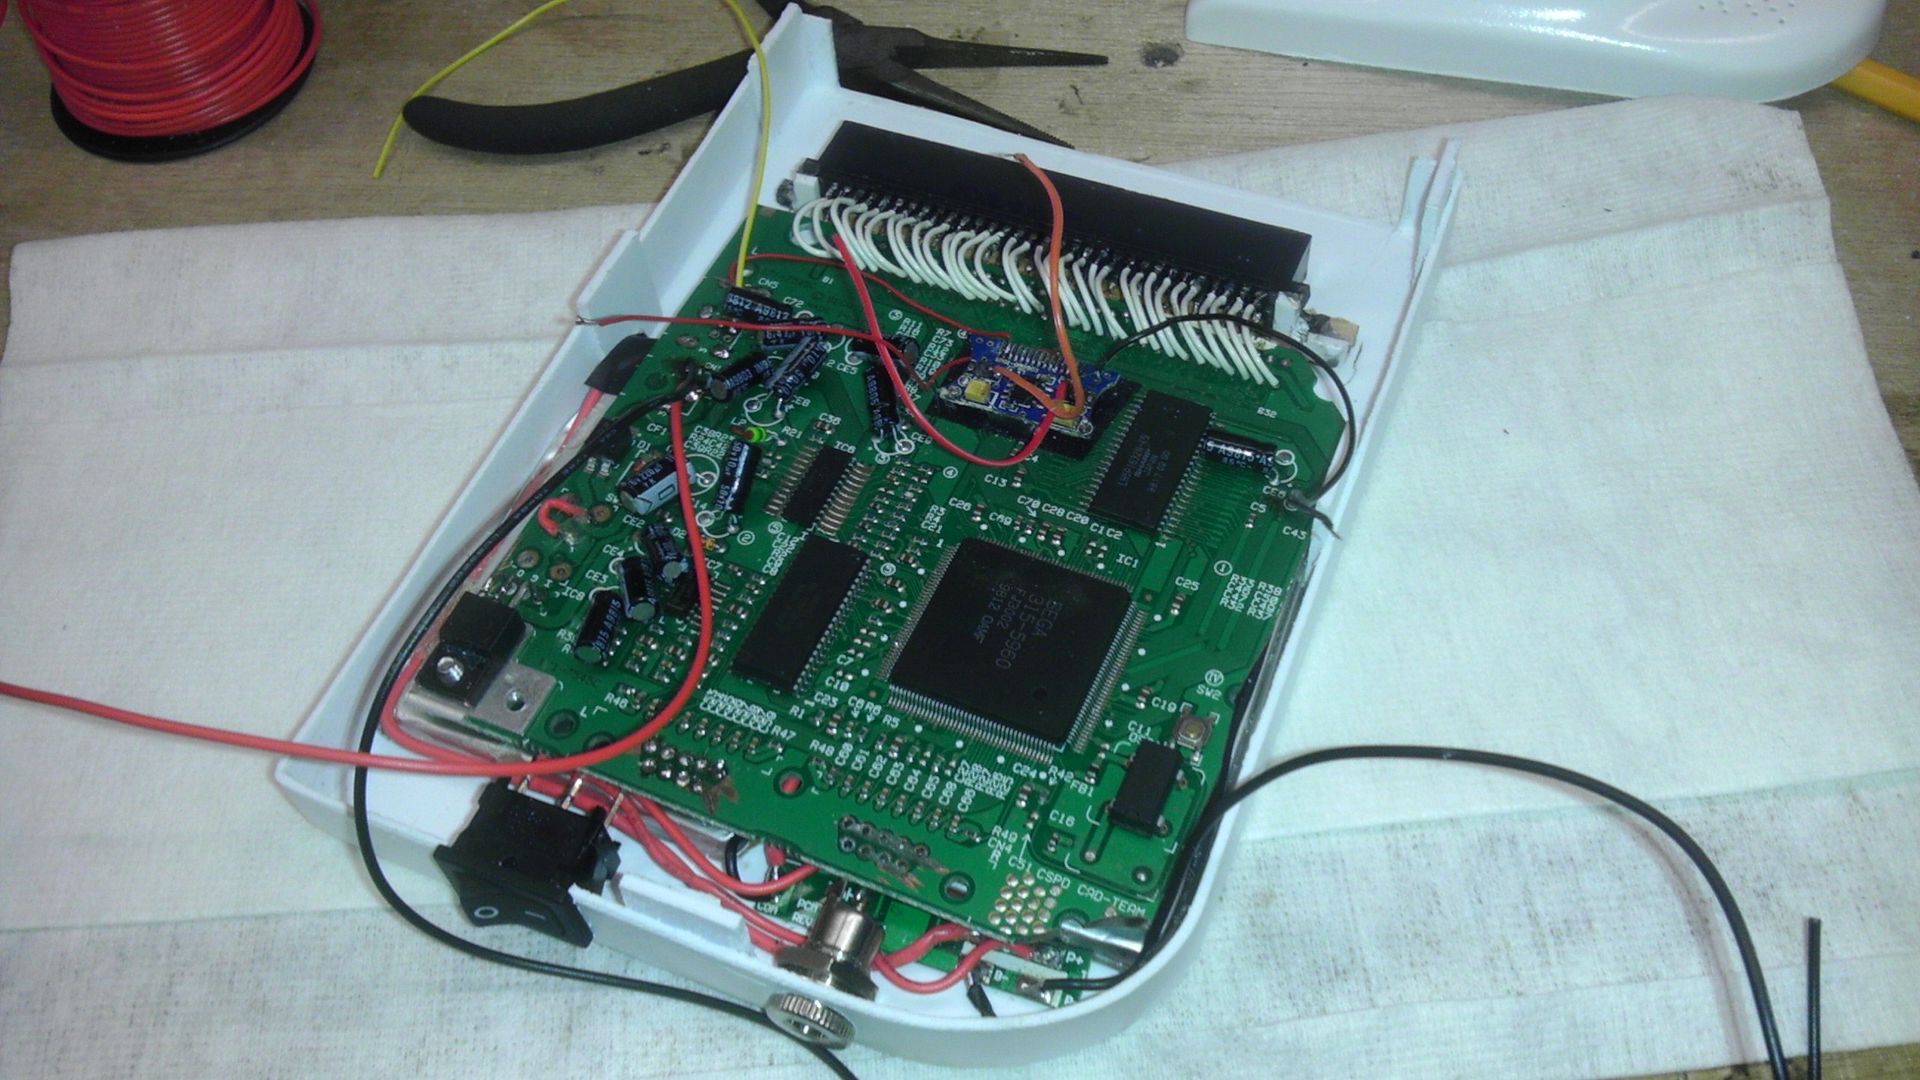
Front and back mounted.
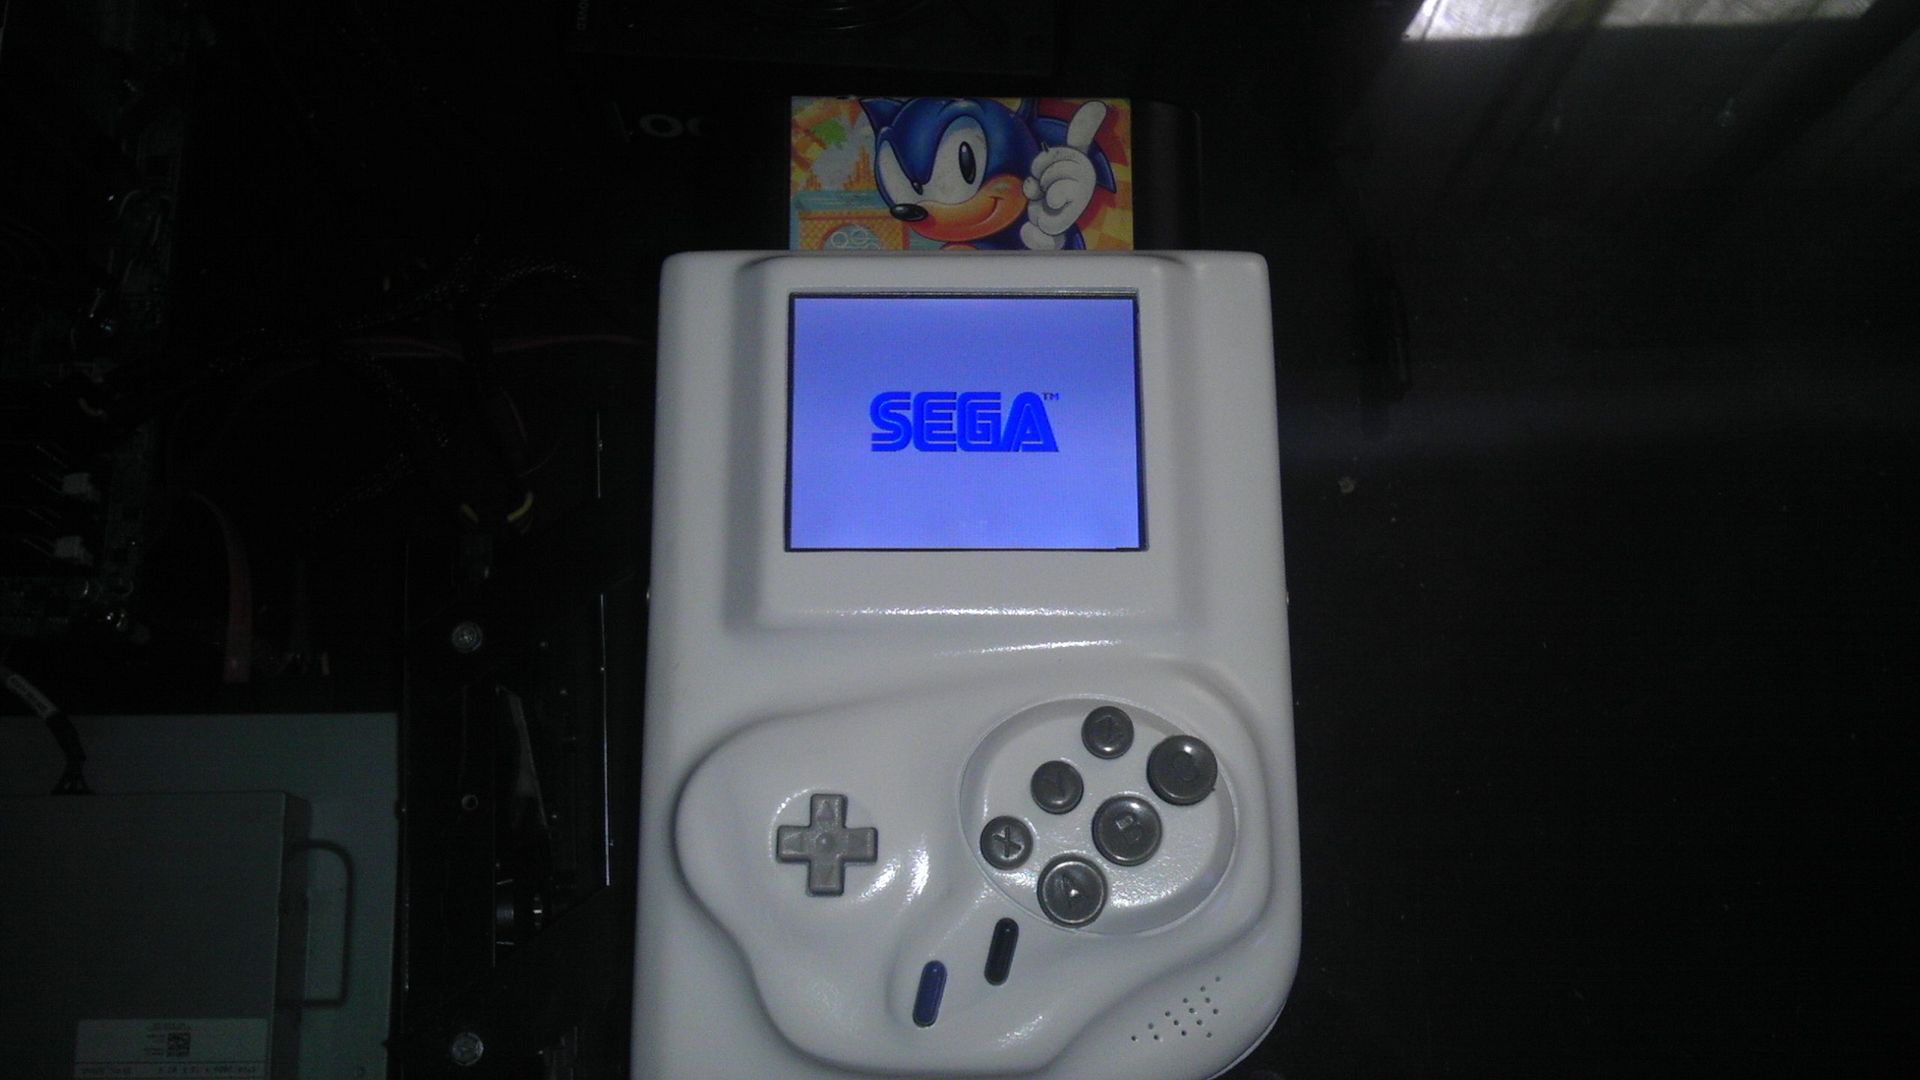
Front half and yes I put in a plexi-glass screen protector, thanks to the idea of ModGyver. It made sense and I had the room so why not?
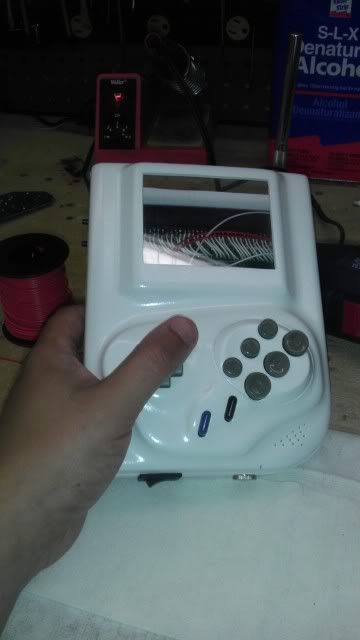
And just a picture of the screen in working order.
So like I said, I've got everything wired up, now it's just a matter of getting the thing closed up which is always the hardest part. I should have another update and video by this evening! Pretty fast though considering that I started this on Monday morning and essentially made a whole new portable. The only things I didn't have to do was was break-down the Genesis 3 and trim the board. Still, got about 25 hours into this in three days though. I've got another Genesis 3 here that I might just make another one if someone is interested but we'll get to that later!