Eventually I will do a step by step and write-up.
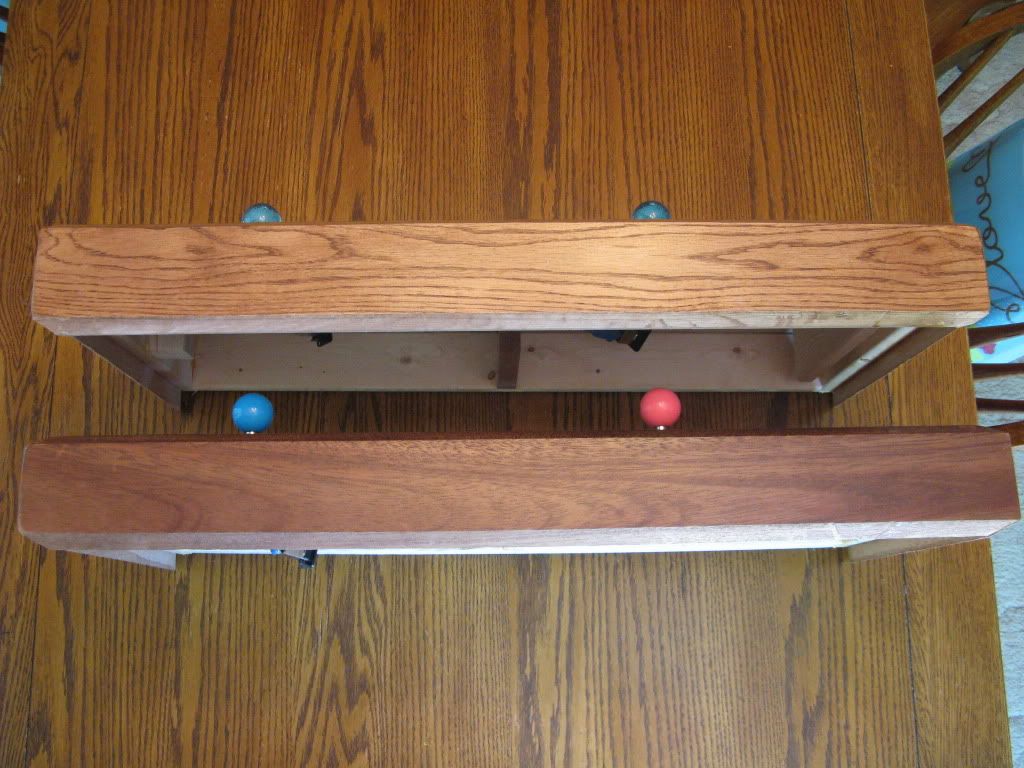
For now, i'll just be posting a couple pics of the arcade sticks that are inlayed / locked-in to the cabinet. Technically, I only needed one of these, but I like the idea of experimenting with different woods and button/stick color combinations.
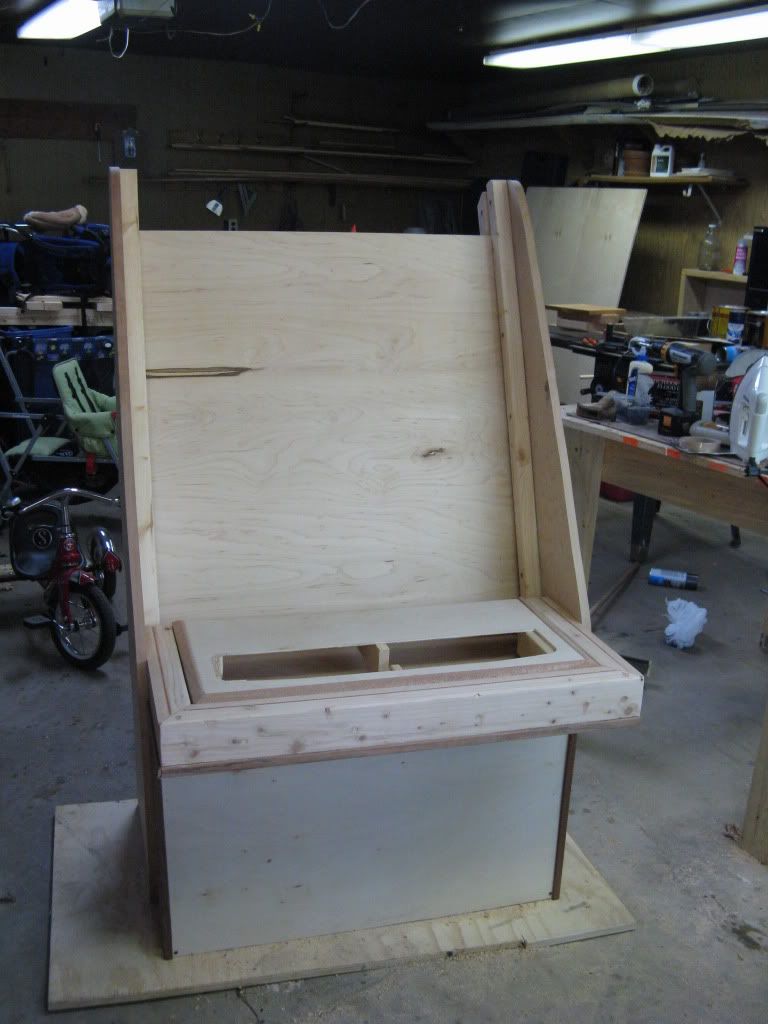
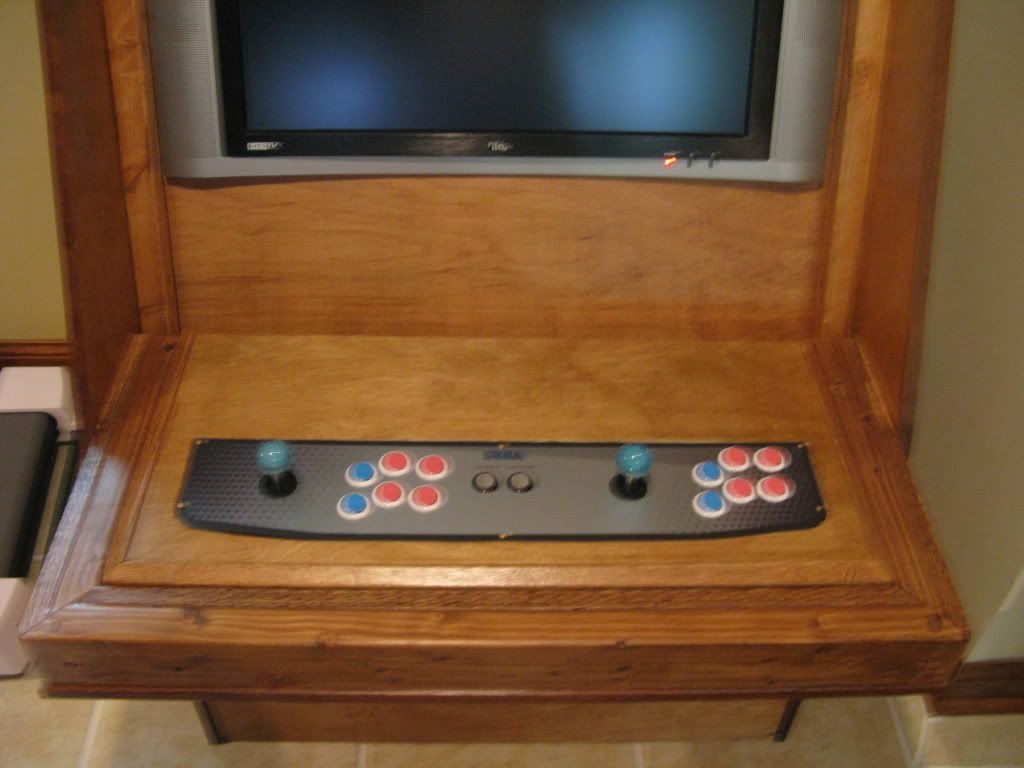
The woodwork was done by me, the aluminum control panel, panel overlay, buttons, sticks, pcb's, and ethernet Cat 6 / R-45 jacks connectors were all purchased at various places.
Sticks are Seimitsu LS-32's, buttons are Sanwa 30mm / 24mm screw-ins.
PCB's are McC's. Connection is via ethernet Cat 6 cable leading to a R-45 jack. Sticks are compatible with all of my consoles except PS3 and N64. I currently have cables for SNES, NES, SAT, DC, GCN, PS1 and 2.
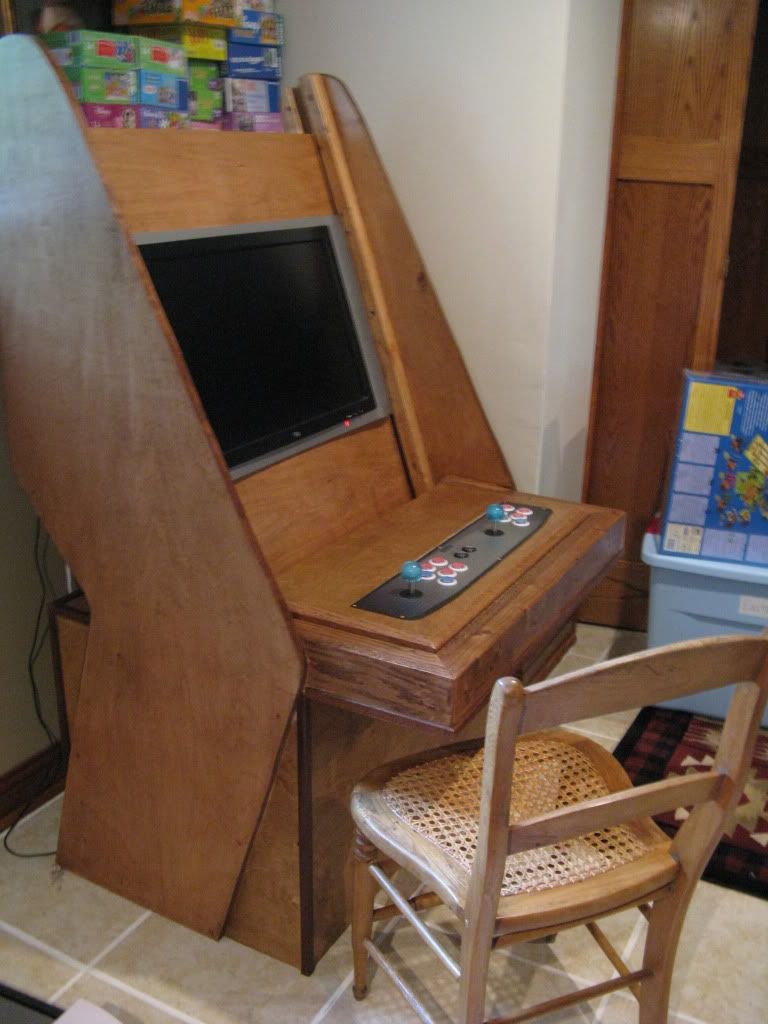
EDIT: Here is the cab, in the house as of today, 6/17/12:
To note, the monitor is inlaid into the bezel - the bezel is TATEable for JAMMA vert games, by simply sliding the bezel out of the rails, 1/4 rotation, drop back in.
Both control panels obviously fit into the cab - I'm using the Red Oak one for now. The Mahogany looks a bit better and can serve as a stand alone stick upstairs or elsewhere, etc. But it is great to have a backup!
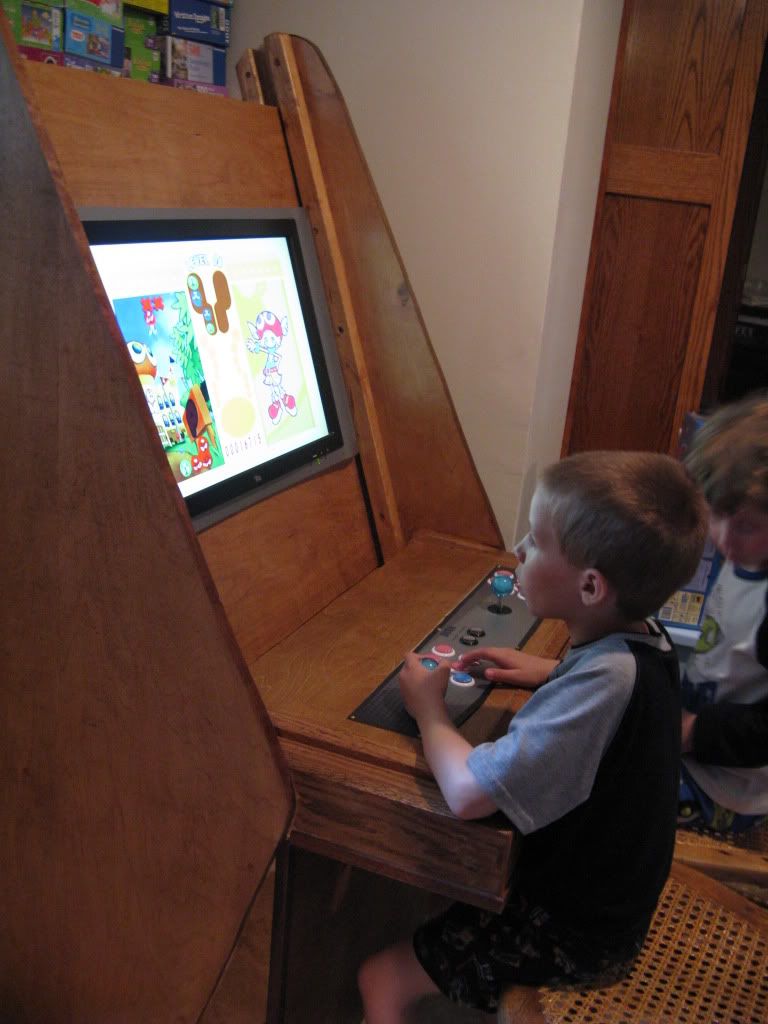
I used a semi-gloss poly (5 coats, sanding between...). It is great - no tack, no fingerprints, yet very smooth on the wrists / arms.
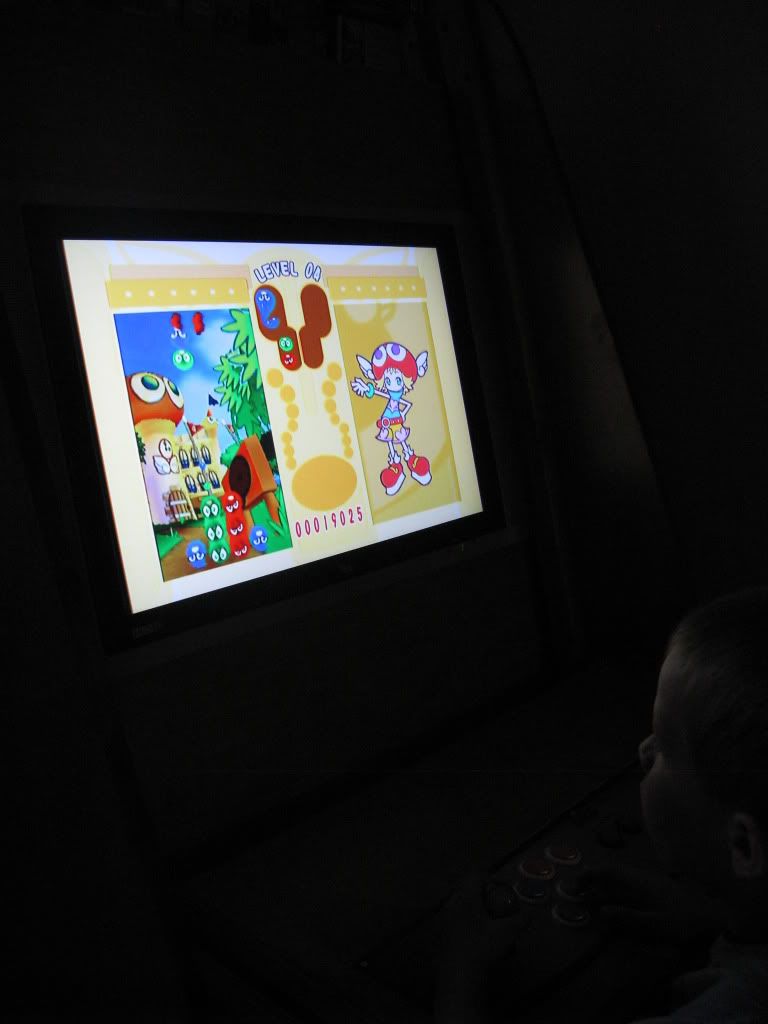
Here are the sticks:

Problems so far?:
1) I completely spaced attaching the panels into the wood stock (it inlays into the 3/8" birch plywood and rests on some scrap stock, positioned at the (6) screw holes). So...I used a generic screw on each of them and don't like them at all. I need to pick of something that will sit more flush and be more aesthetically pleasing.
2) There are some small gaps between the panel and the birch overlay - I anticipated this and have some matching caulk that I can fill-in from underneath. I used a jigsaw to cut out the panel inlays, and while it was very close, there are some very slight variances that I wish were better - you can see them in the last 2 pics.