Consolizing Neo-Geo MVS

Is there like a page out there that serves as a tutorial for arcade terminology like JAMMA, SuperGun, and all those other things that I've heard many times but don't really know a whole lot about?
Support Racketboy on Patreon
Follow Racketboy on Social: Instagram / Twitter / Facebook
Subscribe to Email Newsletter (Blog / Guide Updates Every Week or Two)
Follow Racketboy on Social: Instagram / Twitter / Facebook
Subscribe to Email Newsletter (Blog / Guide Updates Every Week or Two)
The hardest thing about consolizing an MVS is soldering. Then again. I live in the UK and we have proper RGB input through scart. I do not envy you lot having to convert that signal. That sucks.
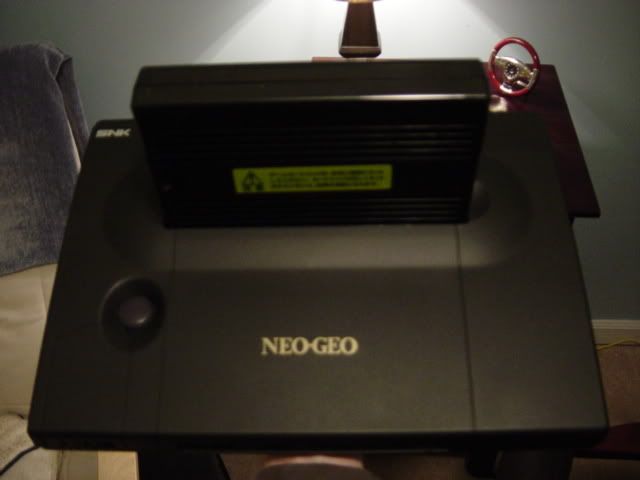
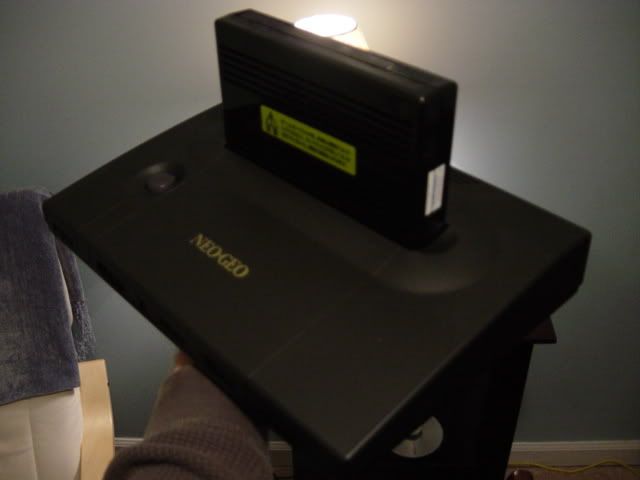
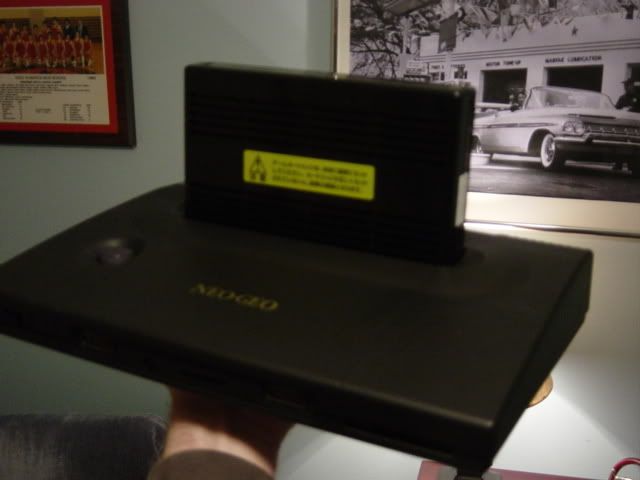
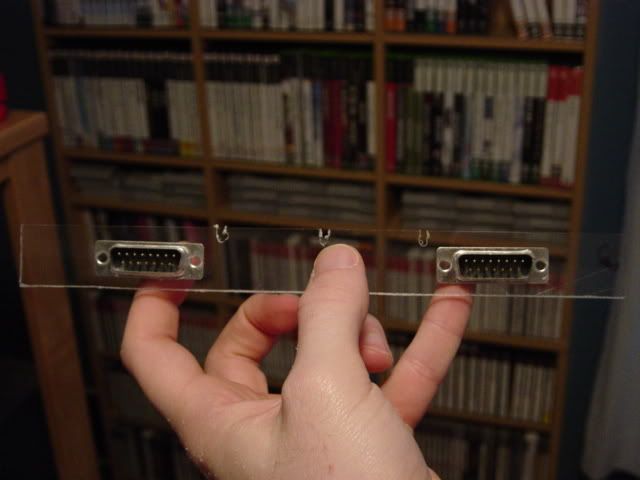
All I did was get a 56pin JAMMA harness. Solder a female scart socket to the video connections. Hook a button up for the coin insert. Wired the sound to the scart connector. Plugged in a NeoGeo stick (I have a 4 slotter with the NeoGeo control inputs on it). Then wired a power supply up to the harness. I just followed the diagrams in Ben Hecks guide.
It took me an afternoon after I had scavenged/bought the parts.
The best thing about it is if I wire up an interface for controls I have my own Supergun that I can just plug into any Jamma compatible motherboard.
Marurun wrote:Don’t mind-shart your pants, guys
-
fastbilly1
- Site Admin
- Posts: 13775
- Joined: Tue Apr 17, 2007 7:08 pm

I want the dual slot MVS set up. You could hook it up to a tv or the cabinet, how awesome it that. Prices aren't listed, so you know it's not cheap.racketboy wrote:Oh man -- this one made me drool:
http://www.neotropolis.net/
The other one didn't seem to have much to offer...
I know I'm resurrecting and old thread, but I've been lurkign the sight for a long time and love the information here, and I have some info for this thread as it seems it hasn't really been resolved.racketboy wrote:Is there like a page out there that serves as a tutorial for arcade terminology like JAMMA, SuperGun, and all those other things that I've heard many times but don't really know a whole lot about?
Ben heck guide is a good starting place but there is an easy though slightly more expensive way Rackboy.
What you need is this:
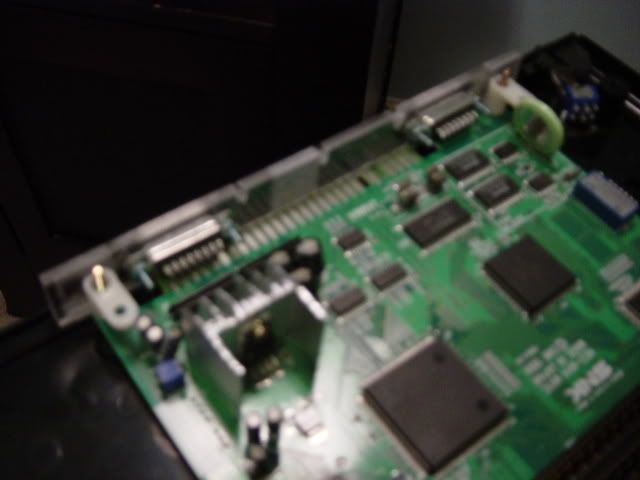
1. A Neo Geo MV-1 board as it is the easiest to work with, IE it has joy stick ports. Should run you $30-130, as prices move around from what I've seen, your best bet is ebay or neo-geo.com.

2. You'll need a jamma harness any old 56pin off ebay will do. Should run you about $10-20
3. You'll need a RGB to NTSC convertor, in Heck's guide he has you build one but I understand that a bit much for electronic newbies, many people sell them neobitz, Jrok, etc, I'm currently using a arcade playing.com model and the s-video is crystal clear.
http://www.arcadeplaying.com/rgbntsc/index.php
They cost $75.
4. You'll need a old atx power supply for a PC, you should be able to find one for free, the neo is not nearly as power hungry as computer, so my 300w is working just fine.
5. final, if you don't want the hassle of building control boxes, neo geo AES sticks, and NG cd pads, are a direct plus to the MVS 1 board, and work like a charm the select button, becomes the credit though if you switch dip 7 on the mobo the whole unit jumps to free play any way so no need for a coin button.
HOW TO PUT IT TOGETHER:
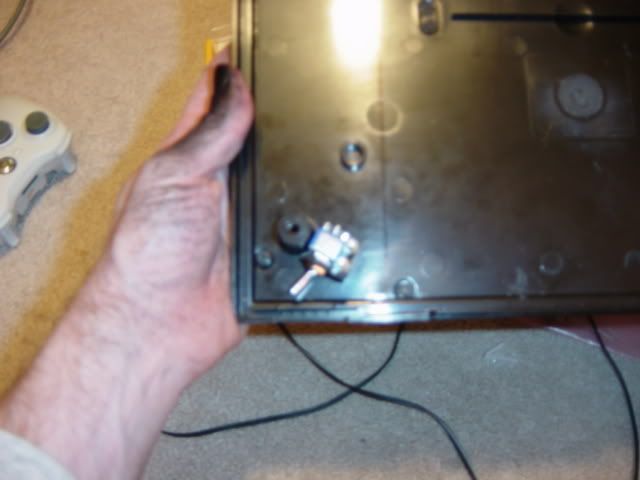
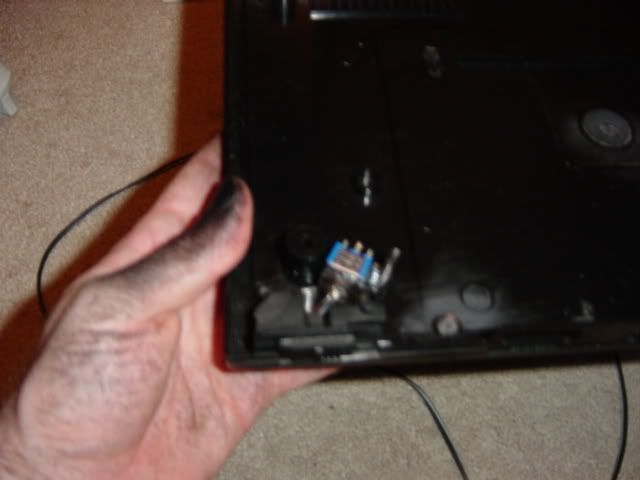
1. Using Heck's guide cut and end strip the wies from the main ATX power plug, connect the PS-ON(green normnally) to a ground, this will allow the psu on off switch to be the power switch.
2.cut and end strip the wires from the JAMMA harness all +5v, all ground, all -5v, all +12v, the red,green,blue,video sink, left audio, and right audio.
3. The easy way is to twist off the wires from psu to JAMMA from there you can solder, cap, or even just tape them, depending on how you wish to proceed. I did 1 wire to one wire which means I had use some +5 and grounds from the 4 pin cables as well, they are red and black respectively.
4. Finally connect the red,green,blue,vsync, +5, ground, left and right audio to the Arcadeplaying.com convertor.
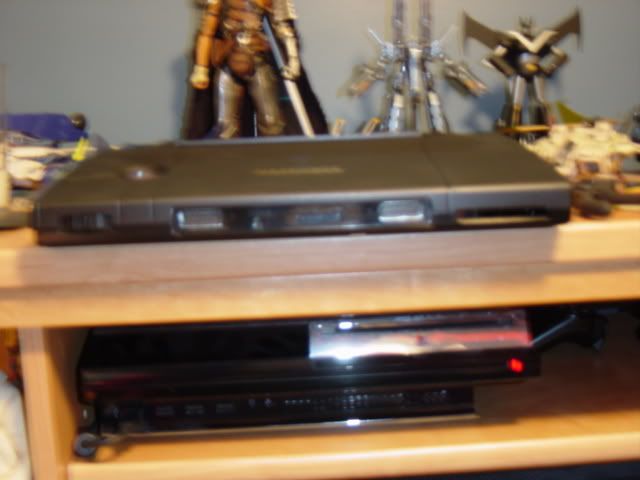
5. If everything is done right, plug in your MVS cart, your controller, and you rca+ composite or s-vid, hook it up plus it in and flip the psu switch and you should be playing neo geo on your TV.
It sound a bit complicated but really it's only cutting and taping about 20 or so wires, it tooks me roughly 45 minutes.
From there you could if you want a presentable unti build a nice wooden box that the psu, converter, and jamma harness is in with a hole for the Jamma edge connector to come out off and then you can place the MVS on top and connect it to the Jamma Edge with out having a mess of wires.
I hope this post helped and if you have any questions feel free to drop me a pm.
Also First post WHOOO!
[/url]
Re: Consolizing Neo-Geo MVS
for the win..... mine
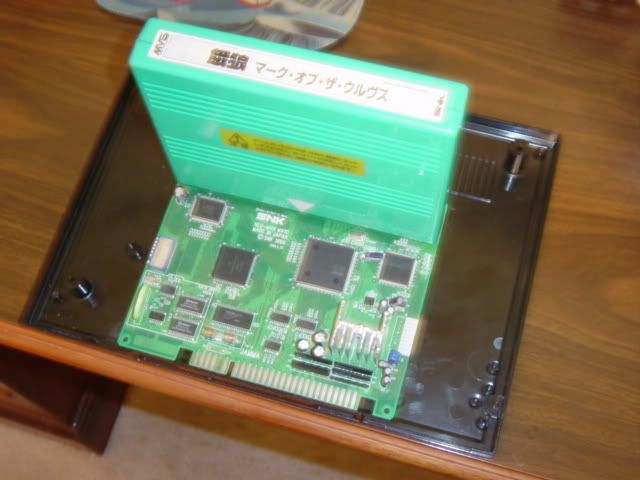
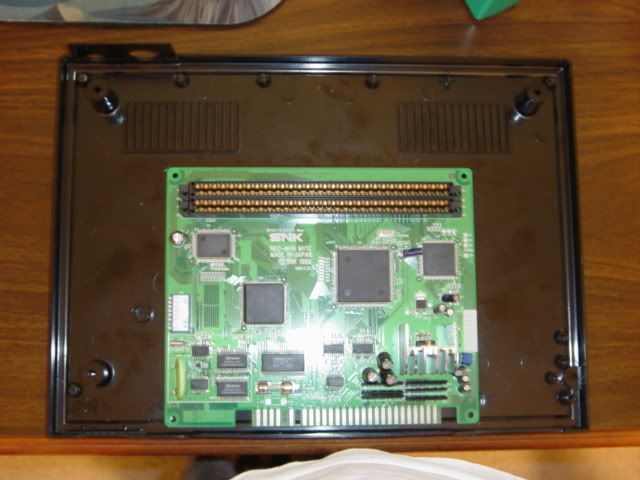
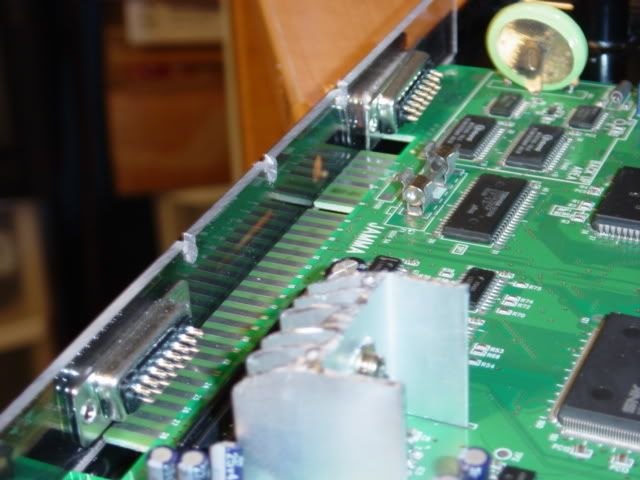
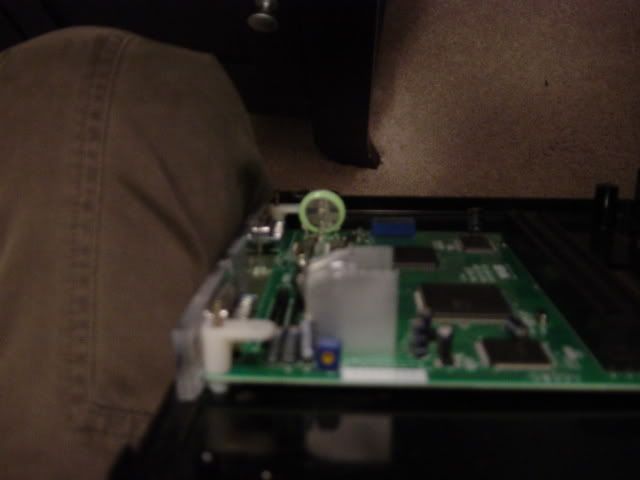
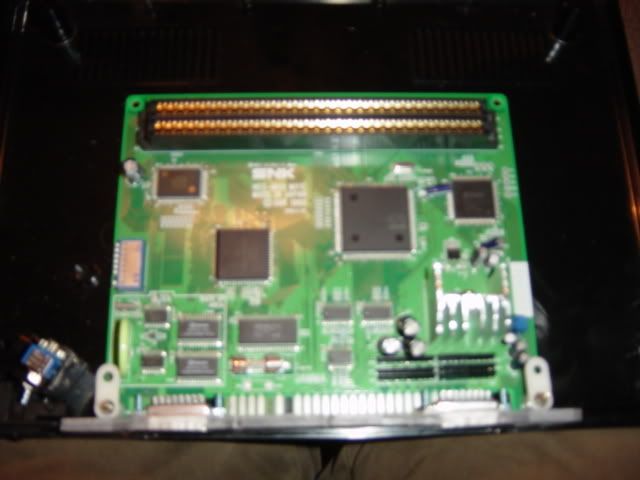
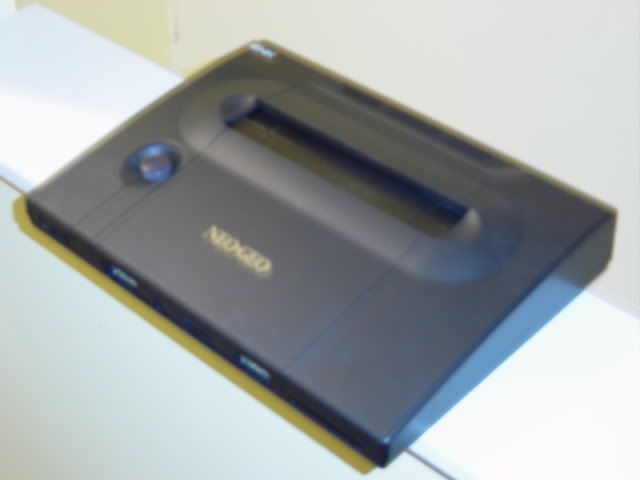
I've decided to consolize my MVS for fun and convenience. I was going to go with a small aluminum case but then decided, why not put it in a AES shell. I actually found one on neo-geo.com
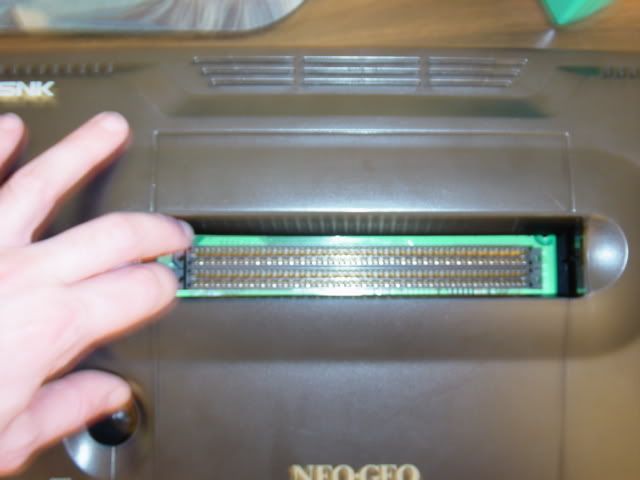
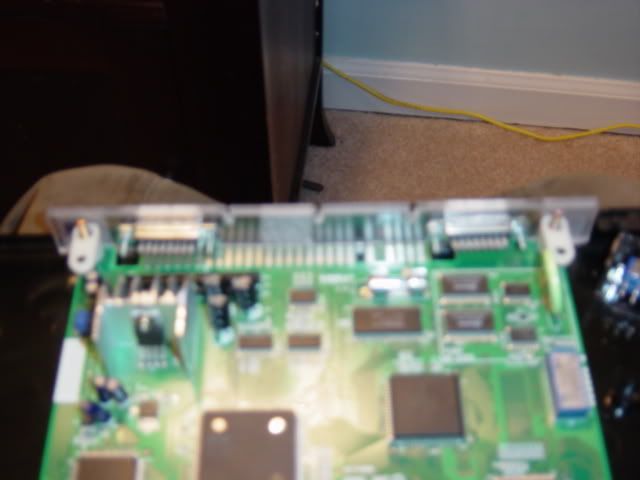
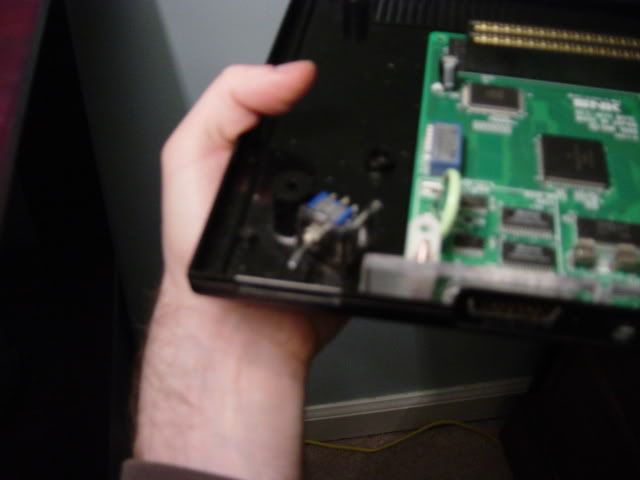
I have not finished but have started. The hard work is done, getting the board to fit and getting the slot wide enough for the MVS cart. Fortunatelt I was able to do this to the slot without making it look homemade ect.
I thought I'd track my progress in a thread here:
OK, so I might be able to get some original AES parts, maybe not. I'm moving forward as if I can't to be sure this project gets done.
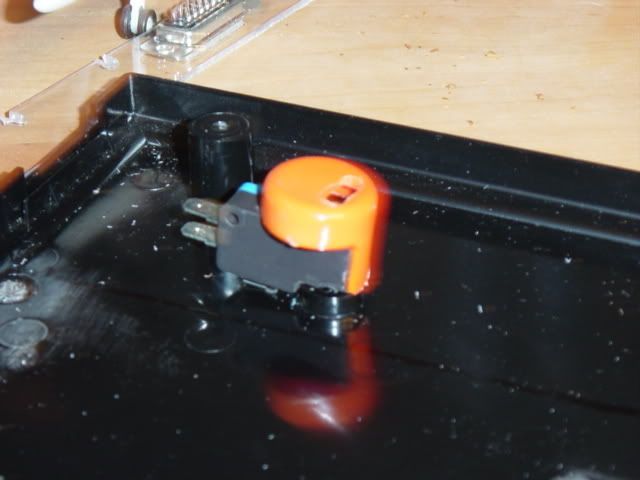
reset switch:
controller ports:


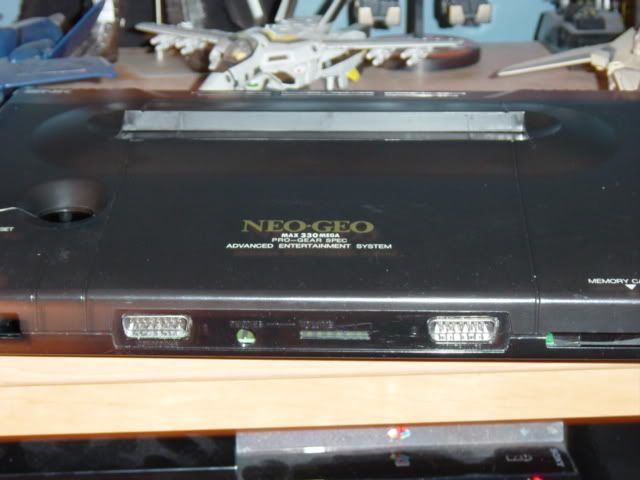
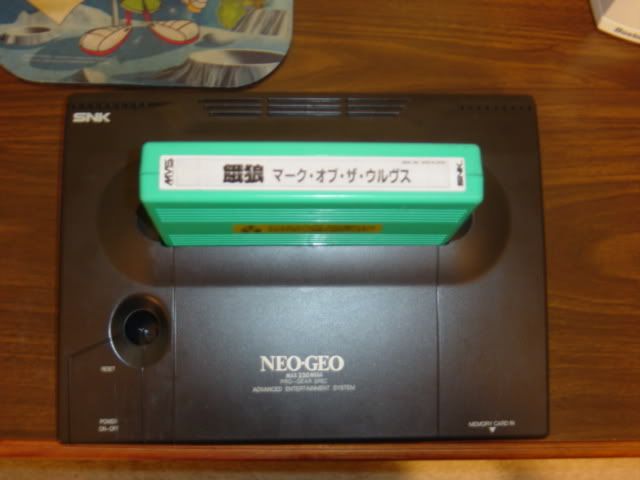
OK, restored the shell. No more scratches or scuffs ect. This came out PERFECT, was amazed at how clean it looks now. You can't even notice that I cut the cart slot. Used some bondo on the cart slot also then sanded it. This vinyl die works wonders. I used the same stuff when making my stick.
I was happy I could save some of the logos also, the other wording on the system was to scuffed up to save. the dust doors stand out for some reason in the pic but don't in person.
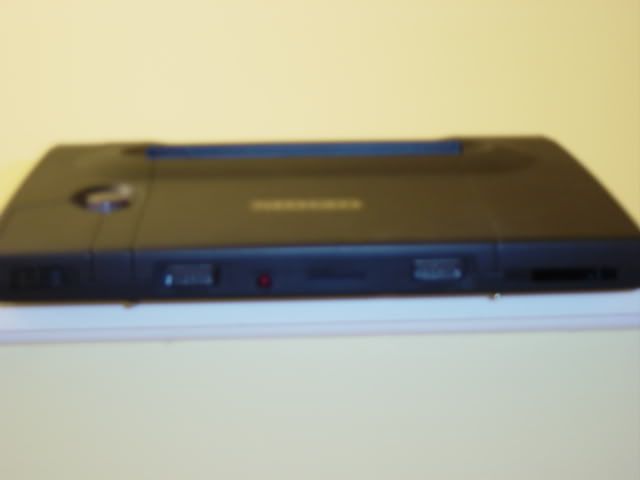
Getting closer and closer.... got the power switch installed and anchored. The only things I have left really are the power and AV jack on the back and that will be easy.
I'm gonna have to have the universal bios installed then I can finish up with the wiring. I have a small bit of work to finish on the controller ports but that has to wait till I'm mounting the board in. Also a small power LED. Then it's done and ready to play!!
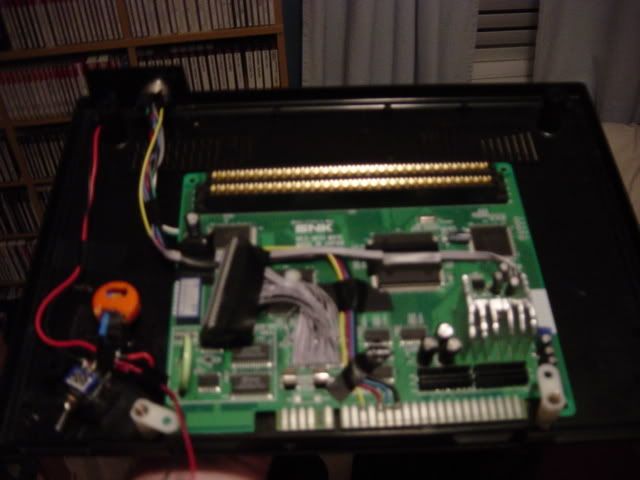
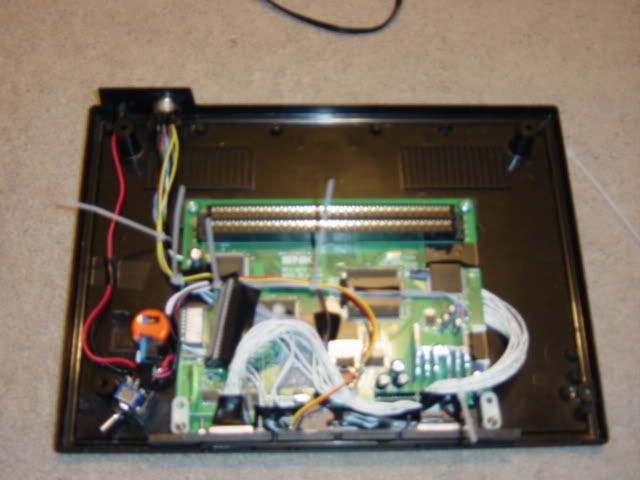
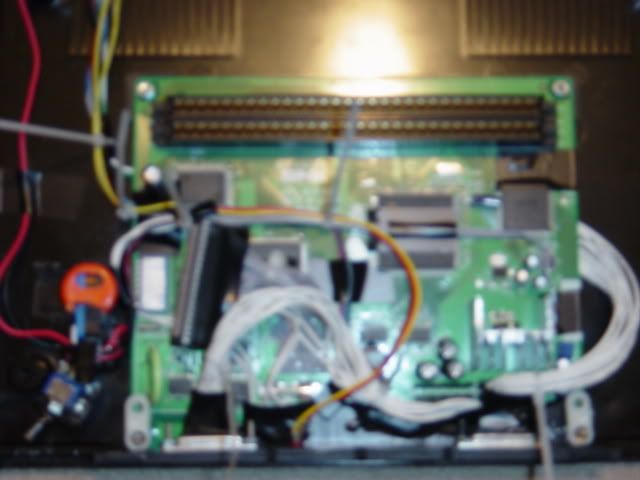
OK, got the controller ports finished up and the PCB is mounted, well until I send it off for the unibios.
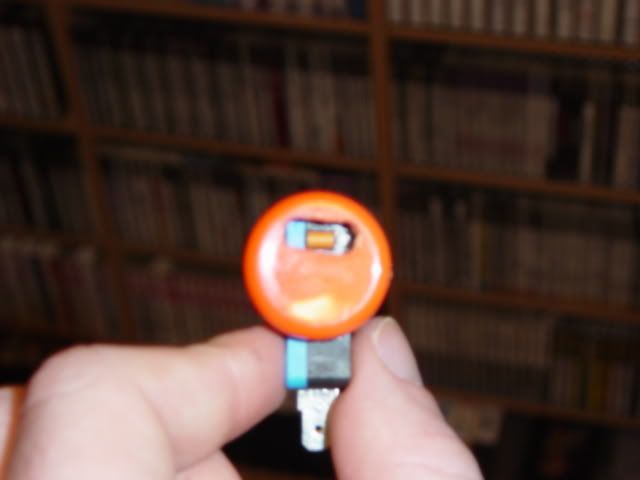
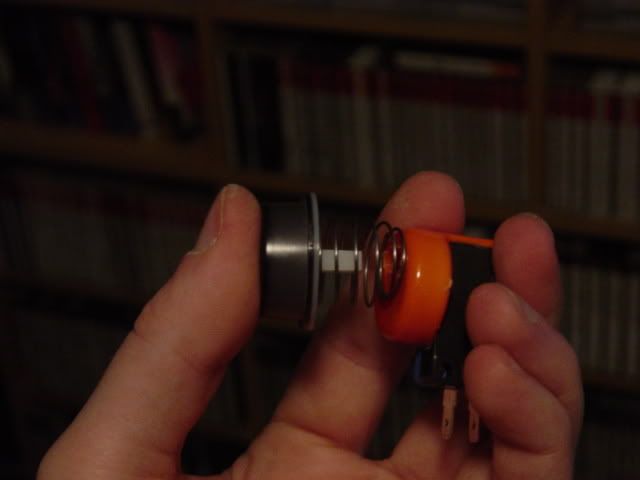
I added a few pics for the power switch again and a short vid.
Click pic below for vid...
So close.....
All I really have left is to solder on the controller ports to the board, then the power. Screw the board onto the shell and screw it all shut.
One of the screw bezels is busted but I can fix that.... it's close to being done. I wired up the AV port tonight and it works fine. It's only RGB right now but that's what I use. It's in stereo also.
OK... so all I have left is to wire the controller ports and power jack to the mobo and it's done!! I have the controller jacks wired up... I just have to attach the wires from them to the mobo.
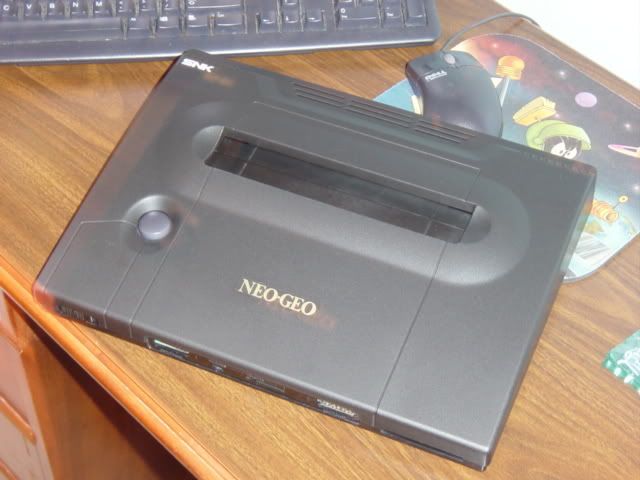
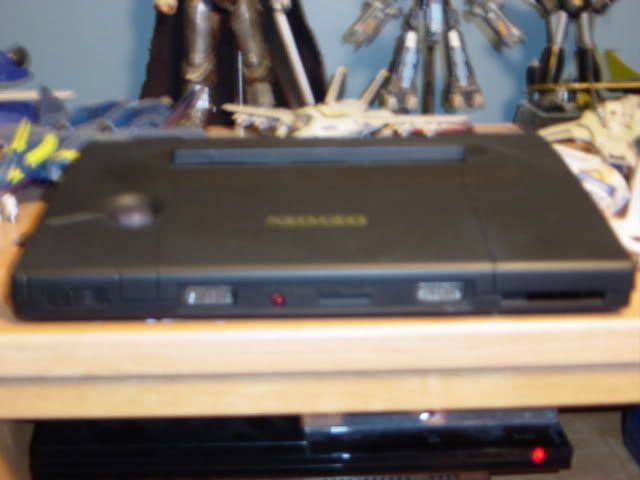
DONE!!!! happy it's over with.
when I took these pics I hadn't put the black plastic inside the memory card holder.... it's an open slot in the pics but isn't now.
the cam's ok... it was just to dark for the setting I had it on and was to late and lazy to fuck with it.
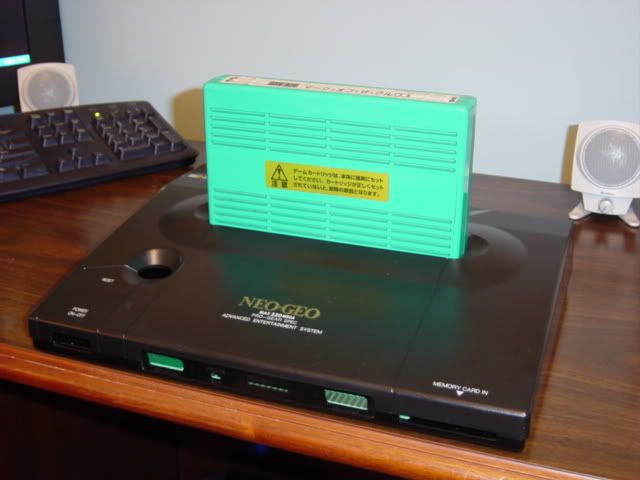
new pics with the cart inserted....