Having problems. Relocated the cart slot for the TurobGrafx as planned, and a couple of games booted, not quite ok though, clearly interference on lines even though used shielded cable, although the cable I used only used that thin metal material and I couldn't solder to it to make the grounding better, also there are many wires in the cables so probably isn't getting enough grounding in there anyway to get rid of cross-talk. I have only two choices left, as there is no-where on the case for the cart than the designated place, no where at all. One choice is to remove all the wiring for the TurboGrafx's relocation and start it again (wasting a day's work in the process), if that doesn't work, only option left is to use my CoreGrafx which has a small board, and I think I can squeeze that behind the Colecovision motherboard ok, which will solve the issue, however I didn't want to use that board for this project really.
------------------
Right, worked out even if I had succeeded, or in fact did it again with about half a dozen other shielded cables, I actually don't have the space in the system to move them into position. Seriously.
With that in mind, I am putting the TurboGrafx to the side for my future project, as that will use much shorter wires and be no problem.
Got my CoreGrafx and the quite rare Tennokoe 2 unit (which is a memory card in effect) from the loft. You can see how small the console is, probably the smallest commercial console ever made, it's about the size of a CD case, and about 1" thick roughly. At the top of the photo on the right is the Tennoke 2 unit. The TurboGrafx isn't that large, but as you see, it is twice the size of it. The CoreGrafx was basically a Japanese model, but unlike the PCengine, it has native A/V output not just RF; handy, shouldn't need an amp circuit built for RGB therefore.

With my TurboGrafx card, when i'm going to do my future project, I will relocate literally everything to get it flat, and also can remove about 20% of the board too.
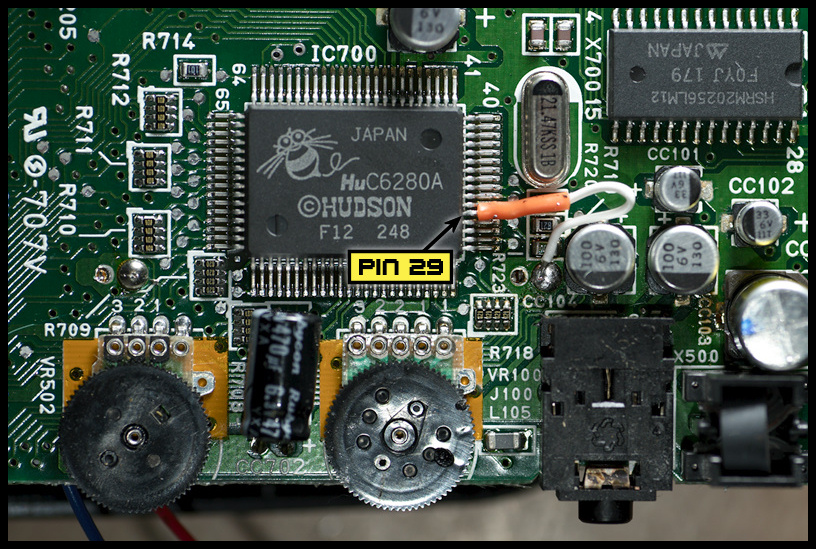
I have some knowledge on the TurboGrafx/PCengine as it's actually one of my favourite consoles - it is quite unknown but guys, it is worth playing! I have 30 game carts for this format.
I put up some guides a while back on TurboGrafx, although notice some didn't transpose from the old forum to this new one; also as i'm working on the CoreGrafx now, i'll get more guides uploaded for that too when done.
As you see in the pic, the space I had reserved originally for the Jaguar cart, master controller port and main on/off switch (no longer need space for the Jaguar cart as hardwiring it), so the space now is for the master controller port, on/off switch (which now is going to be from the GX4000 I kept), the CoreGrafx and it's game port. As you see, there is space, just.

Had I not reserved that space originally, i'd have not been able to put in this system into Project Unity, which i'd not have been happy about.

So, a day and a half's work wasted on the TurboGrafx, going to work on the CoreGrafx now. I need also to check the A/V pinout on the net as it is different from the TurboGrafx one I seem to recall.
BTW, seems ok to use that music track in my final videos for the Project Unity, the track from the Burnin' Rubber game for the GX4000 as in a previous post, I got my reply back, seems fine!