Downing's SNES-001 Advanced COMPLETE!!! 6/18

Discuss all hardware and software modifications
Downing
24-bit
Posts: 138
Joined: Mon Dec 06, 2010 8:34 pm
Location: Capital City, NH
Contact:

Re: Downing's SNES-001 Advanced

Post by Downing »

Alright! Pics as promised! Second controller is complete and closed up! Though I do have to fix the alinement of the case halves which won't be too difficult! But the controller is 100% functional and feels great when playing! Leaps and bounds ahead of where the first one landed and so now I have to fix it to make it work like this one. Happy with where this one ended up and with some minor adjustments we'll be in business for a clean and even looking controller.

Now I just have to make the cable for it, fix the other controller, box it up, stick in on ebay and see what happens!

Everything but the tacts wired, but they are now and working.
Image

The Face (right side needs to be alined but that will come with a new screw post)
Image

The Back
Image

The Top
Image

Liking very much how this all came out! Hopefully another week or so and we'll be ready for market! haha.
Image
Hey guys, check out my new website and project showcase!
Also this is where my Case Making Guide can be found!
User avatar
xan_racketBOY_fan
Next-Gen
Posts: 1098
Joined: Sun Oct 03, 2010 12:22 pm
Location: California

Re: Downing's SNES-001 Advanced

Post by xan_racketBOY_fan »

Looking good, can't wait to see it completed.
Image
Downing
24-bit
Posts: 138
Joined: Mon Dec 06, 2010 8:34 pm
Location: Capital City, NH
Contact:

Re: Downing's SNES-001 Advanced

Post by Downing »

Sorry it's been a while since a progress update, but things have been happening and going quite well!


The testing phase is pretty much complete with this, so now it's just a matter of a few cosmetic touch-ups and finishing off the wooden case for the whole system to reside in and then I should be able to sell! I've tested both controllers extensively and the D-pads and buttons all feel great and have been reinforced so even the angry player can still mash the buttons without pushing them through. Though it's not designed for excessive abuse, it's playable to normal standards.

The first pic shows what the video displayed and all the controller's screens and speakers work and are in sync and interference free. The quality of the smaller screens is actually better than the big screen, but that's to be expected as the SNES composite output is not very hi-res to begin with.
Image

The camera doesn't pick up the display that well, but I assure you that it's crisp and clean as well as the audio being the same. The cables are still kind of a mess, but I'll be making some kind of cable tie that when the controller screen is in use, it can be attached to it so it's less messy!
Image

It feels cool to be so close to complete with this!
Image
Hey guys, check out my new website and project showcase!
Also this is where my Case Making Guide can be found!
Downing
24-bit
Posts: 138
Joined: Mon Dec 06, 2010 8:34 pm
Location: Capital City, NH
Contact:

Re: Downing's SNES-001 Advanced

Post by Downing »

Almost finished off the box for the system. Just have to get a clasp so it will stay closed and then secure the LED wires a bit better. But all in all, getting very close to complete! Build process of the box explained in pictures below.

Two edge pieces with the groove cut out so the bottom can sit flush and secure.
Image

4 edge pieces stained a Golden Oak from MinWax
Image

The edges put together, the bottom platform secured to the sides and the black felt adhered with a 3M spray adhesive
Image

The cover put together and stained with the Lexan secured into place.
Image

Top view with the Lexan in place.
Image

LED's wired in place and all working. This is working off a 12V power supply with a jack built into the back of the cover. Just unplug to turn off.
Image

Gotta wait until to night to get some good pictures of it in the dark, but you get the general idea.
Image

Hinges applied. These were a pain in the ass an it's still not perfect, but I stopped caring an hour ago.
Image

View with the system in place...
Image

...and all closed up.
Image

I still have to make a few more decals and there will be a big one on top of the Lexan so when the LED's are on the graphic will show up quite nicely! Also have started working on the video so hopefully by next weekend I'll get this to ebay and we'll let the fun begin!
Image
Hey guys, check out my new website and project showcase!
Also this is where my Case Making Guide can be found!
User avatar
xan_racketBOY_fan
Next-Gen
Posts: 1098
Joined: Sun Oct 03, 2010 12:22 pm
Location: California

Re: Downing's SNES-001 Advanced

Post by xan_racketBOY_fan »

Beautiful.

Who needs a Wii U, amirite?!
Image
Opa Opa

Re: Downing's SNES-001 Advanced

Post by Opa Opa »

Great work, Downing!
xan_racketBOY_fan wrote:Who needs a Wii U, amirite?!
Correct!

This console already comes with an established library. Even better!
Downing
24-bit
Posts: 138
Joined: Mon Dec 06, 2010 8:34 pm
Location: Capital City, NH
Contact:

Re: Downing's SNES-001 Advanced

Post by Downing »

Thanks guys!

Image

And the box is complete! Now just have to fix up the cords and bit more aesthetic work on the controllers and we're calling this one complete! This was a lager than normal water slide decal I used so it took a bit to get it right without bubbling, but I think it came out pretty nice. I also added the two brass catches to keep the lid closed when not in use. Pretty happy with this really and I hope it's new owner (whoever that may end up being) will enjoy it too!
Image
Hey guys, check out my new website and project showcase!
Also this is where my Case Making Guide can be found!
User avatar
Drakon
64-bit
Posts: 306
Joined: Tue Apr 29, 2008 7:58 pm
Location: Toronto Canada
Contact:

Re: Downing's SNES-001 Advanced

Post by Drakon »

I love it...just because it's an original idea!
http://16bitgamer.forumotion.ca/

Older games are better
synbiosfan
64-bit
Posts: 330
Joined: Wed Nov 18, 2009 9:17 am
Location: Auburn Hills, MI

Re: Downing's SNES-001 Advanced

Post by synbiosfan »

Wow!

Great idea and beautiful execution 8)
Diabetes Sucks!
Downing
24-bit
Posts: 138
Joined: Mon Dec 06, 2010 8:34 pm
Location: Capital City, NH
Contact:

Re: Downing's SNES-001 Advanced

Post by Downing »

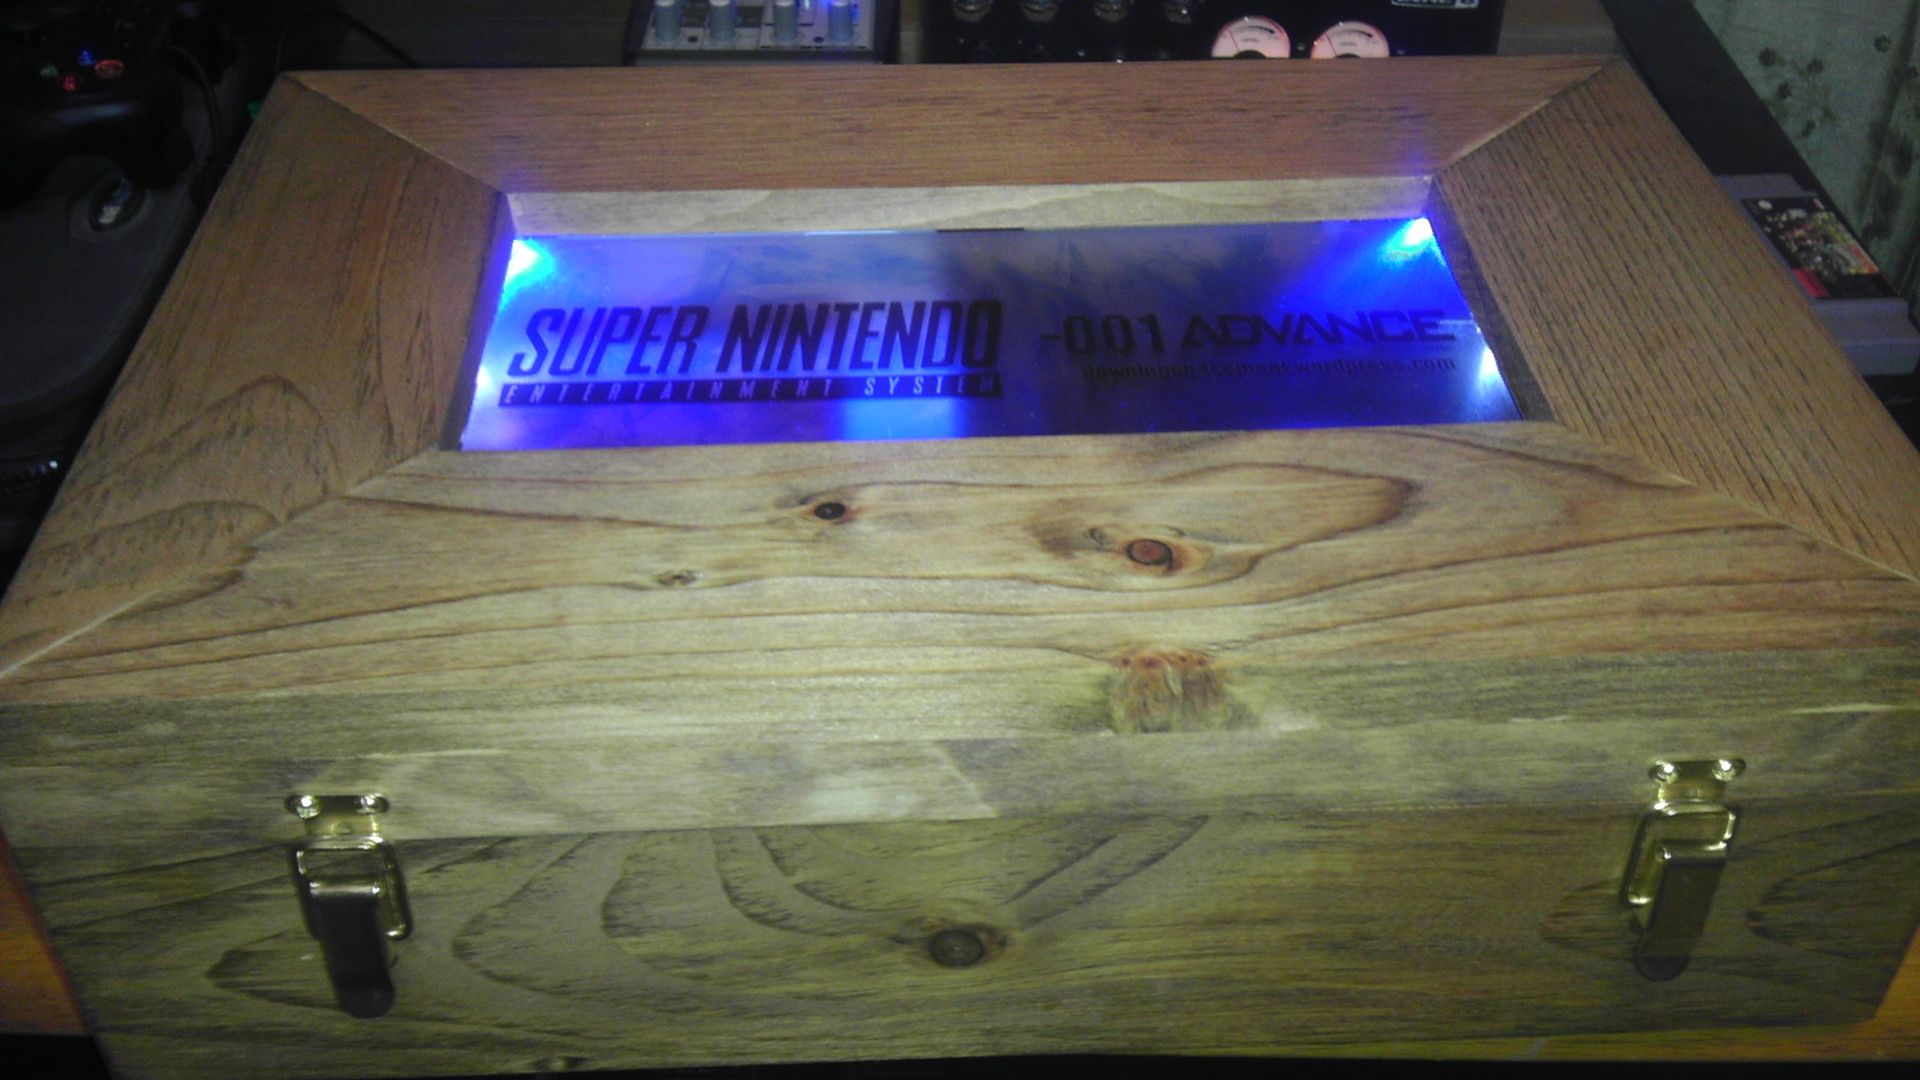
Without Further Ado, I'd Like To Introduce
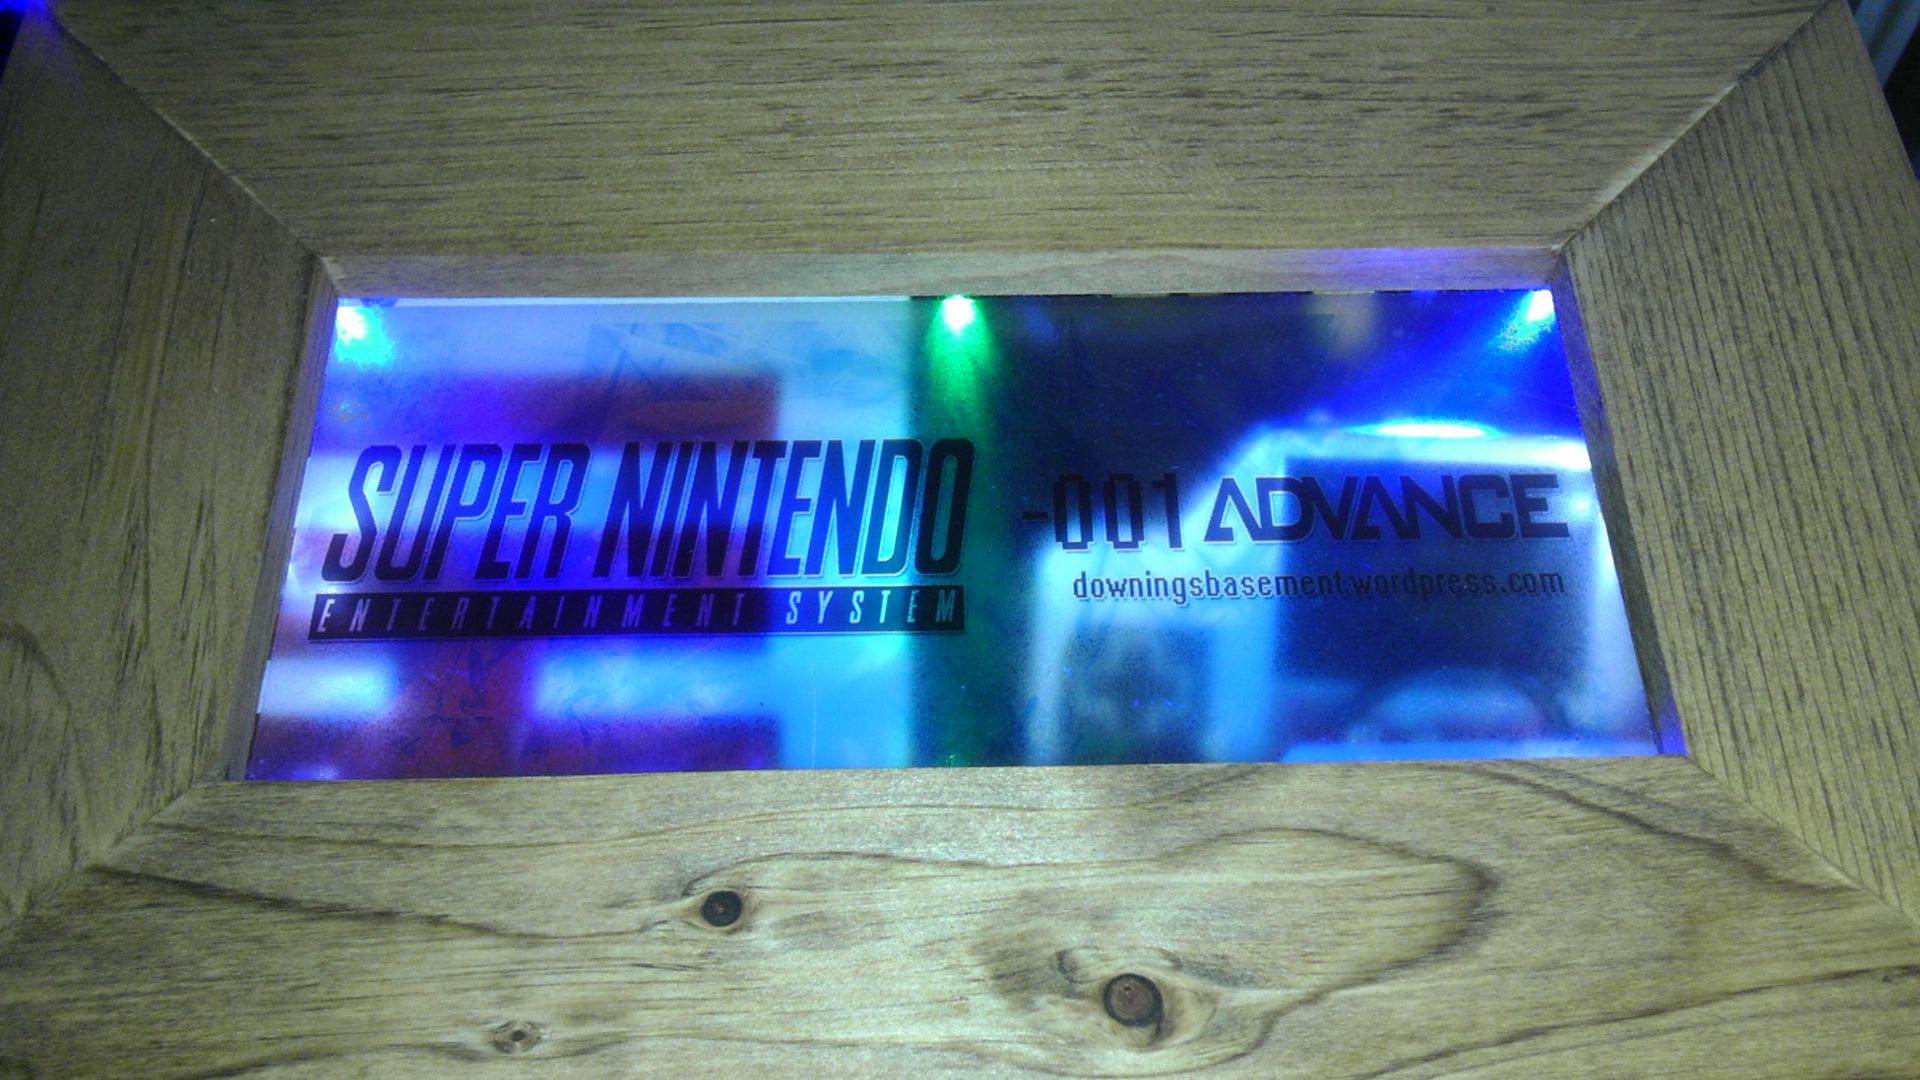
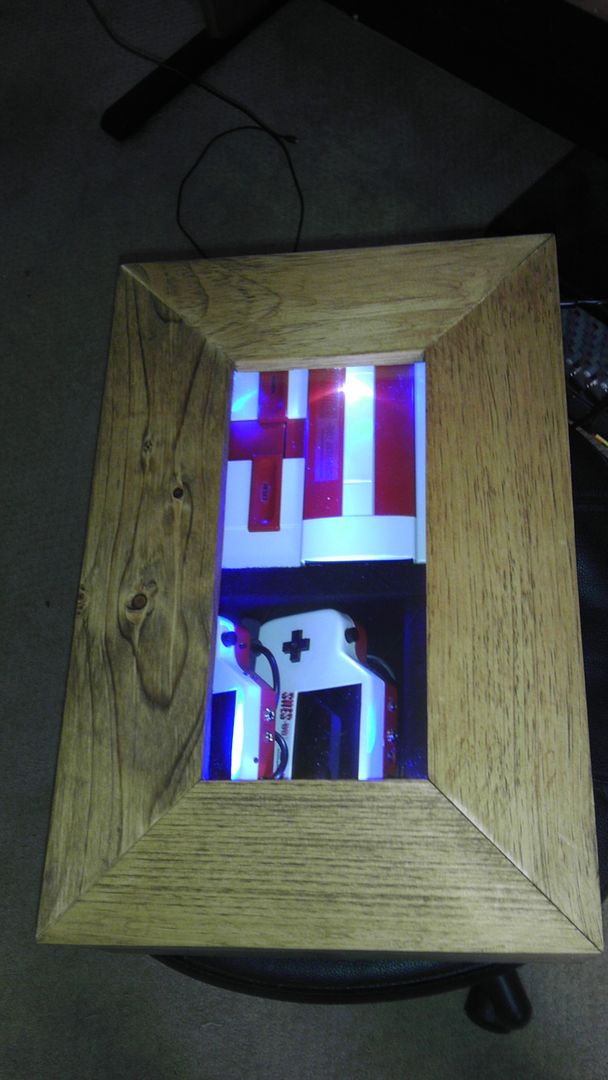
Image

And it's complete!


Image

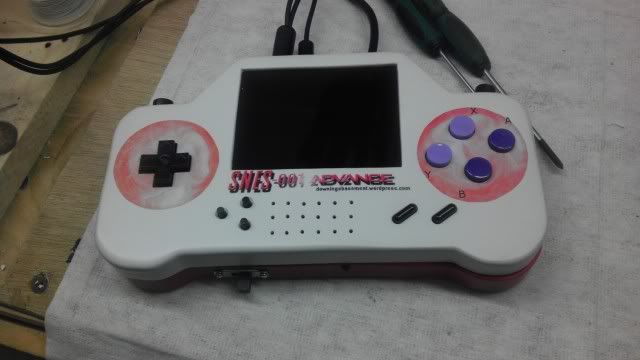
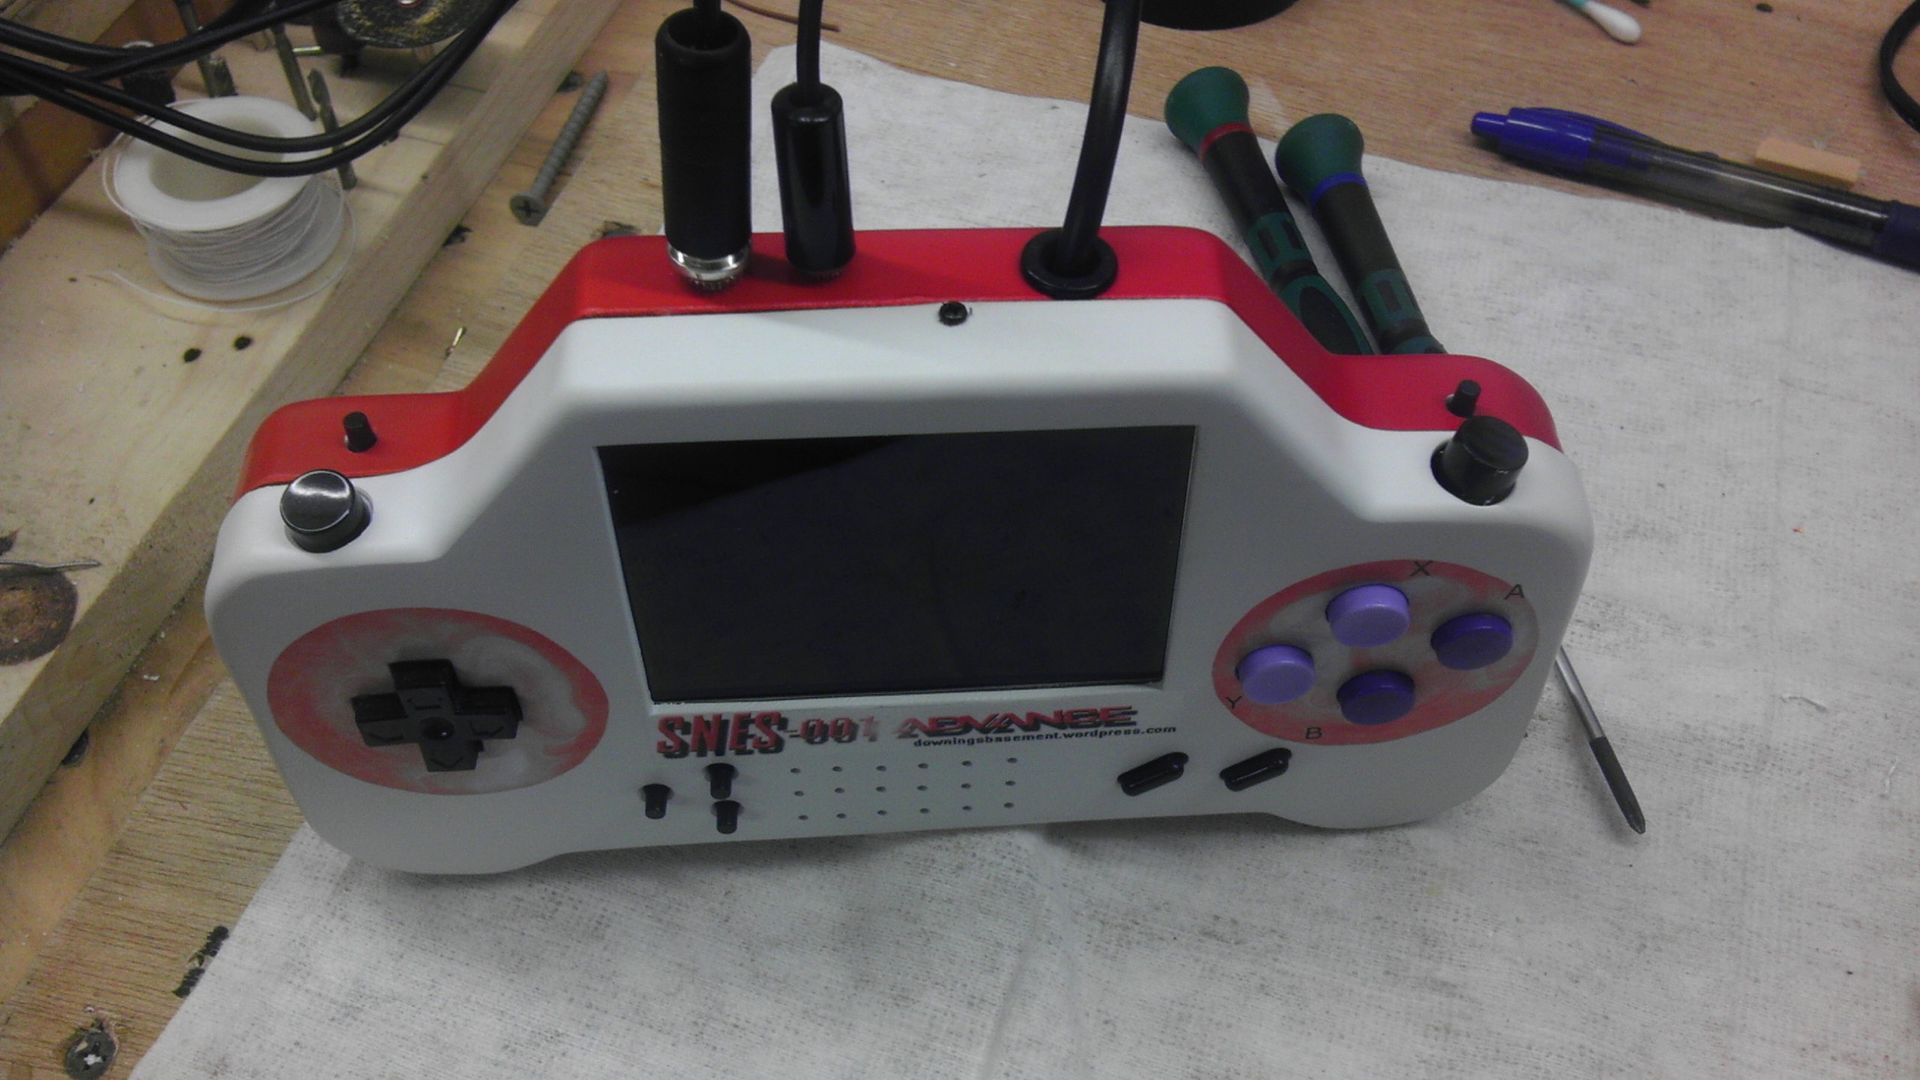
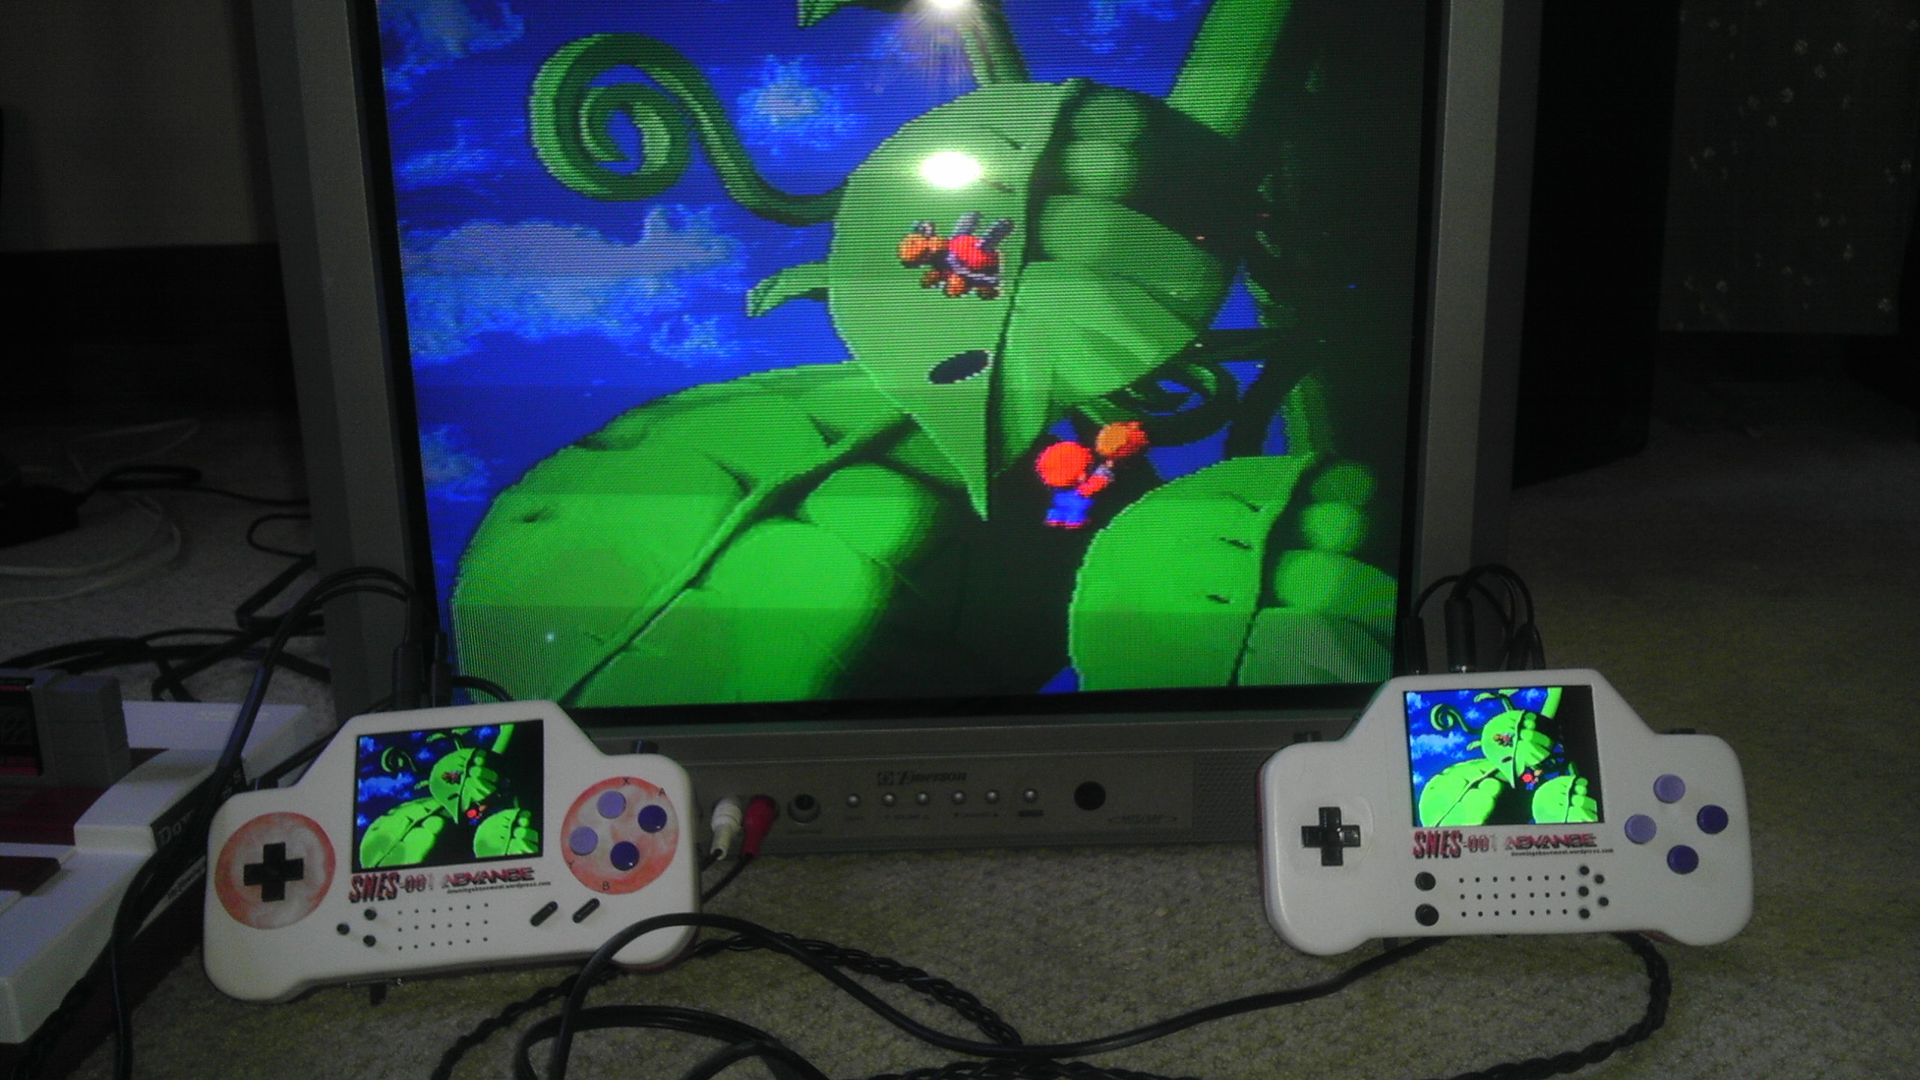
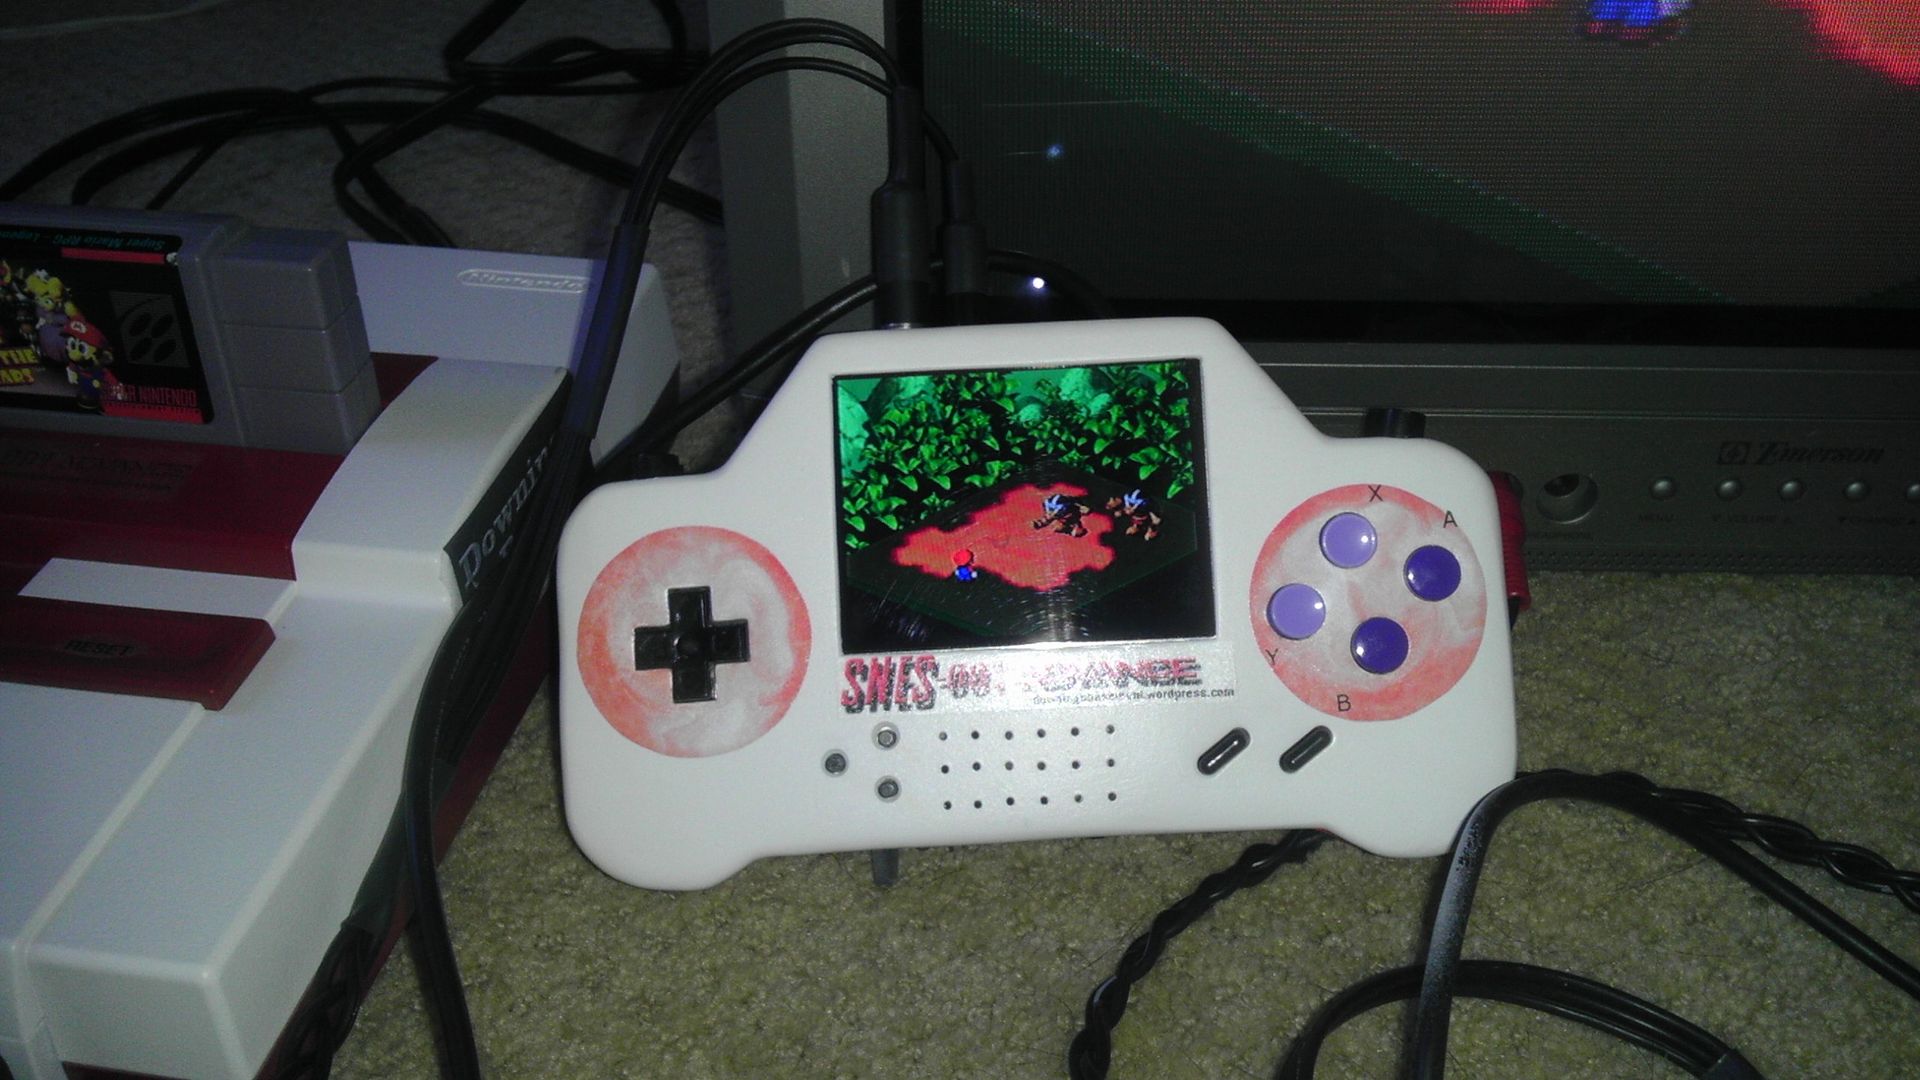
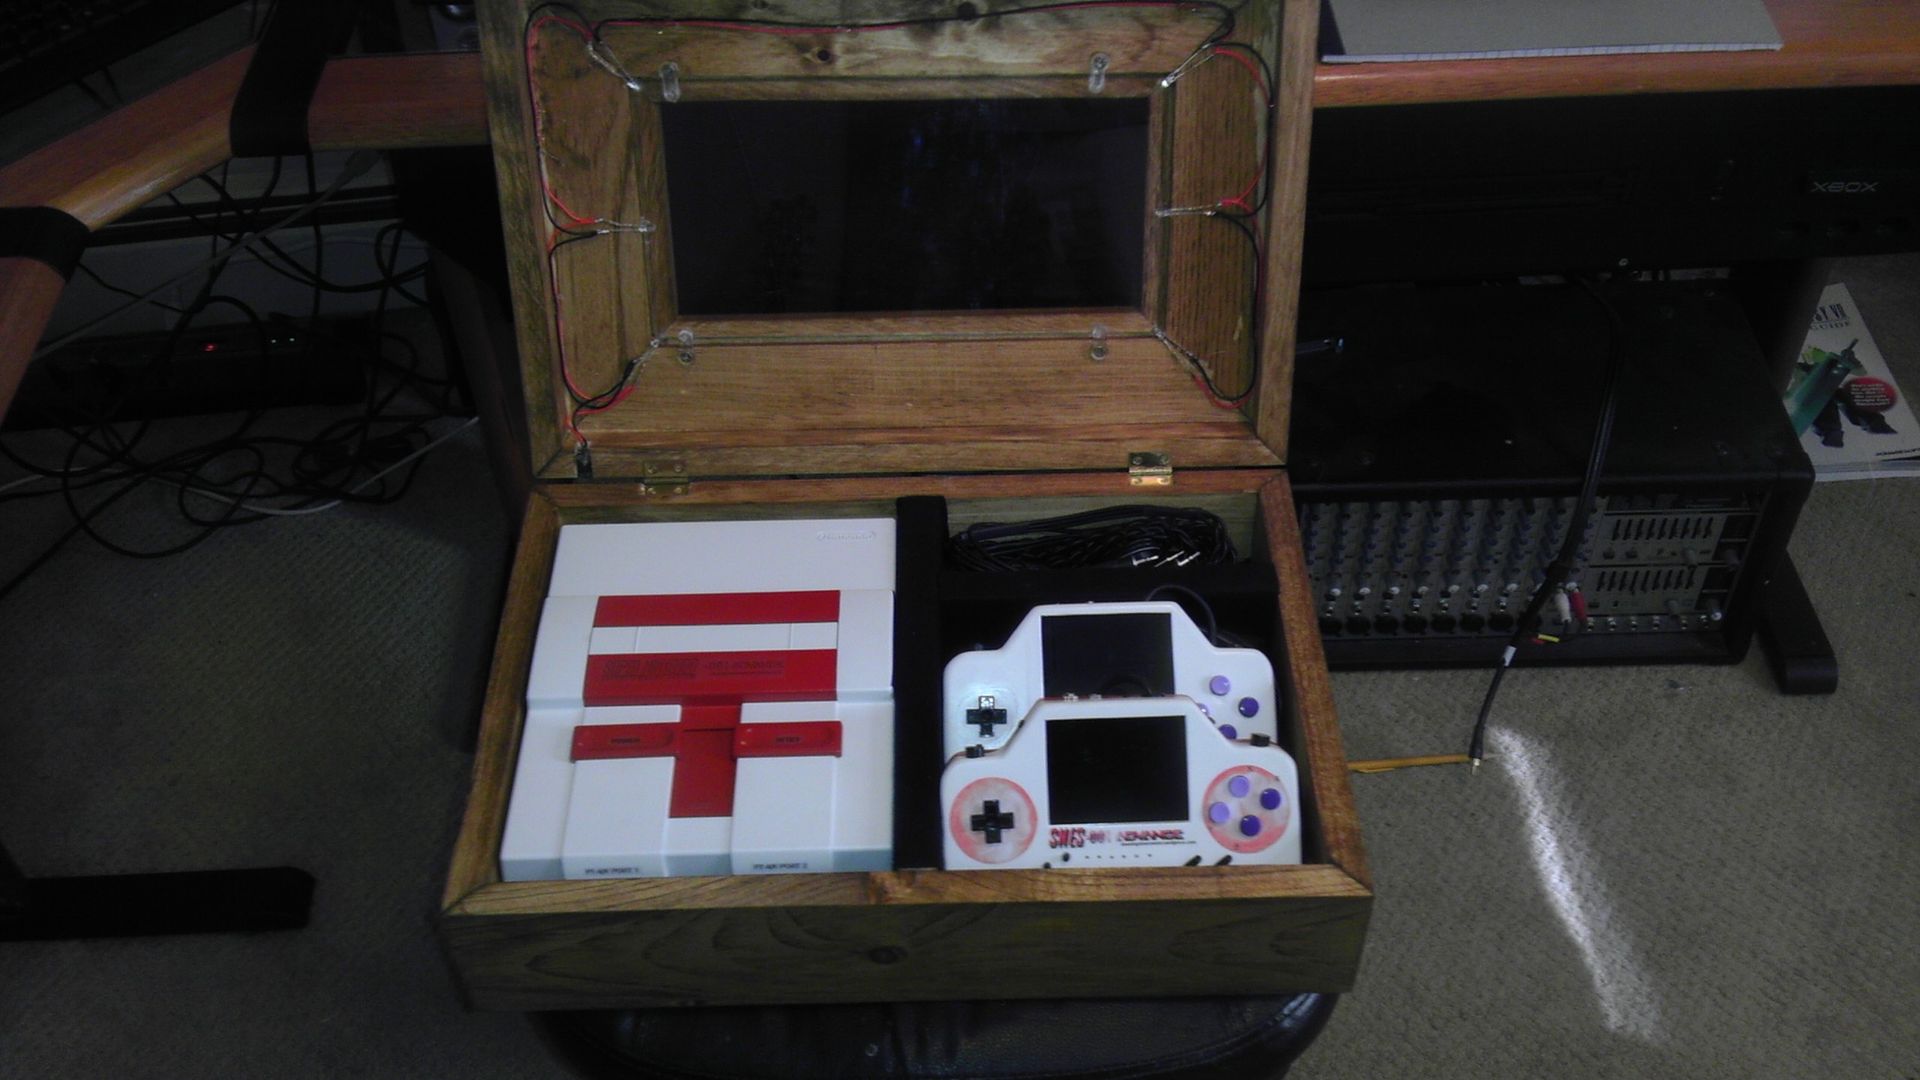
So after about 3 months or so, the SNES-001 Advance is now ready to go! It's been a lot of fun to make and I'm quite happy with the results! Have a look at the Video below to see it in action and who it got to where it is!


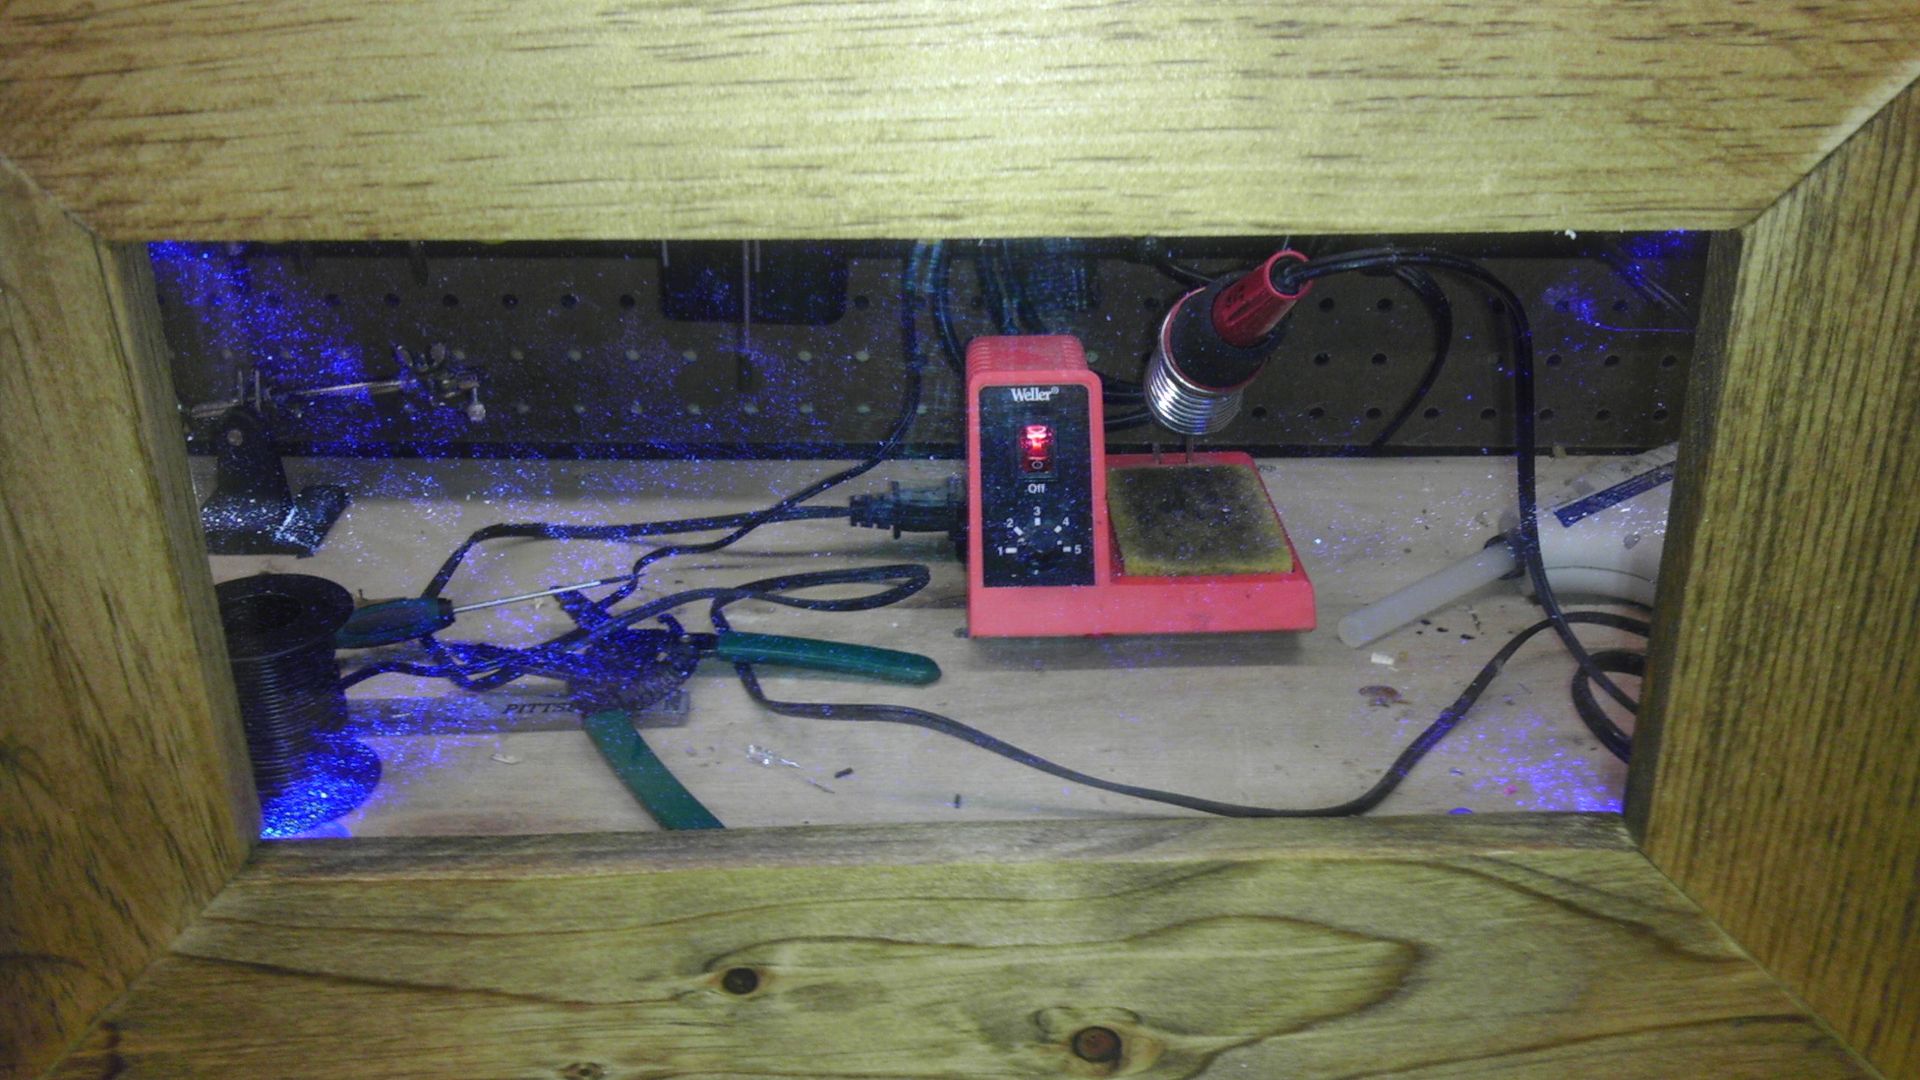
And feel free to view the rest of this thread as it is quite detailed on how this came into being! But here are some quick points.
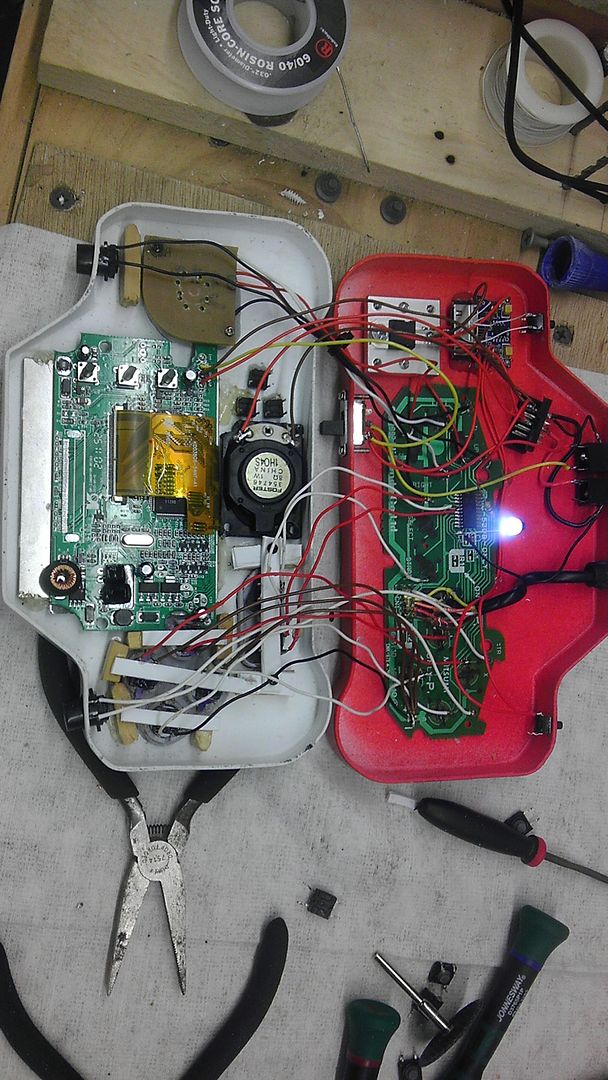
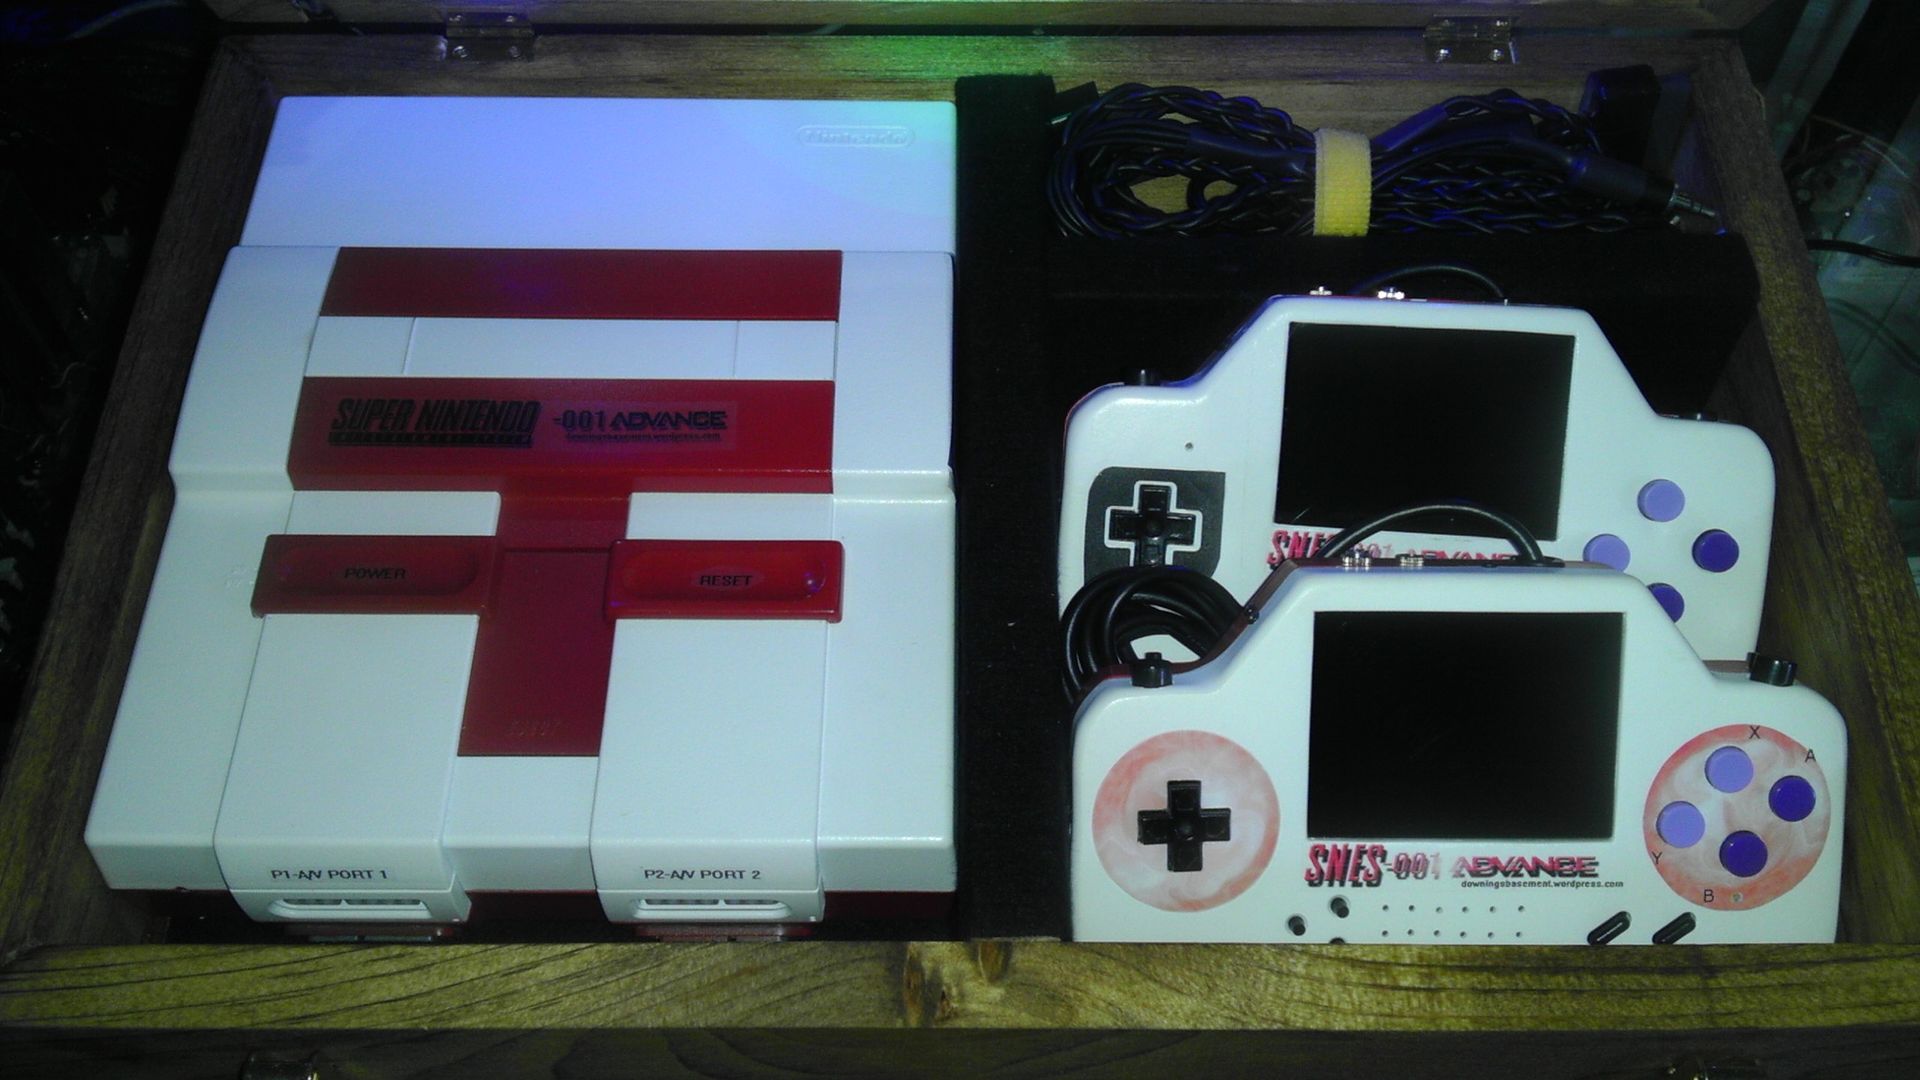
Specs: (Base Unit)

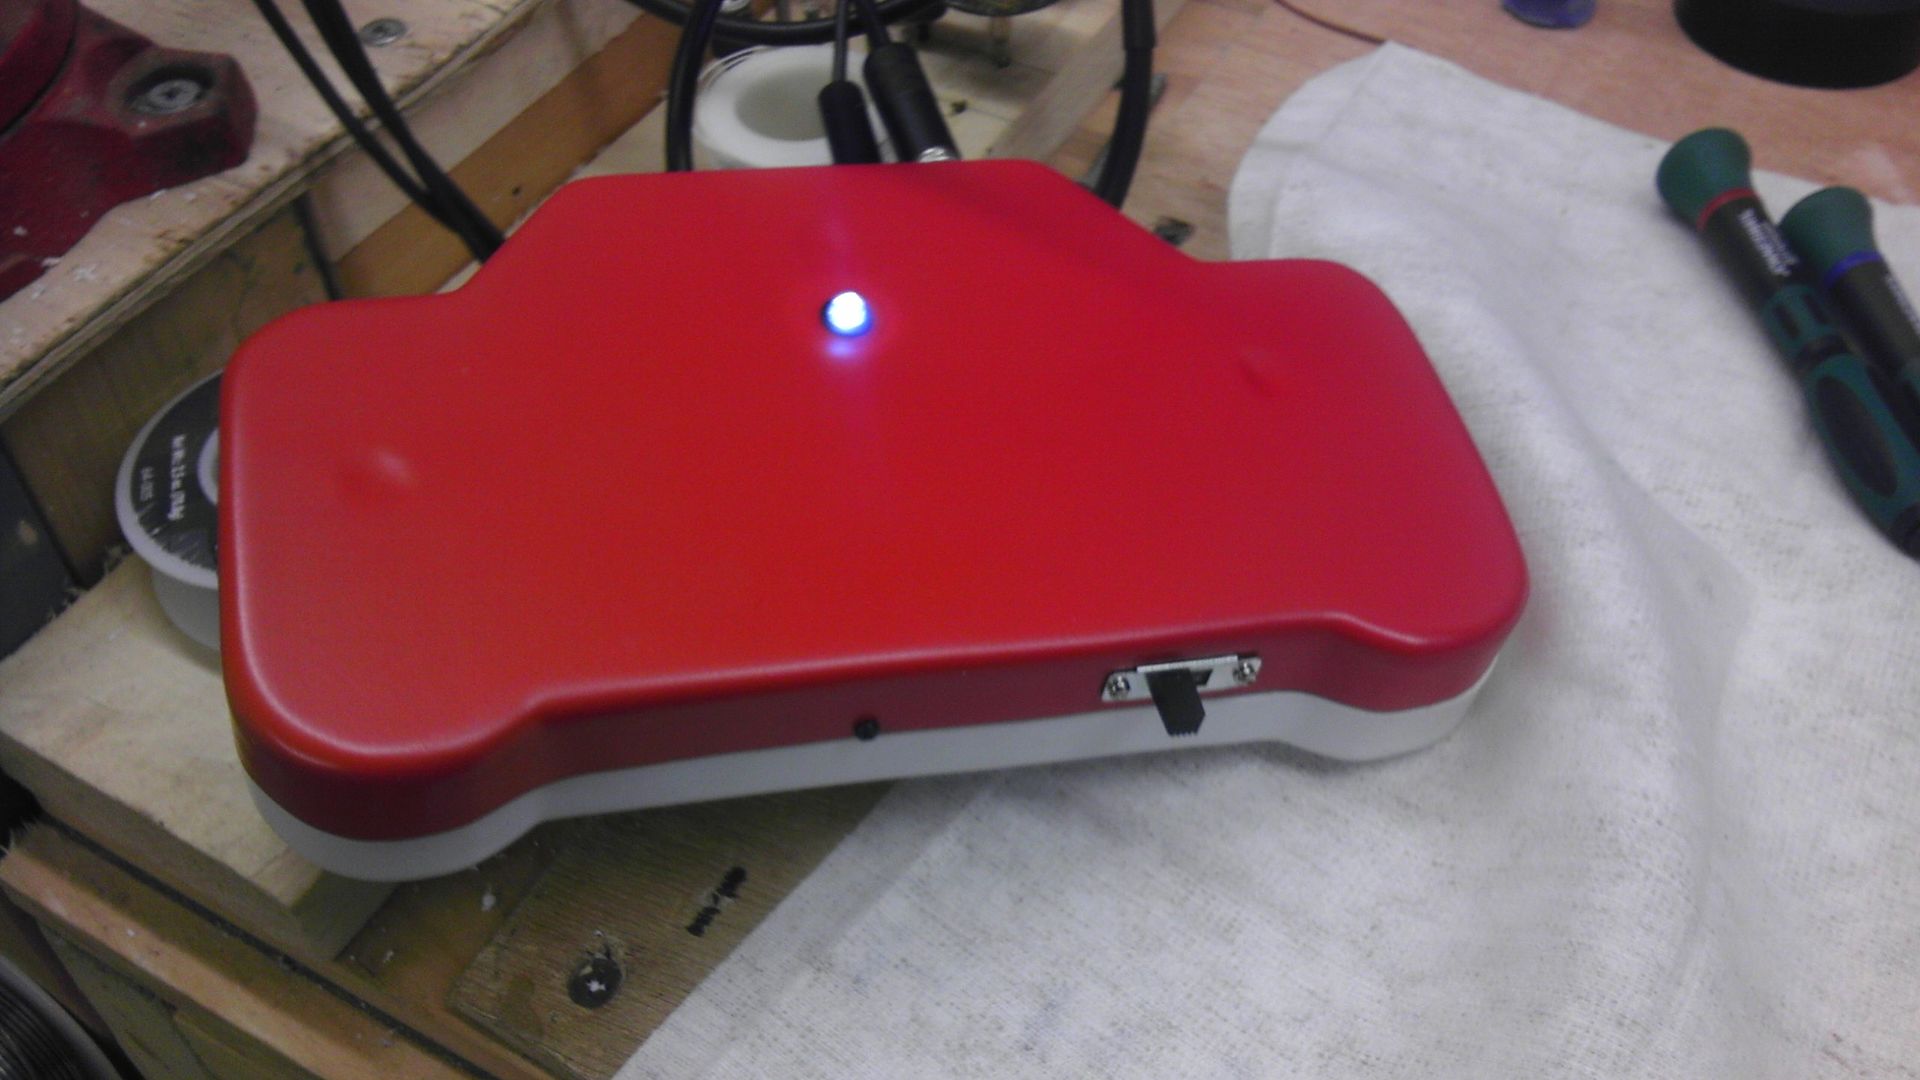
Original SNES-001 Model
Custom Paint Job & Decals
Modded A/V & Power Ports for output to controllers

Specs: (For each controller)

1- Original SNES-005 Controller Mobo
1- 3.5" TFT Color Vehicle Back-up Screen
1- Mini iPod External Speaker Amp
1- PS1 Screen Speaker
1- NES D-Pad & PCB
Original SNES Controller Buttons
1- DPDT Switch for A/V ON/OFF
1- 2.5mm Mono Audio Jack for Power
1- 3.5mm Stereo Audio Jack for A/V
1- Power LED
1- 7805 on Heatsink for Audio Amp
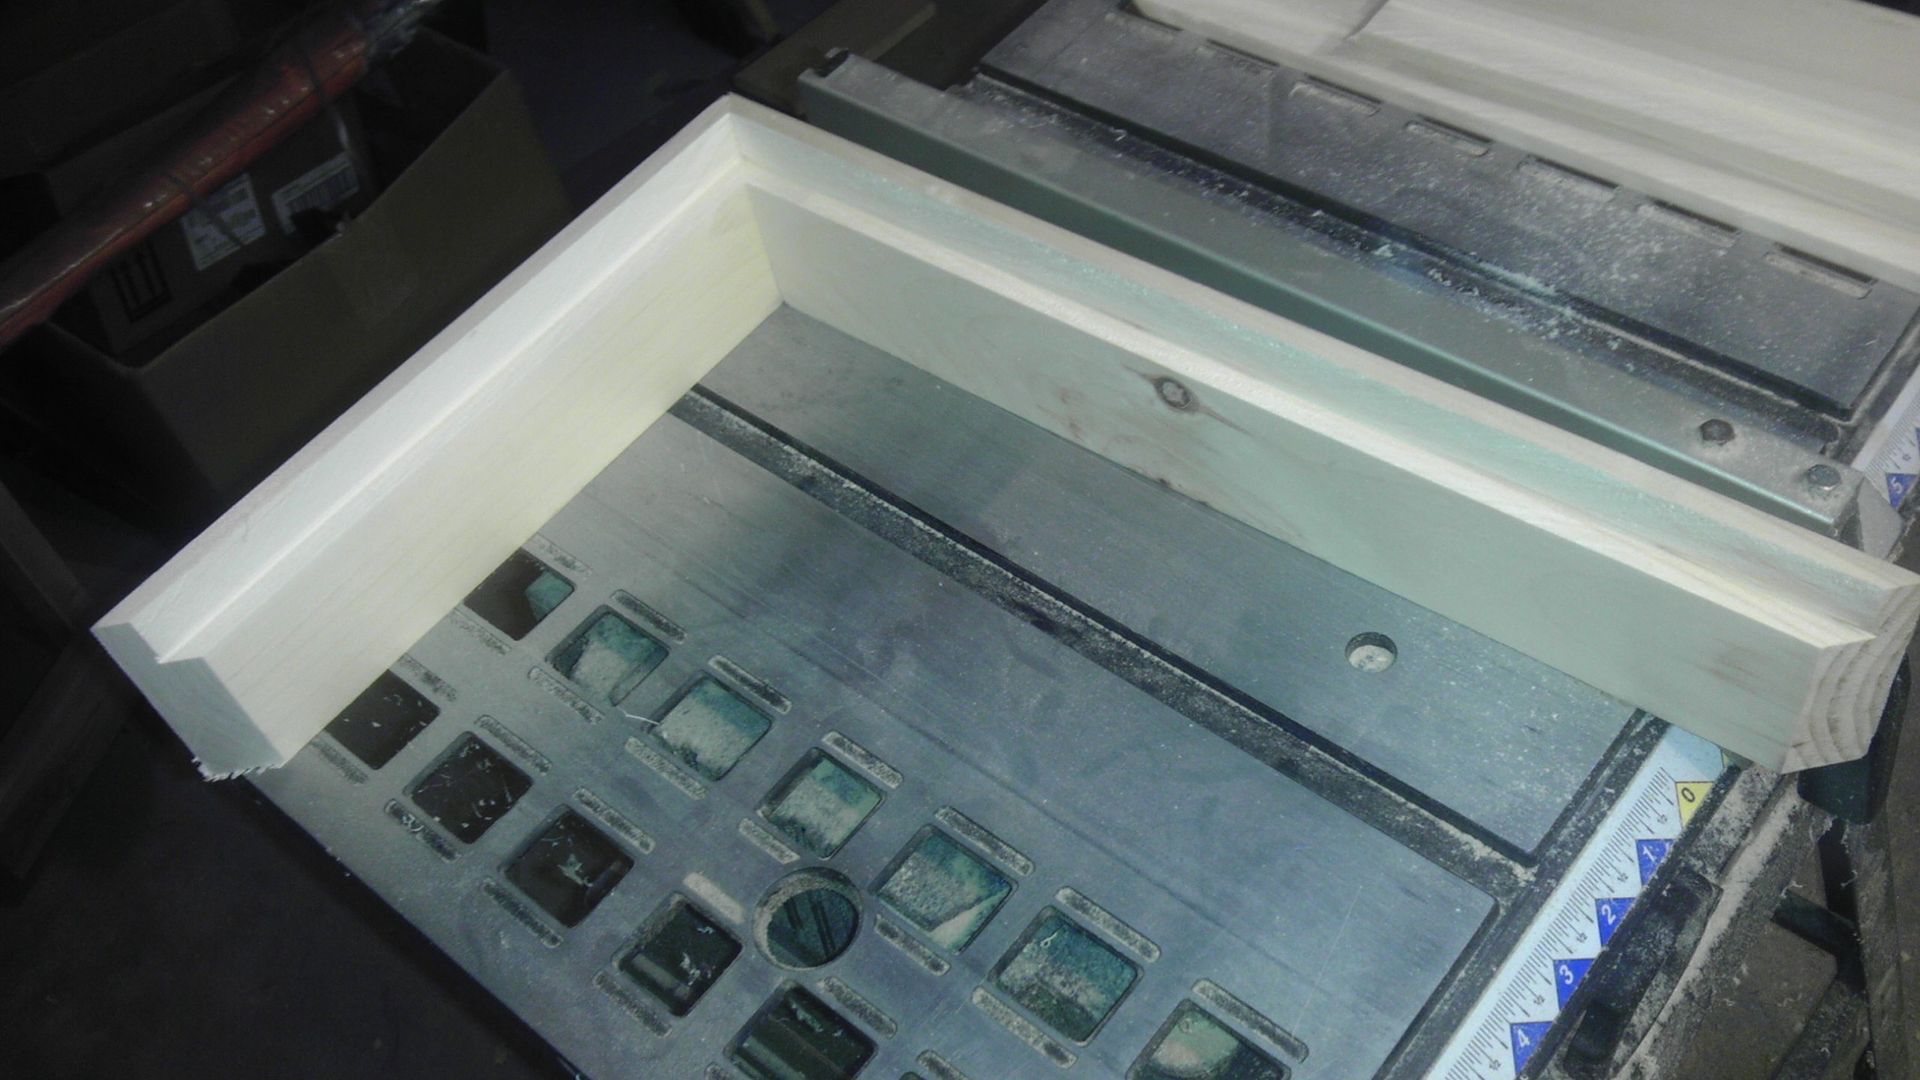
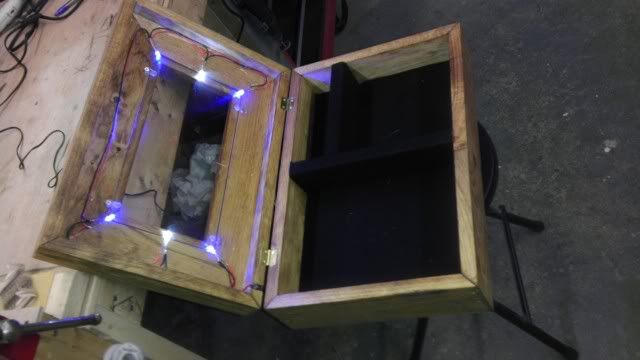
Custom Vacuum Formed Case Shell
Custom A/V & Power Cables from unit to controller
Image
Hey guys, check out my new website and project showcase!
Also this is where my Case Making Guide can be found!
Post Reply