I've been keeping work logs on various other sites as well Modded by Bacteria where I am a forum moderator. But I figured I'd introduce myself to the community over here as well and hopefully make some new friends who can guide and/or give advice that would help with the learning experience.
So here is the last post I made a little while ago on the other forums and I'll post a link at the bottom for those who wish to see where it started. Again, I look forward learning and sharing what I know with your community as well!
*Begin Last Post*
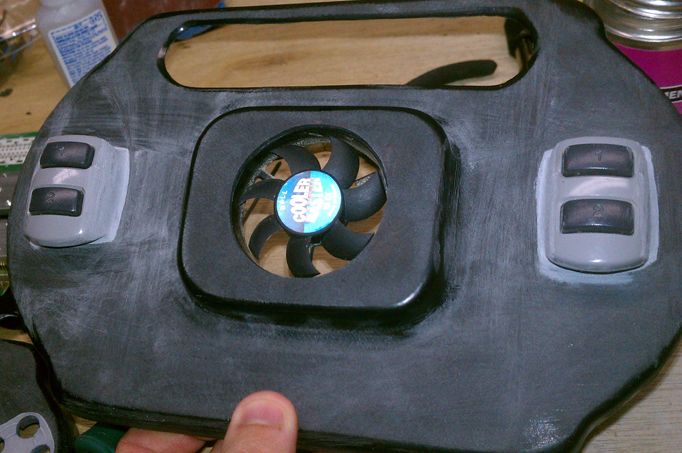
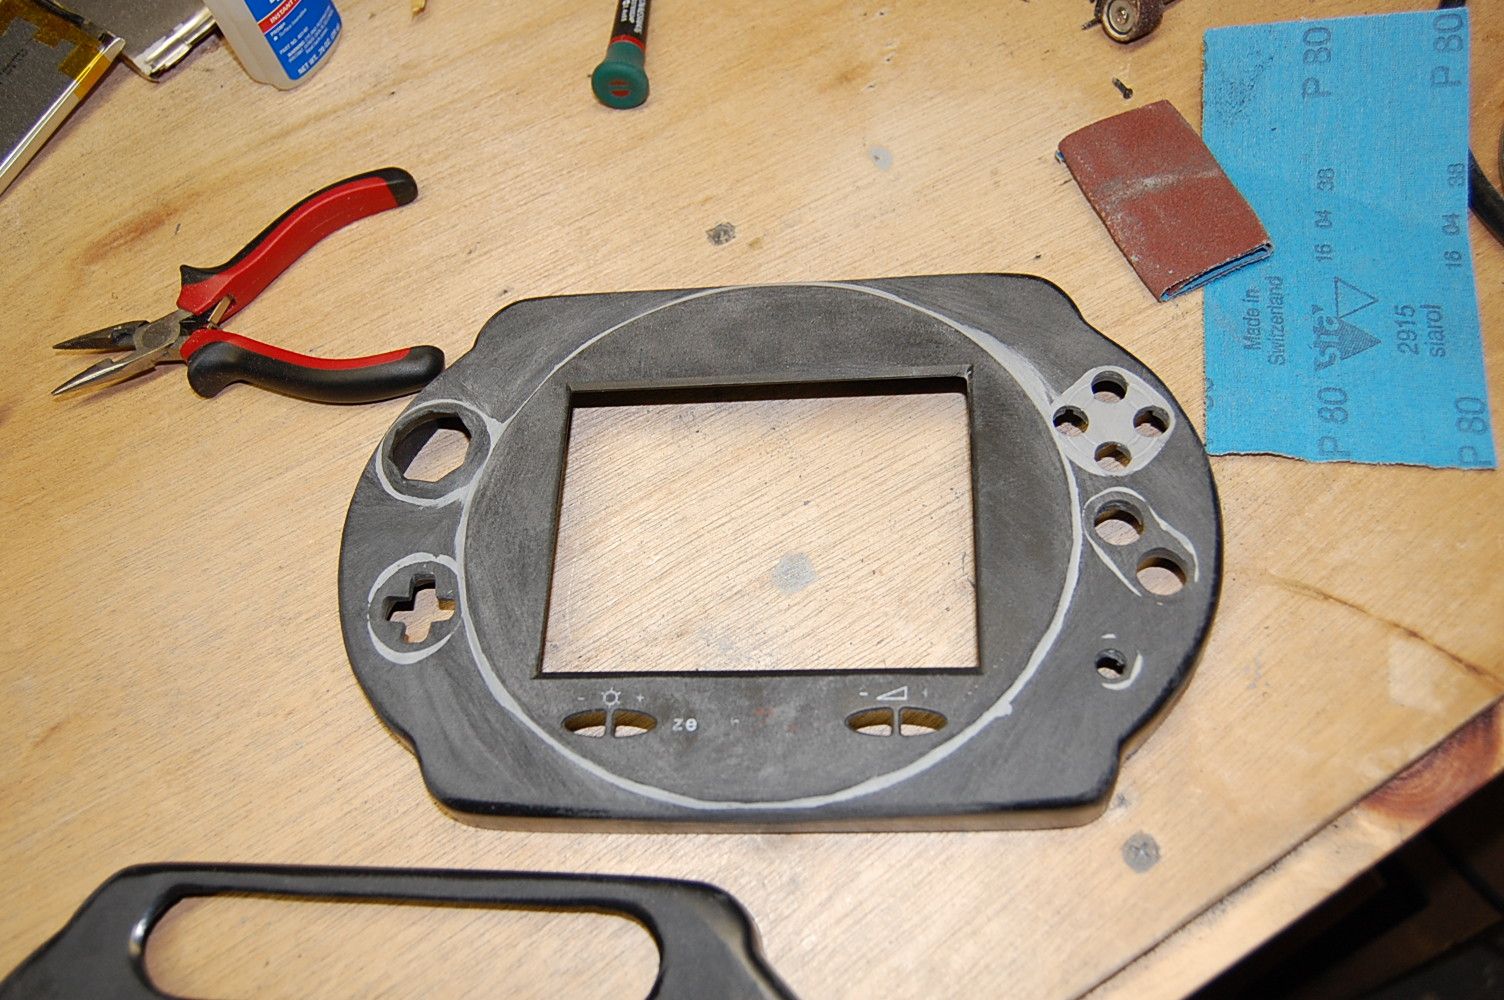
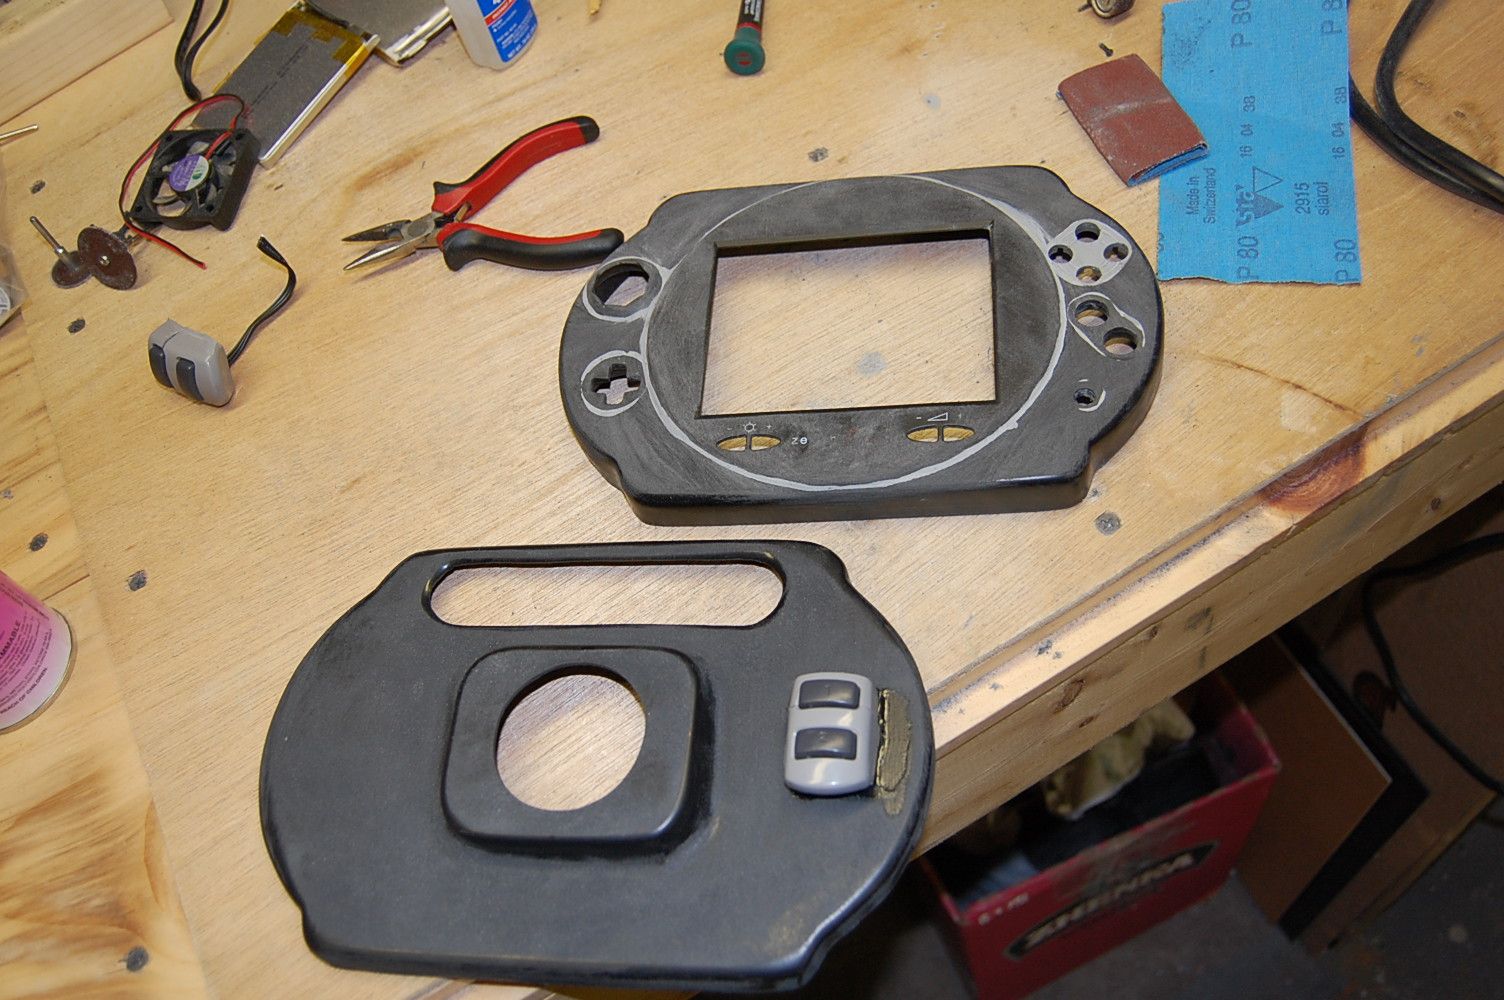
Alright, well here are some progress photos. The front and back are now roughly sanded and the front filling is done. I just need to hit it with 120, 240 and 480 grit sand paper (maybe even 600) to smooth it out. The back now has two PlayStation controller L and R buttons on the back. Unfortunately this made it a bit thicker than I wanted, but I needed to have the buttons external because there is no room at all for them on the inside and I didn't want to do what I did with the original Nimbus and use the x and O buttons from it.
So tomorrow I should be able hard fill the PS1 buttons and sand them down too and hopefully I'll get a coat or two of paint on before I leave for Florida.
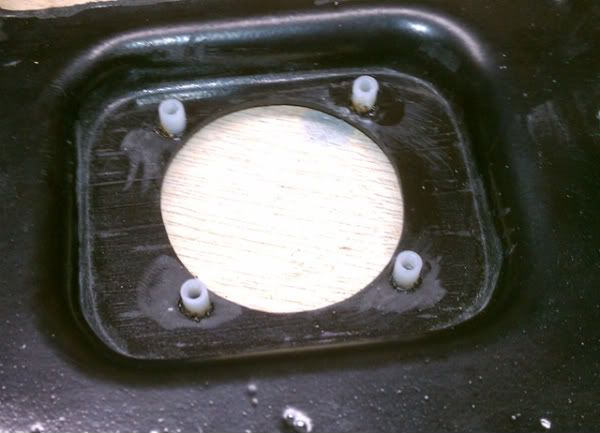
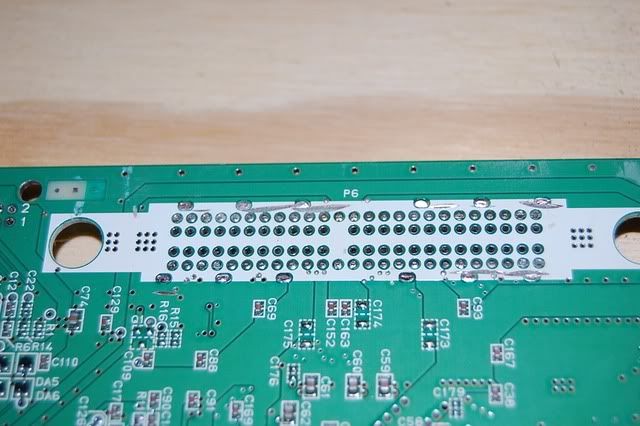
I did notice that when I took the back expansion port off, I accidentally cut through a trace. I'm looking at it and it looks as if it can go to a small cap. Any idea if I need to reroute this or where to reroute it? If you know, please share. Still not that good at tracing traces...don't know why, it sounds so easy.
If I had to venture to guess, it looks like it goes down to the C152 cap and I have no idea what the hell that does or if it's important...I'm guessing it is. Where would be a good place to reconnect it?
Everything filled in nicely.
The back almost complete.
http://moddedbybacteria.freeforums.org/ ... -t913.html
*sorry images are a bit big. Will resize next time!*